
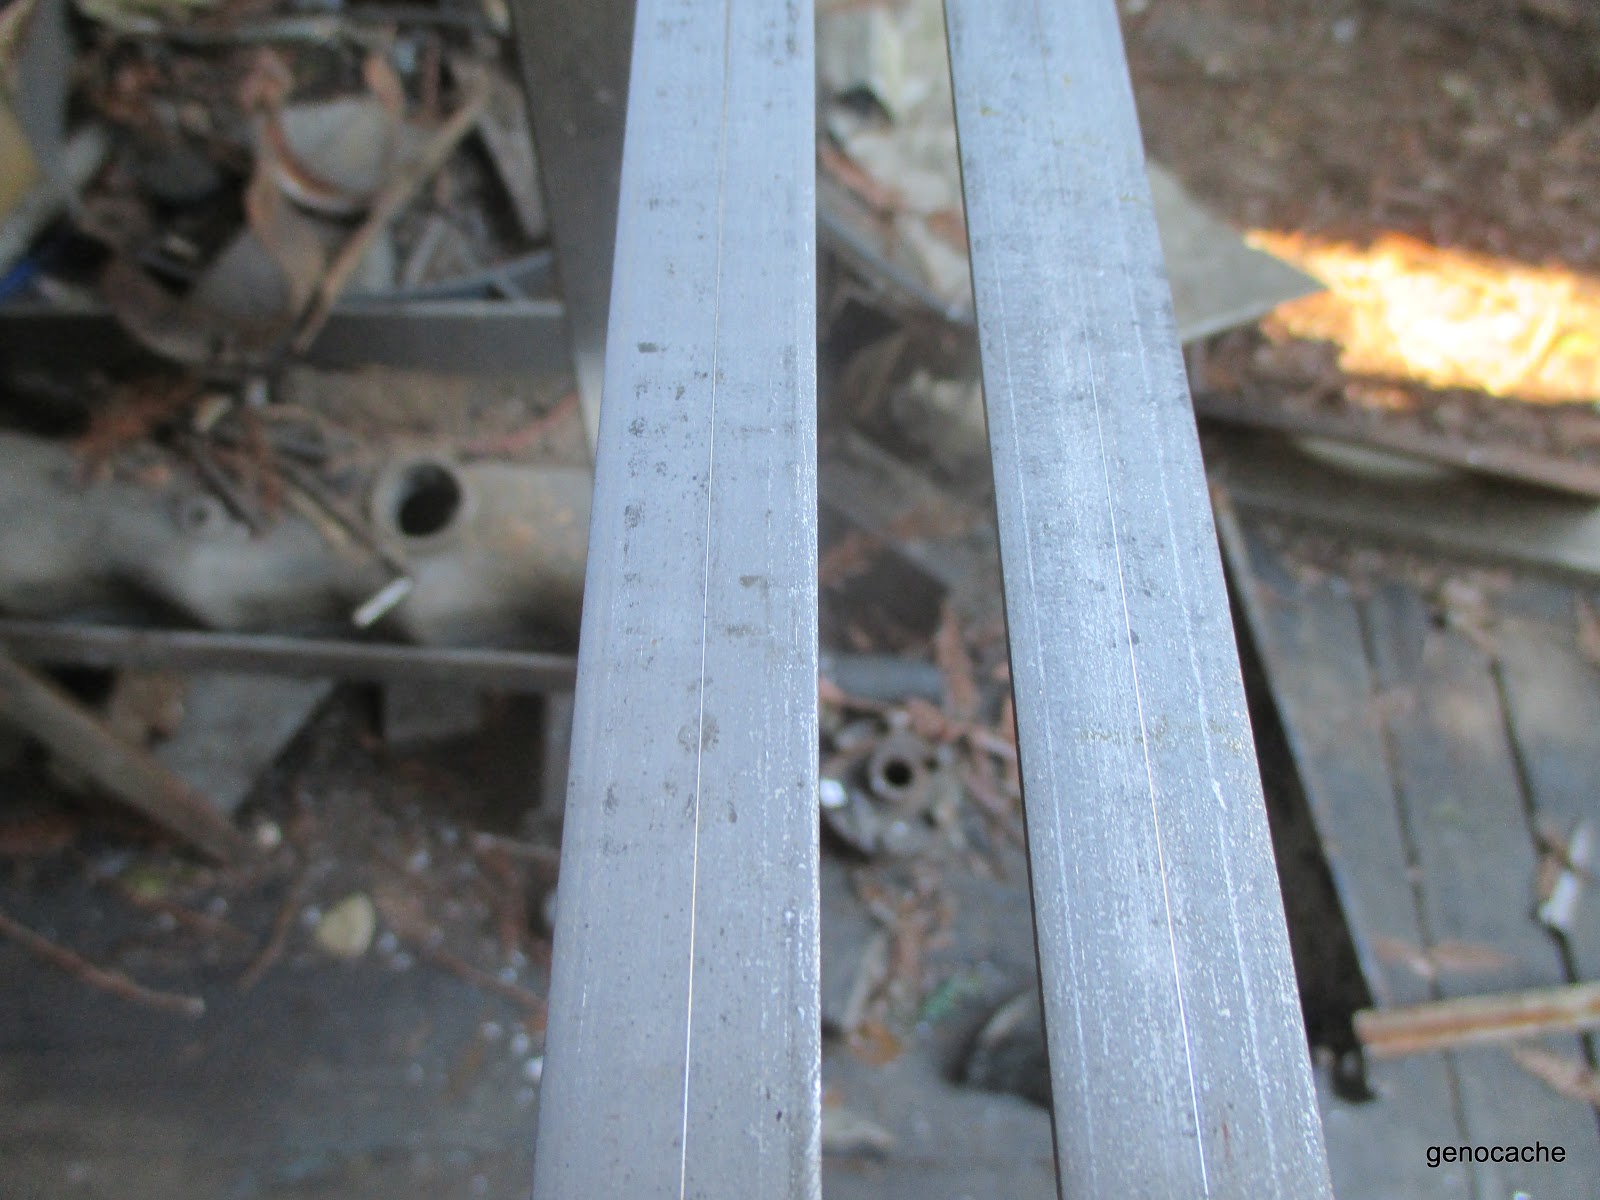
Until now! I made a captured nut plate, well actually 2 of them. I got some 1/8" x 3/4" flat stock in 36" lengths. I scribed a centerline on them.

both of them
I measured the bolts in both my 109 and my 88 and found the hole pattern most likely to be the same across all models. Then I used my extra 88 roof as a template by clamping the flat stock in position and lining up the centerline in the holes. I scribed a circle using the hole itself and measured to the center with a dial indicator.


I figured on an inch on the end before the first hole and marked that so I got past the hole with plenty to hold the roof on. Removing the flat stock I was able to find where I had marked the center of the holes and centerpunched a spot for the drill to start. I did one side at a time just in case I screwed up. It at this point looked like there would be mirror image sides. The distance between the 2 center holes was measured so I could get an overall length for each side. That turned out to be 27.5" and each side would get 5 holes.
I drilled the holes starting with a 1/8" and finished with a 5/16" hole, this gave me wiggle room and still kept me inside the scribed holes. Next the flanged nuts were bolted finger tight to the flat stock for welding.

Once the nuts were welded to the first bar and I was satisfied I did the other bar in the same way. The now nut bars were wire brushed and primered and painted.

I left them hanging overnight and the next day they were dry.

I chased the threads 1/4-20 with a tap to fix any warpage and remove paint.

Ohhh then the dreaded job. Removing the existing bolts one side at a time and installing the nutbars. Because mine were not that old it came out fairly quickly but went in much faster!!!!
I laid in the nutbar and lined up one end and inserted a bolt, I used 1/4-20 x 3/4", then lined up the far end and put in another one both finger tight. Using antisieze I put in the remaining bolt and using my cordless drill and a modified nut driver(removed the handle) I spun them on tight.

This is what I was after, just 1 tool and no fumbling around with sockets and wrenches! Just 10 zzzzzrrrs and I can have the front undone.
Here is a look at the bolt head.

And as close as I could get to the inside looking at the nutbar.

I think if one wanted to it would be fairly easy to add more attachment points to, let's say hang something off the top of the inner roof.
That's Brilliant. I'm going to copy this idea.
ReplyDelete