Friday, December 4, 2015

El Sur camping trip

I know you don't think I'm doing anything, well you are right! I'm still waiting on my rim to be made. So I decided that now would be a good time to rid my house of termites and during the fumigation get some camping in.

The house was going to be inhospitable for 3 days, I picked a Tuesday, Wednesday, Thursday time frame. So on Monday I got my 88, Ignotus, mostly packed up and finished on Tuesday morning. Heading South(Sur) on Hwy 1 towards Monterey, I passed thru Moss Landing.


And Monterey, the first state Capital and onetime Spanish colony.


Driving through Monterey and Carmel where I stopped to fuel up myself and the 88. When I stopped in the grocery parking lot I was approached by a fellow from Fuji who want to know if my 88 was for sale as he grew up with them on the island. I picked up a sandwich and filled the tank plus a 20 liter jerry can with diesel.  Then took off south again aiming to eat at Bixby Bridge.


There wasn't much traffic on 1 so the going was easy. I didn't have to pack much for a couple of days camping so the 88 was reasonably light. I kept up reasonable speeds as evidenced by the gps on my dash.
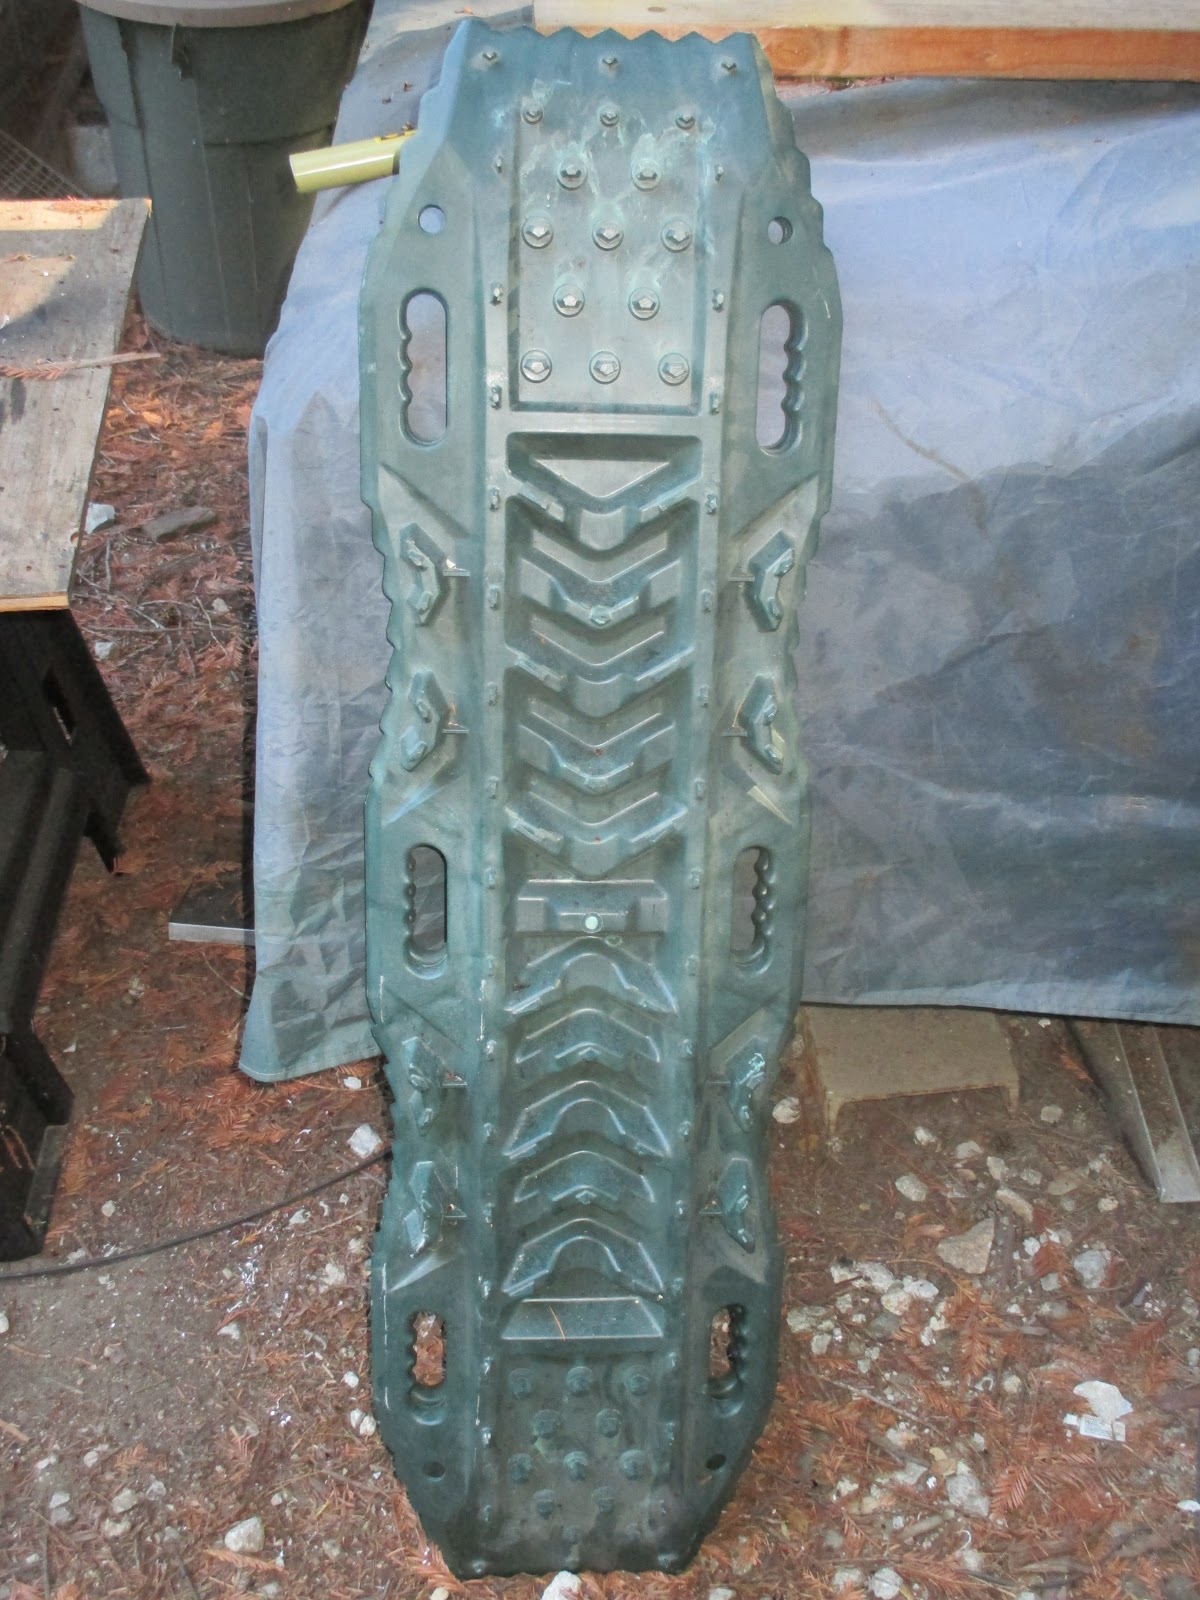
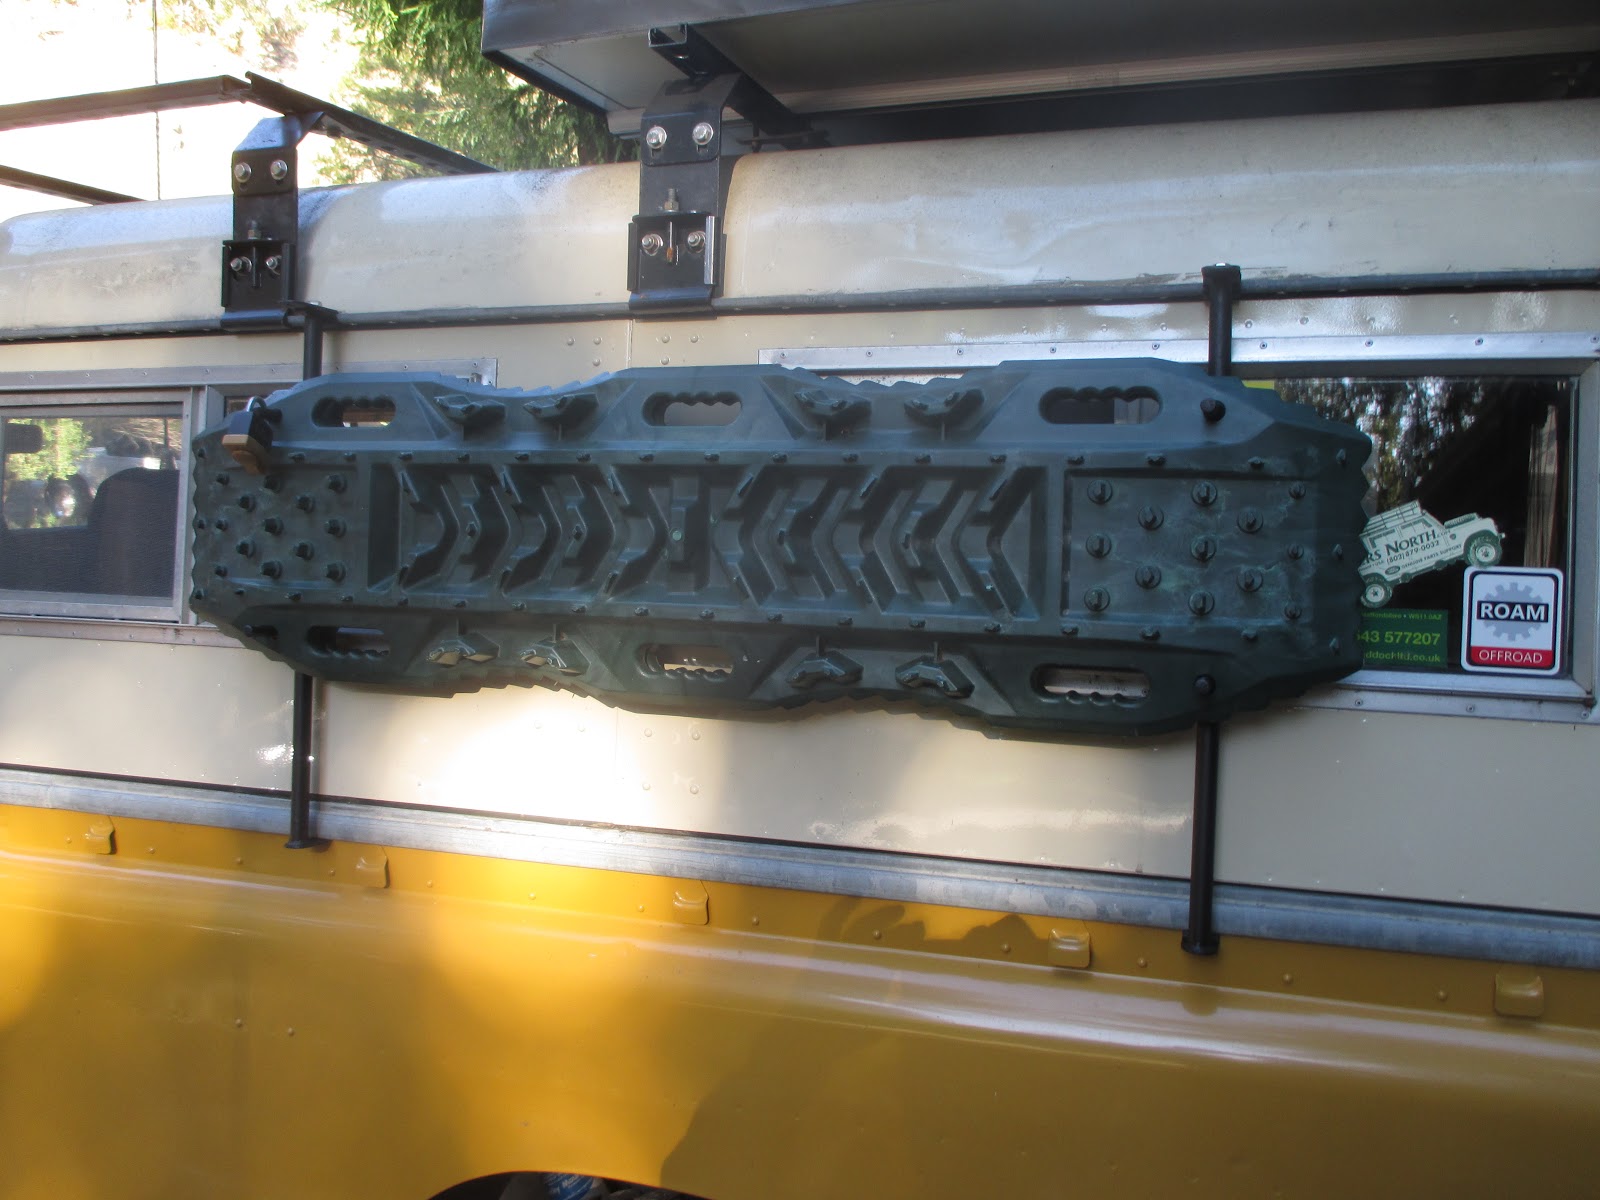
Here is how I packed;


And at the Bixby Bridge built in 1932 had lunch. The Bixby Bridge was part of the effort to open Big Sur to the rest of California. Residents of Big Sur were "rained in" during the winters due to the dirt road single lane access. You can read about the bridge here; https://en.wikipedia.org/wiki/Bixby_Creek_Bridge


It was that single lane dirt road I was after and is pictured above at the start. After lunch I headed off up the road. It is really scenic.


It goes into some deep canyons where the lower extent of the redwood forest grows. Here there are old growth groves with 1000 year old trees.


Eventually you come along a ridge next to Pico Blanco on the left


and the Pacific on the right.


Eventually one comes into sight of Point Sur it's self. The lightstation is located on a large volcanic rock some 300' above the ocean. See; https://en.wikipedia.org/wiki/Point_Sur_State_Historic_Park


Built in 1889 because the point was a large hazard to navigation. As a side note IIRC there are 7 or 9 of these large volcanic rocks along the coast, one of the other ones is Morro Rock.


As one come to the end of the Old Coast Road you get a view of Big Sur Canyon before dropping back onto Hwy 1 above Andrew Molera State Park.


Now there is a big long hill going up out of Big Sur Canyon headed south. It is 2 miles long and maybe climbs 700'. I had to go to third gear to get up it doing 35mph. Eventually after driving some 55 miles south of Monterey past the town of Lucia I turned onto Niacimento-Fergusson Road. Here I could see North to Lopez Point and South to Plaskett Rock.


While Hwy 1 wound its way below me.


Ignouts chugged it's way up N-F Rd from sea level to 3500' mostly in second and third gear over the 6 mile climb. At the top it was back to dirt on the Old Coast Trail.


There was a handfull of vehicles parked at some of the campsites within the first half mile, but I was headed deeper. Six miles deeper as a matter of fact!


Prewitt Camp some 2500' above the blue Pacific. The pic above shows Sand Dollar Beach and Plaskett Rock. The unimproved camp was empty which I expected since it was a weekday and the weather had been cold. The are no toilets, no water, and due to the drought no campfires. My camp was a little from the edge and blocked the wind some.


I got a great sunset that night and then the wind picked up. It seemed to blow for around 3 hours. I think the air mass was trying to balance out air pressure between the Central Valley and the Pacific Coast.


It was cold so I went in the tent around 5:30. Alas, I slept fitfully because my sleeping bag was too warm having brought my 10F bag. Waking to more wind for another 3 hours around 6am I got up and fixed a breakfast of oatmeal and coffee/hot cocoa. Man my Kelly Kettle worked great in that wind! I have learned that I can make a fire starter out of an egg carton. Take an old sock and cut up strips and roll them to fit the bottom of the egg cartons hollow. Pour in melted wax and let harden. I store mine in a ziplock bag and just tear off a chamber when I want to start a fire. I put one in the fire chamber of the Kelly Kettle put the kettle on top and light it then drop a few sticks on top and it rips! Boiling water in a minute or so.

In the morning I walked around the empty campgrounds, looking at different views and wether or not I would want to camp at them. Which one was better for astronomy, better wind blocking, better isolation, etc...  Here are some sights from the area;


I noticed several of the oak trees had randomly grown ^^^ around some of the limestone they touched.

Plaskett Ridge and Lopez Point


An oak tree lost this huge branch about 2.5' across and 10' long


Another oak


A look at the back of my camp


I was able to take in the view and do some reading the rest of the day. The second sunset brought no winds so I was able to stay out until around 7pm when I went into the tent and read until around 10. Stranger in a Strange Land by Heinlein. Great book if you have never read it.


Then the battery in my camera died.......

I woke up the next day and took my time getting packed and cooking another oatmeal and coffee breakfast with the Kettle. I left around 0900 and worked my way back along Old Coast Trail and N-F Rd. All but 1 of the campers were gone near the paved road. Ignotus went down the road in third gear using the footbrake spareingly. I knew I wouldn't have cell service until Carmel so I didn't even bother to check. 

It is 55 miles to Monterey and the entire way back I never had a car come up from behind to try to pass. Remarkable. I did take the Old Coast Road back as I hadn't traveled that direction before. I think I actually prefer it. As I approached Carmel I saw the rainclouds coming in and when I parked at Safeway for lunch it started to rain.
   A quick sandwich and a call to my daughter to let her know I was OK then it was dive into the traffic and head home an hour or so away in the rain. There was an inch of rain in my gauge and it had been raining there all day.

Some quick gps facts; 246.82 total miles,   8h 2min moving time, moving average 30.6mph (all the dirt roads were 15mph of under) overall avg speed 20.4mph, max elevation 3446' total elevation 20,231'

If you go there, Please, please, please either take a portable toilet(I used a bucket lined with plastic bags) or dig a latrine. Too many city folk seem to just be doing their business in the bushes and leaving the TP EVERYWHERE!  Gross..............

Friday, November 20, 2015

Yikes!! Update

Well, I purchased the studs from Timm Cooper, regular Series 3 studs, part #576825 made in Great Britain and are 10.9 grade steel. They came in last night's post so today I got up and swapped them out.

I had to remove the halfshaft which I did by removing the flange and pulling the whole thing out. Then with the lug nuts loose I jacked up the corner and put a jackstand under it. Next off was the wheel and then the brake caliper which was tied up and away.


Quickly I undid the lock nuts for the hub and removed them and the lockwasher allowing for the hub to slide off. Popping it in the vise I was able to undo the bolts attaching the brake disc to the hub.

At this point I futilely tried to remove a stud with my vise but we weren't up to the task. So it was off to the auto shop where it cost me $3 a stud to get them R&R'd. But the job was done!

So coming home I reinstalled the disc, hub to axle and caliper to disc. Adjusted the wheel bearing and temporarily put on my spare wheel.


Everything laid out;


Used a new lock washer;


The old studs;


Spare on but still jacked up;


So after cleaning up I called the rim supplier and they do not have an idea of when the new run will be made other than it better be this year!. Oh, well that will give me time to get new lug nuts...........

Have a nice Thanksgiving!

Friday, November 13, 2015

Sand Ladders

     I've been keeping an eye out on Craigslist for some sand ladders/mats. Earlier this Spring I found some of the plastic ones from Smittybuilt, a score(to me!) for $50 and a short drive to pick them up. They came with a black canvas carry bag too! I don't want them in the 109 taking up valuable space though so I figured I'd throw them up on the roof rack.


     Then this Summer I found some of the old aluminum ones like they used in Viet Nam to make airfields. Another deal, $75! These are 48" long and don't fit too well up on the rack and my 109 is so tall I'd have trouble getting them off without going up on the bonnet.


    So I started dreaming and looking at how other ladder/mat mounts were made and attached. I was also informed that the ladders once locked on will prevent entry into the windows if placed right. So one night as I was going to sleep it hit me what to do.

    By now you should know I'm a fan of KISS(Keep It Simple Stupid), what could be simpler than a mount where holes were drilled in the roof sides and flat bar used to stand off the ladders with round rod used to support the ladders and the ends bolted to the roof side.


   So I made a pair of them and put them together and set the holes up for the ladders and drilled them;


  But YUKK! I am loath to drill holes in the body if I don't have to.  Had to dream up something else.


    What I wanted was something which would clamp to the raingutter and hold to the tub. Maybe rivenuts? No, more holes.....  Having removed the paint and doing the whole rebuild I had intimate knowledge of the construction of the tub capping and fitment. I knew there was a gap between the capping and the tub side. Once I realized that I could take advantage of that gap as a holding point I set about planning a turnbuckle type of set up to clamp between the raingutter and the capping. Too costly and complicated so I scrapped that idea.

    I do my creative thinking just before I go to sleep, usually I don't remember that great idea in the morning and try to write things down before sleep. I tried to make a clamp out of flat bar stock but getting the tension between the top and bottom was way more difficult than I thought. I still needed some kind of turnbuckle thingy to get it right.

     The next night; WHAM! It hit me I can use a hook at the bottom connected to a rod with threads at the top and if it is the right length it will hold the tension keeping it in place. Simples!

    So using some stuff I had laying about I set about to build a prototype. 3/4 tube, 1/8" flat bar, 1/2" rod. Then it was a couple of hours heating and bending, drilling and welding, fitting and grinding.


 I welded a nut in the tube at both ends to center the tube and hold it tight. The tube is welded to the bottom clamp;


Here is a pic of the prototype;


I had to center the holes for the rod to hold the ladder off the predrilled holes for the flat bar mount.


Yeah, It worked! So then to make 3 more........Starting with obtaining more tubing and flat stock and cutting;


And bending;


Drilling and filing and tack welding;


After they were all made;


I got another idea,,,,,,,,,,,,,I wanted a lower part to the top clamp which will fit under the raingutter and hold the mount even better and hopefully foil theft attempts.

This required a "Z" type bend with small size and close tolerances beyond my home hammer and heat skilz. I had taken the mounts to my welder(cause he does a prettier job) so I took my new idea down and explained it to him. Since he has a sheet brake he is going to make them for me and weld them all together.

He was so busy that I wound up making the bottom raingutter clamp myself.


 It took some figuring out and even the welder was impressed when I took them down for the final welding. I wanted him to do it cause my welds look like.............

So after 2 weeks waiting I got them back and  cleaned up the welding debris and re rust treatmented them and then coating them with good  ol" Duplicolor spray on truck bed liner I put them on.


You can see from the pics that they will provide fair coverage from breaking and entering.

Here's a look at the top of the clamp, using 3/8-24 stainless bolts, inside are welded grade 8 nuts.


And how they are installed on the passenger side for the aluminum ladders(?). Don't know why they are called ladders......


They went on pretty easy using a tape measure. I wanted them centered in the panel/windows but the roof rack clamps got in the way so they are a little off.


Yes, I know I need more locks.

 A couple of things to think about;
1) The top brackets have an extra length with a hole drilled in them for tying, clamping something on them like maybe a tarp.
2) On the bottom I have a 3/8-24 bolt in just incase I want to attach something there, who knows what, just options.
3) I need some foam or springs on the inside to push the ladders and keep them from rattling.
4) Look at the top lock, I don't like it upside down the top hole needs to be horizontal not vertical because the rib in the ladder gets in the way of closing the lock. Not an issue with the plastic mats.