Monday, January 27, 2014

Land Rover crankshaft bolt fixed! 19J

    OOOhhh, I feel so stupid and embarassed..............

I knew the new woodruff key was coming in today so this morning I went out and got ready for the new one. I pulled off the belts and the pulley and removed the damper. But I could see no keyway cut in the crankshaft. This could only mean one thing I had the type of crankshaft that used 2 slot cut, 1 for each key. And I had them both in place already.  All that worry and not driving for nothing.........

But I did take pictures!


This shows the key in position behind the seal.

The damper is replaced.


The homemade wrench put on.


    The bolt made hand tight.
Socket on the bolt.


The breaker bar put on. Here I put my foot on the handle and pressed as hard as I could 3 times until it stopped moving. I used my hands on the spring to gain some leverage. I frelling hope it is tight enough!


Then the pulley was replaced and the waterpump/alternator belt installed and tensioned.


Lastly the power steering belt was installed and tensioned. Then I started it up and made sure it was all working OK!

Fingers crossed!

Thursday, January 23, 2014

109 land rover- cot support, reciever step

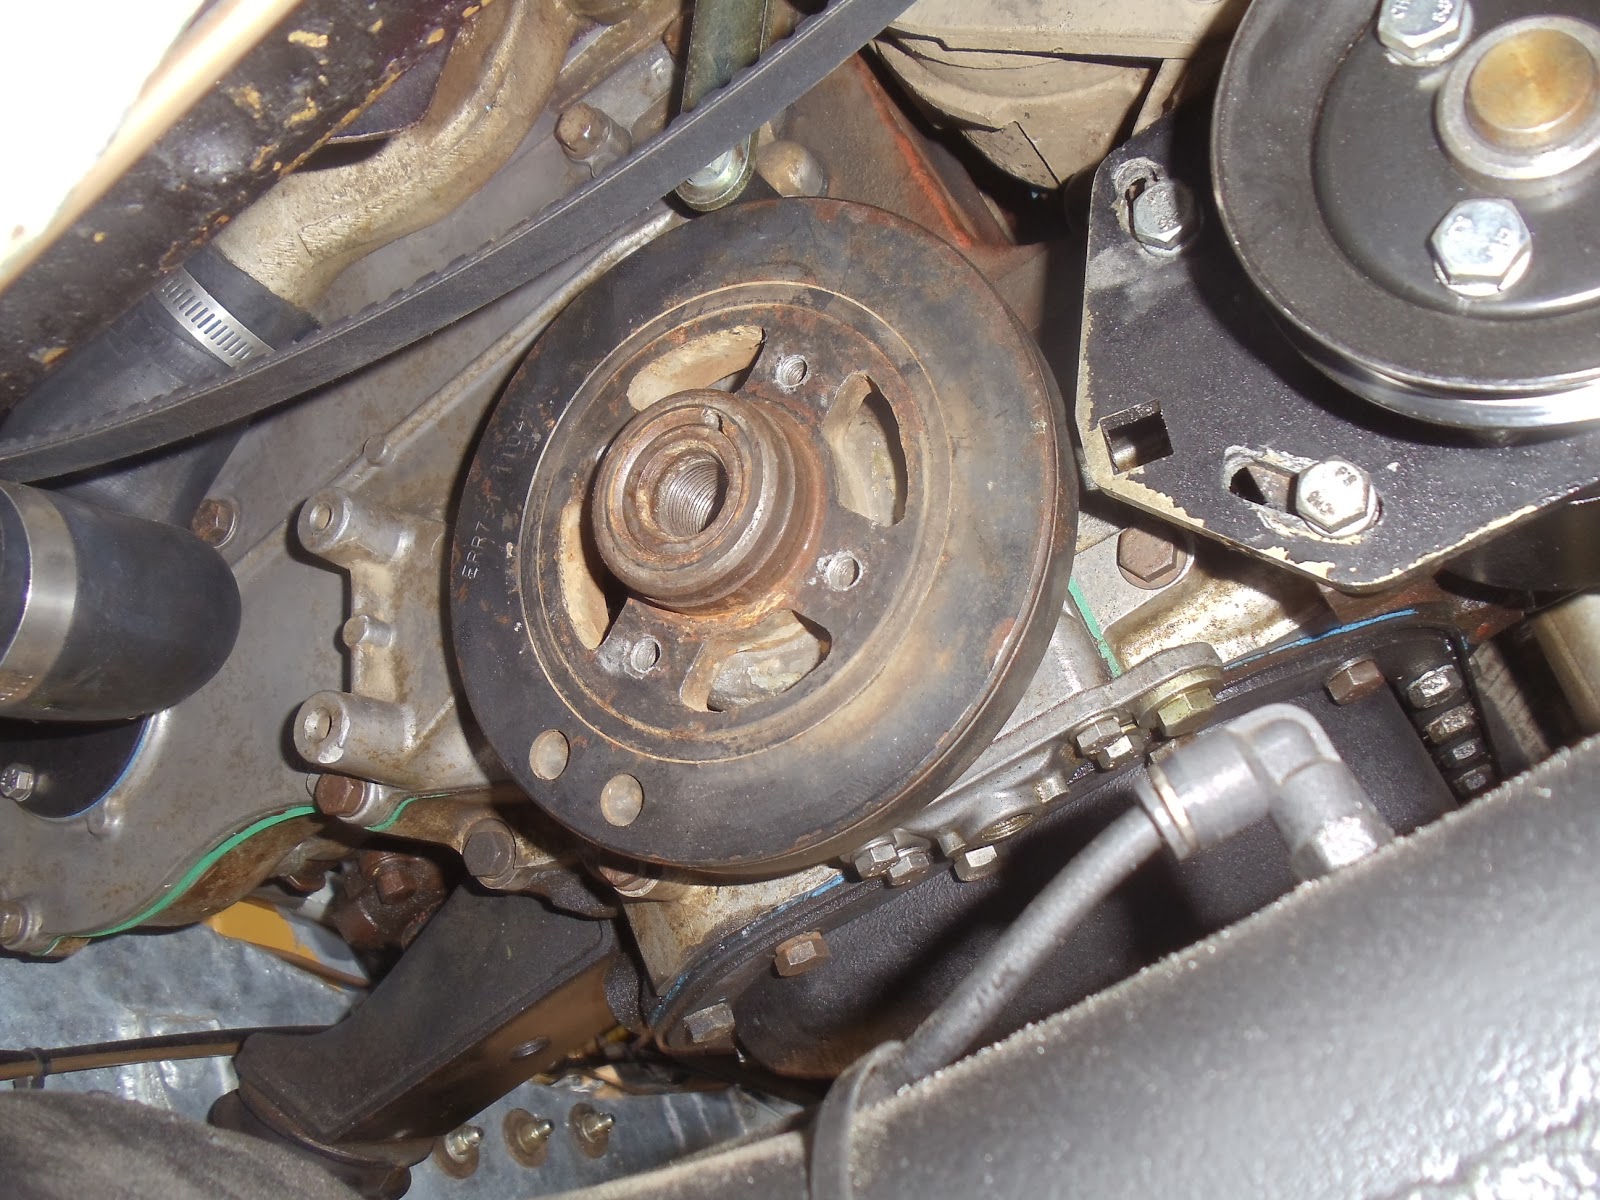
   Ok, first thing is as I was putting the damper and pulley back on I was thinking about how poorly it was catching on the key to the timing gear on the crankshaft. But I put it back together, mainly because I didn't realize thet the damper woodruff key was also missing.
     That night I realized it and haven't driven it, the new key is on the way. I was thinking that the timing gear key has migrated out and if I lose that then things really go bad!
     As I was tensioning the alternator I found the adjusting link bolt hole threads had stripped out. So I had to remove the alt, no easy task, drill and tap the hole, remove the adjusting link and file out the slot then put it all back in. What a PIA(pain in the ass!)!

    Anywhoo, While I'm waiting on parts I solidified a design in my head for my cot support. I had some 2" exhaust tubing laying around and combined with some 1/2" rod, Viola! I cut 3--1" pieces out of the tubing and using the measurements from doing my wooden prototypes I cut the rod and welded one of them with a piece at both ends, This would be the spreader bar. On the other rod was welded 1 piece of the tubing and at the other end I made a 5" circle of 22ga flat sheet. The rod was welded to the circle at the correct length. I went with circles as opposed to "U" shapes to keep the rods in position should I be driving with the cot in the open position. If things bounce around the bits should stay on.


   Another thing I have been toying/struggling with is the large step up from the ground to the step mounted on the crossmember. With the parabolics and uneven ground it is 38" from the ground to the tub floor. That is a big step! Even with the folding step it is 28" from the ground, more doable but still a big step. So I got some 2" square tubing and  cut a 45 degree at 6" from one end. flipping the cut ends together made a  90. The 2 45's were welded together and one end was made 12" in length. To this end I welded a piece of 3/16" that I cut out for a step shape.
    I put the 6' end in my reciever and marked the hole position for a securing bolt. At the same time I marked another set of holes to put the step in a stowed sideways position. These were all drilled out at the same time. Next time I'd drill the holes prior to welding......I would also like to put on a folding step like on the crossmember, maybe later. The step was painted yellow cause I know while moving around it it will be a shin knocker!!!


    May not be the prettiest set up but it works. A 11/16" bolt was procured and I cut off the threads and drilled a hole for the hitch pin so the step can be secure. Now the distance from ground to crossmember has been halved. It is a little unwieldy getting out due to stepping around/over the square tubing but I can deal with that!

I updated the cot set up;   https://poppageno.blogspot.com/2016/07/109-cot-update.html

I've also changed out the fixed receiver step for one of the folding ones seen next to it. Mo betta!

https://poppageno.blogspot.com/2018/05/receiver-hitch-on-series-land-rover.html

Saturday, January 18, 2014

Land Rover crankshaft bolt +tiedowns

    Well Trevor at Rovah Farm got the replacemant crankshaft bolt to me. As of yet I had no crankshaft damper wrench. Earlier I had made a cardboard template for my idea of a wrench. I bought a piece of 3/16" x 18" flat steel. These were taken to the welder and the steel cut to shape. Once that was done(the day after the part came in) I picked it up and brought it home. There I drilled 4 holes for 1/2" rod to go thru. These lined up with the holes in the damper. In the center of the big end I drilled a 2 1/16" hole to fit the boss on the damper the crankshaft fits in.
    The 1/2" rod bits are 3/4" long and were welded in place, after trial fitting. Unfortunatly I took no pics as I was concentrating on getting my Rover running.
    When the tool was cool from welding, I got all the bits together and crawled under the front of the 109. The damper was put inplace on the key and the wrench braced against the diff. I screwed in the bolt by hand as far as possible then used the socket and breakerbar. I tightened it up as far as I could then hooked my legs on the outside of the wheel and pulled on the breakerbar with all my might, it turned another quarter inch and then stopped. So I did it again and it moved fractionally. On the third pull it didn't budge. The book says 200ft-lbs, I figure I'm around there...........

     Here are pics of my wrench;


I installed some tiedown loops in the back of the 109 tub. They are just generic loops rated to 300#. I wanted to fit them for better access and ease when packing. To me they fitted better when I bent the one end and fit them on the angle side of the capping. I used 1/4-20 rivnuts to secure the brackets to the capping. Here's the pics;


Thursday, January 9, 2014

Rover 109 crankshaft and cot

OUCH!  I took a look at some things on my 109 today. One of which was the crankshaft pulley. At first I attempted to just knock it back on the shaft. After a few taps I realized that it was not on the key. ;^(   So I removed the belts and then I could turn the damper/pulley by hand and I knew it wasn't on the key, I could however still feel the key so all was not lost.
     First I tried to remove the damper and pulley but the pulley hit the bottom of the radiator and wouldn't come off. So I removed the bolts holding the pulley to the damper and it all came off. Once the damper was off I could see both the damper and the crankshaft were scored due to the damper spinning on the shaft. I think I was lucky to find this before the damper came off and did some real damage banging around on the radiator!


     Since the damage is confined to the damper and the end of the crankshaft I think I'll be OK just putting it back together as it won't affect the timing at all.  Everything is cleaned up and ready for when the bolt shows up to go back together.

I also took the dash off to investigate the YN wire I had hooked to the glowplugs following the cam rebuild. It went behind the dash and to nothing. The terminal however was bare and touching the painted surface of the bulkhead. I don't know if this was a power drain or not when energizing the hotplugs.... So I taped up the behind the dash terminal so I would know it was not in use and then did the same to the under the bonnet terminal, plus I zip tied it out of the way so I wouldn't get confused by it again!

Also on today's agenda was replacing the vent operating control. I had found a good one in my parts pile and after some fly screen removal I was able to finagle the old one off and put on the new. Then I couldn't get the vent all the way closed! I puttered around outside until a nice gal came by and asked her for some help. I pushed on the vent while she pulled the knob. But no go??? I thanked her and away she went. I struggled with it again by myself, eventually I resorted to a screwdriver in the slot the knob uses and pried the knob down until the vent closed. New seals are nice but what a pain in the ass!

     A few days ago I worked on changing out my too wide cot for a narrower one. Once again luck swung my way as the new cot could use the same poles as the old one! The poles were strung and the new location marked for the seat bulkhead and holes drilled and rivenuts installed and the orginal support moved over. Then it was what do I do about the door end? Turns out the pole lined up with my latch for the table so I couldn't very easily put it there. A good thing as it forced me to look more into a support I could do while the door was open.
     So using a 2x4 I made a spreader bar for the poles by drilling 2, 1.5" holes 22.125" apart(edge to edge), and cutting the holes thru the middle to make half holes at each end. Next the front support was measured to the floor and I drilled a 1.5" hole in another 2x6 and cut it to length and halved the hole. these were put into place and tested to 400+lbs. I want to make something easy and simple and elegant for the final version but at least now I know what works.


109 19J motor

     I like the 19J motors performance upgrade it's given my 109 over the 2.25's I've driven in the past. It feels peppier than them. I'd put it up there with the Chevy 235 in my last 109, but not as quiet.
    I have however been learning how to start it up. My first procedure was to go out and run the glow plugs then crank it over. The cranking took a long time to fire it up with clouds of white smoke. So I increased the glow plug on time, with the same results. It always started though.
    So I got to thinking that perhaps the glowplugs are not working. When I installed the motor I had it all working I thought. Then I had to do all that cam replacement work. Did I get it all back OK? So I went to check.  It seems that I had hooked up and extra wire to the glowplug that goes into the dash but I don't know to what, yet. I also moved the power wire from the #4 glow plug, ala series wiring and moved it to #3 hot plug as I have seen in some online pics for parallel wiring.
    When started up cold and using the "new" wiring it seemed to start quicker and with less time on the hot plugs. Whilst poking around while it was running I decided that I needed to move the hose clamps on my lower radiator hose.
    This has been slowly dripping ever since the cam work. It looked like the top clamp wasn't all the way on the waterpump fitting and causing the drip. So I shut off the motor and moved the clamps. Then restarted it. While I was checking for the leak I noticed that my crankshaft bolt was missing!
    The crankshaft bolt holds the pulley on the front of the carnkshaft, somehow somewhere it fell off and I have no spare. I remember tightening it up after putting on the pulley. Must not have been tight enough, the book calls for 192 to 206ft-lbs. My torque wrench only goes up to 150 so I set it to that and gave it all I had, must have not eaten my Wheaties that day........
    Ordered another one from Rovah Farm. Never seems to end sometimes. My bolt is the big headed style part #ETC7934.
    Once I get that I will get back to driving it. It is getting around 20mpg as a daily driver.

   Even though it has been in the 30-40F range around here I haven't found the need to use the heater other than demisting the windscreen. It gets downright hot in the footwell! Not boding well for Summertime driving...  Part of the issue is the way the heater air intake hose is routed. Just to the side of the radiator support panel is the intake so air is pushed in by the forward motion thru the heater core and into the cab where it is aimed directly ahead of my knees. So the air flow hits my door and heats up my left knee first! I figured out my air flow gates were partially open and closed them better and this helped by deflecting the hot air up to the demisters. I think I will have to put in a valve on my heater water lines to keep the heater core cold.