
When we last left out intrepid hero fabricator it was late afternoon on 21 May 2020 he was in the process of bending up an arc for his propane mount.

This was then deemed too short and another made......then welded into place. Ahh such is prototyping.....

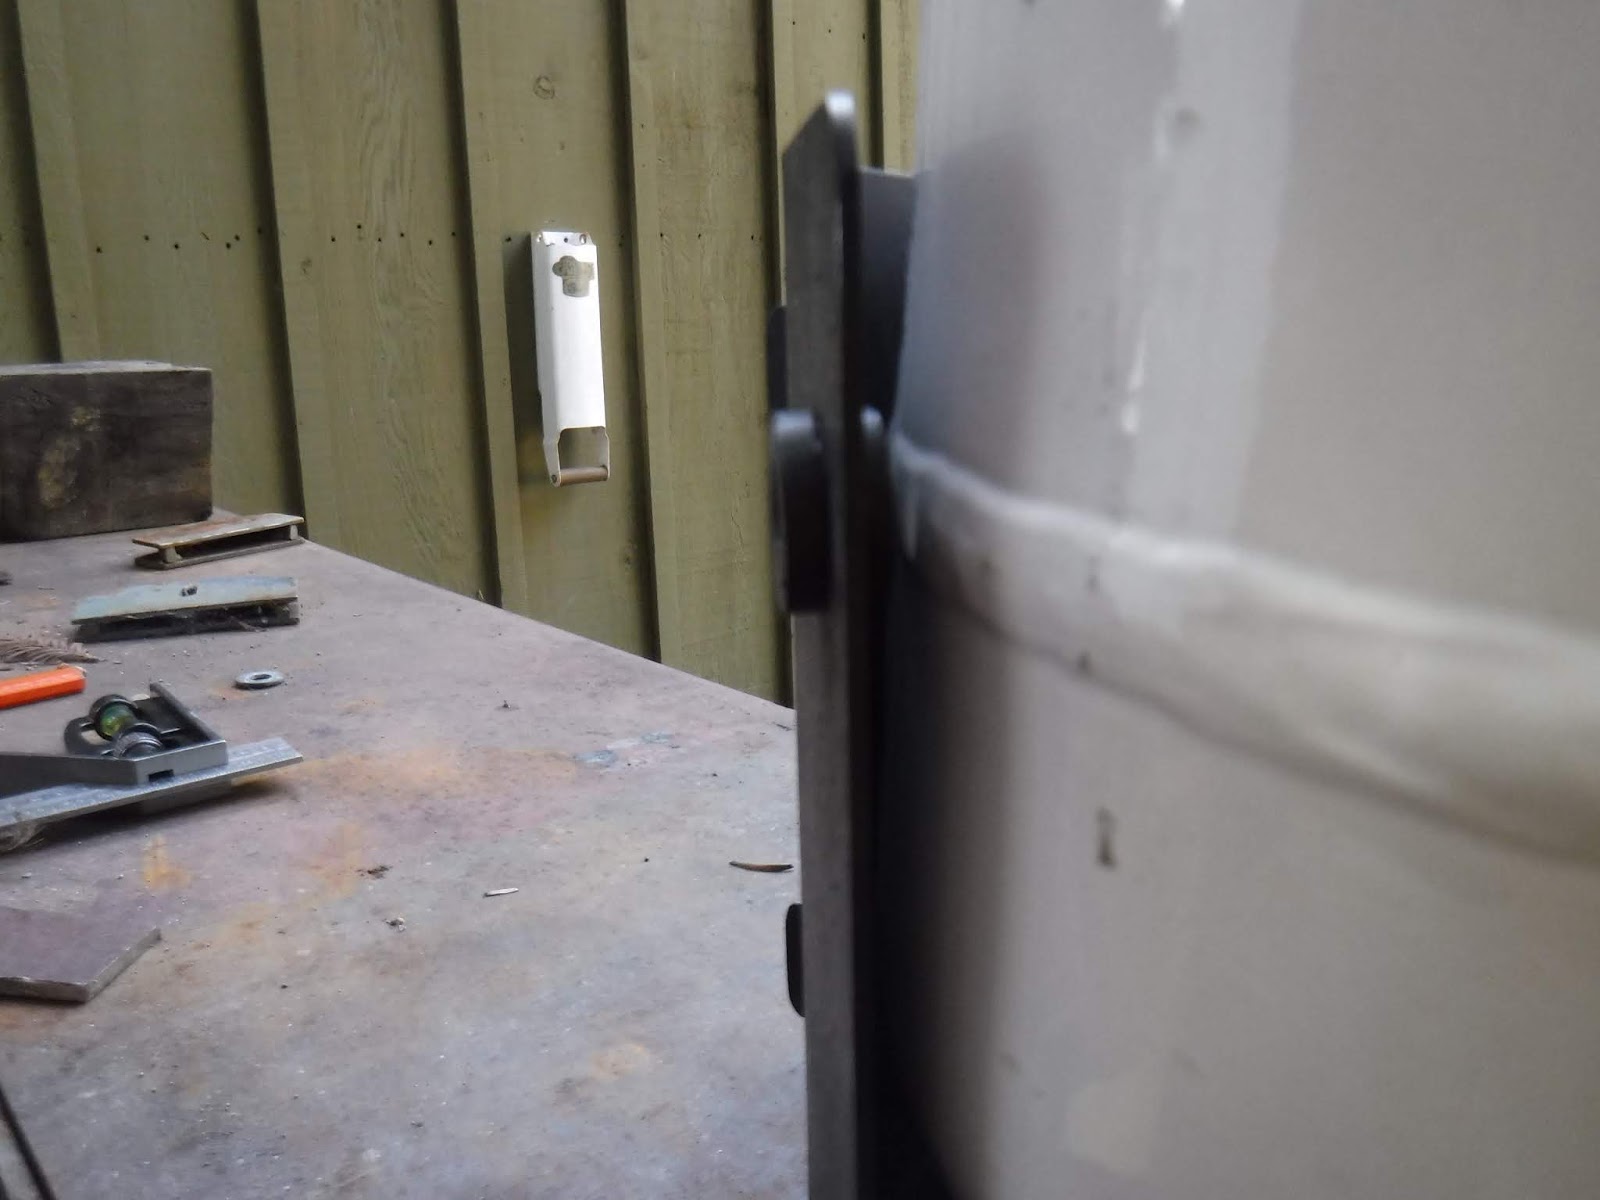
Here is how the tank sits in the mount;

I had to clean up the looks of the mount and remove the dangerous sharp corners so I scribed an arc in the bottom.

And using my angle grinder and belt sander on my belt/disc sander made a passable looking shape.

How it will sit under the tank;

Time came to drill the holes in the strut for the mount. I had only put 3/32" holes in the brackets as I had them all matched up and drilled at the same time, I also marked and bent then all the same. You can see the mark on the strut for where the base of the mount was to go. Well I didn't realize it but I had the mount in the wrong position and drilled the holes too low.

As evening descended I finished off by painting every thing a loverly shade of flat black.

22 May 2020
Alright the paint was dry, now I needed some vibration dampers and wear prevention. Looking around I have this box of grommets and I got the thickest ones and drilled holes in the mount right at the weld line of the tank, and put in the grommets these happen to be 5/8" holes.

grommeted;

Now I needed to have some sort of restraining system, again thinking of some sort of big hose clamp kinda thing that would be lockable. Here is how the mount now looked on the 109;

I also decided to add some anti vibration to the base arc. You can also see the grommet I put in the strut to keep it from vibrating on the tub capping.

My neighbor John came over and noticed it was too low and would not clear the tire as intended. You can see that the tank would now hit the tire if it was in the bracket. I am stumped as to how this happened. It was an easy fix though, by moving the bottom bolt up to the top hole I could re-drill the top hole. This put my bracket about an inch, inch and a half higher.


After all that I still needed some kind or restraining set up for the top.
Noticing that the tank top had some holes drilled in it got me to thinking( I know, dangerous!) what if I could make some sort of clamp that could latch through the hole? No, no can't figure anything out. How about if I just run a bolt through the hole? That might work!
I found a piece of 1/4" plate I had and shaped it to fit the inside of the strut. In the middle I drilled a hole, at first I was going for a 5/16's bolt size but because I didn't have any long enough I obtained a 3/8's bolt from John and drilled to fit that. I also had to sand down the thickness of the bolt head to get it and the 1/4" block to fit in the strut. And here is where a couple of thing popped up to bite me. The first was the block was too wide and needed more sanding to fit more than 2 inches up the strut, second; where I welded the strut together on the inside,,,,I had to use my dremel tool to grind off the weld so the block would pass, on the sides as well as the bottom and it took multiple tries. Eventually I got it to slide easily the full length of the strut.
Then I re-assembled the mount with the bolt above it to test fit my fine design!

That is when I discovered the 1/4" block I had made was too large and wouldn't let the bolt travel far enough up the strut to line up with the hole in the tank handle by about a quarter of an inch.........

Disappointed and at the end of the day and my will to persevere I called it quits.
23 May 2020
Bright eyed and full of Columbian dark roast I hit it in the morning. Once again taking off the bottom strut nut, taking both bolts out of the mount and sliding the top bolt down...damn what now! Oh, forgot to remove the center grommet in the strut, I got the bolt out.
Put it in the vise and used a cut-off wheel to remove 1/4 inch from the top and bottom. That heated it up so the paint dried quickly and I put it all back together. This time the bolt lined up!


What I would do differently, use a 1/2-5/8" for the top c clamp out of heavier material, use a 1 piece strut so I won't worry about the weld failing. I will probably get a section next time I go to Home Depot at 20 miles it's the closest place. Around $20 for 10 feet.
It's been one day and the tank is not filled, I did start the 109 and check for vibration and it is no worse than anything else and makes no noise.
24 May 2020
Cripes! I went out this morning and took the tank off, That is when I realized the bolt would just jiggle around making noise when at idle or driving without a tank on. POO! What to do? At first I thought, slide some rubber hose over the bolt! Easy peasy! Done! But wait, there's more! It wasn't the bolt so much making the noise as the steel block in the strut I welded the bolt to! Rattle, rattle, rattle........hummmmmmmmm. Thinking cap is on.........................

IDEA! Bolt the top mount to the support when not in use! hmmmmm, no th bolt is too long, not enough threads. I needed a tube or something to tension the nut against the strut.
IDEA #2, How about spring pressure? That could work.
I marked a 3/8" circle(size of the bolt) under the bolt on the support.

Then it was step drilled and dremeled out to fit

I had a stainless steel spring laying about that fit the bill nicely, so with a thick square washer in the back and the nut on the front. Viola! One less rattle!

And the spring stays on the bolt when the tank is mounted, a +.
8 June 2020 Update;
I went grocery shopping this morning and when I got back to Fluffy I opened the rear door and went to put in the strut in place, only to find that it didn't fit it was too long,? WTF?? Investigating further showed the door wasn't opening as far as before. The spare tire was hitting the new propane strut.......poop!

So I spent an hour and a half cutting the door strut down and re-welding it to fit.

Now the tire doesn't hit.

Then I had to move the door clamp for the strut, since it was now shorter.

All done------I hope......


