
How hard could that be?
First I had to find the center of my spot on the roof and using the vent I made a thick paper template of the ID and OD with rivet holes. I taped this on the roof and traced out the outlines and holes in pencil.

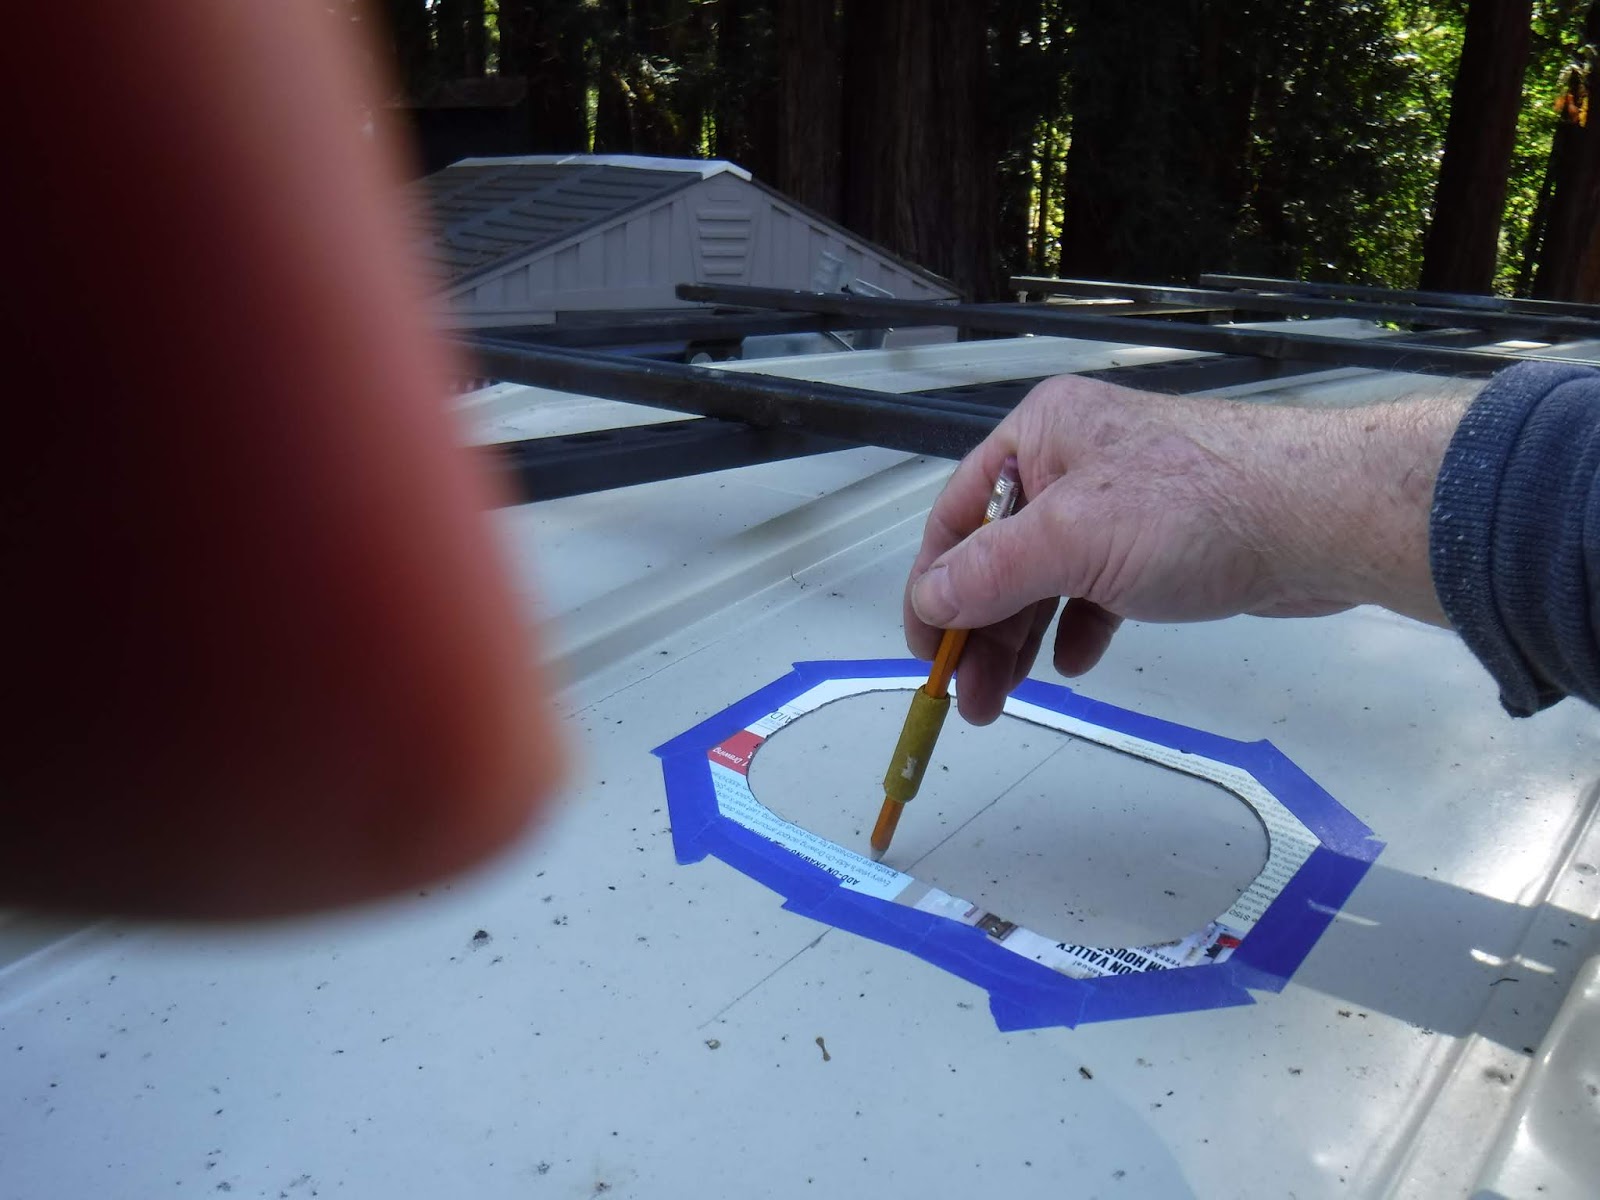
Then it rained....I hadn't taken the template off as I was undecided whether or not to have the vent open to the front(ram air) or rear(suck air). I finally decided that I would do the rear opening so that bees and such would not get blown in under speed since I do not have a sun shade over the vent. After the rain everything was OK.
So I gathered my tools as well as I could not wanting to go up and down too much on the bonnet.

Then I center punched the side holes and step drilled them out to 3/16", these would be my go-to alignment pins for all my locating. I used the grinder to make the straight cuts and tried to finish the curved cuts with my jigsaw. But the lining under the roof inside kept bunching up not allowing the forward progress of the blade.


So I resorted to my Dremel tool and a cut-off blade to finish up the cuts.


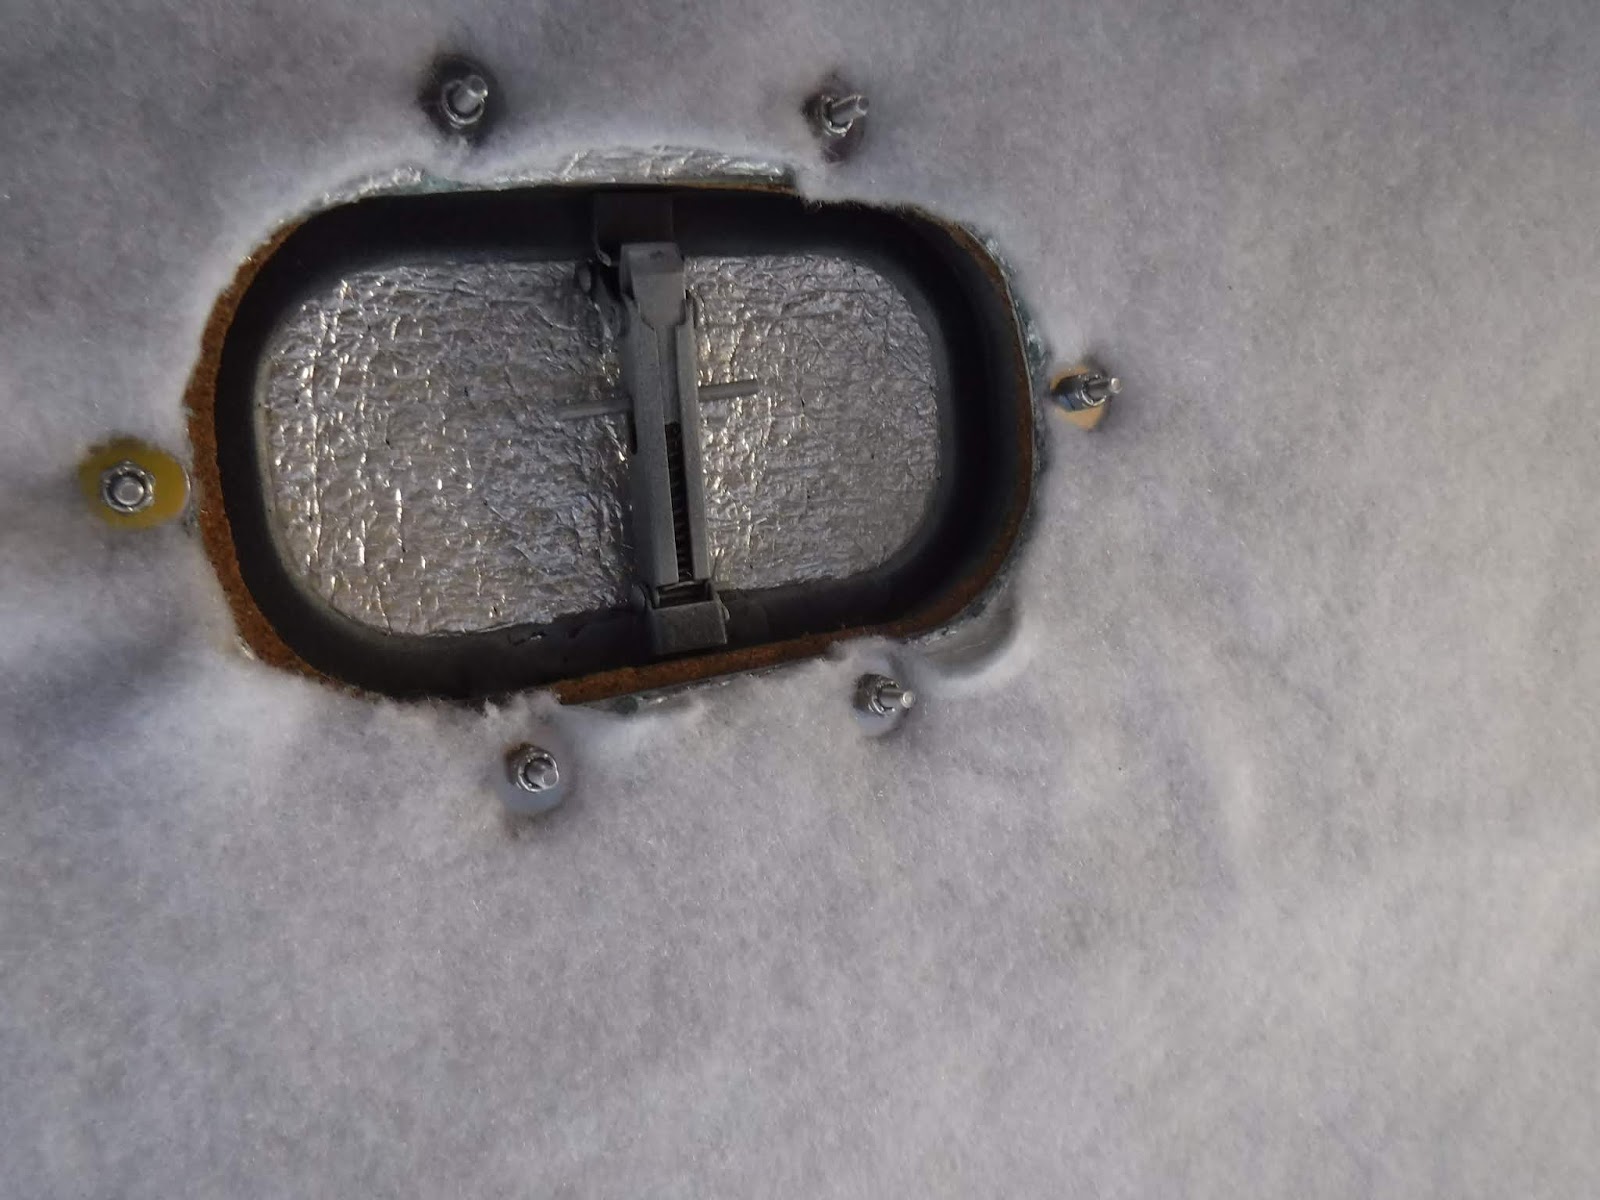
Some quick work with my pocket knife on the liner and Viola! an opening!

The cutting out left a very jagged hole and I used files and a rotary sanding thingie(technical term) on my Dremel tool to smooth it all out and deburr the edges.

O boy, now came the test fitting and drilling out the rest of the mounting holes. I had decided to bolt it in, so I could change it if I wanted to reverse the vent, All my holes were 3/16" and I bought #10 x 32 x 1" socket head(antitheft) bolts and nuts in stainless. I also bought some fender washers to fit to the inside as I did not have a trim ring. I paid for 6 finish washers but somehow only 2 made it into the bag......
Drilling the holes did not go smoothly and I came up with 1 slightly off-centered hole that I had to enlarge. I put on the vent and the fender washers, but that looked like shiite!


Even after I trimmed up the liner.
Yuk! Now I needed a trim ring.......
Using my template I marked out a piece of alli I had laying about, Cut out the OD and added .250" to the ID drilled the mounting holes, and cut that out.

Putting my ballpeen hammer to the ID I bent over the inner .250"(should have gone with .500") along the straight section and then remembered my lip bending tool and bent the curved section with it.

It was then test fitted and the holes changed slightly to make it fit the bolt pattern, then painted flat black(my motif) and installed.


I have to get some more finish washers and smaller washers for the inside trim and cut off the excess bolts for it to be as I want it.
Here are open pics;


I sure hope it doesn't leak..................
later today I was able to go to the hardware store and pick up some new fittings. This time I went with some tapered socket screws and finish washers for the exterior. On the inside I got some smaller flat washers. The screws were still too long so I wound up cutting them off with the Dremel and a cutoff wheel and grinding wheel to smooth them out. This left debris in the liner and it would not vacuum out so I might have to do some careful trimming.

the exterior;

Update; 17 Nov 2019
The lid kept falling down and would vibrate and make a racket just above my head, most annoying at idle. In Nevada I stuck a bit of foam on it and that worked, but I wiped it off the next day. So something else had to be devised.
I thought lots and came up with a bit of flat stainless banding clamp that I drilled and shaped into a lifting aid.


Works, no more noise!