
The wood that I used for an adapter for the roof was falling apart under the rain and the sun despite it being exterior grade plywood and having clear coat and truck bed liner sprayed on it. I was surprised by how quickly the liner stuff came off.
The lift/support system I built wasn't steady or easy to use. So I scrapped all of it except the roof.

In the past I had an 88 tub trailer that I think got towed to Belize after I sold it. It had the roof and roof sides and a rear door. I did not want one that tall again for lots of reasons.
Now in my shed I had a set of roof sides with the fixed windows and I had not decided if I want to sell them or not so I figured now was the time to use them myself. But I did not want the windows...
So I cut along the dotted line of the top and bottom of the window opening splitting the side into 3 sections, top, middle and bottom. The middle I discarded into my junk pile. The other 2 I laid out to see what was needed to fit them together. I didn't take any pics of this process.
Since the roof is narrower than the body the roof sides taper up. Well I forgot this.....and my first attempt of marrying up the 2 parts to the roof failed. Luckily I was only trial fitting things and had not done any serious work or damaged any parts. I wound up with about a 3/4" gap in the rear of the seam tapering up to being a match in about 36" from the back. For me the key was keeping the rear door opening even top and bottom.
This led me to figure that I needed a 4"W x 58"(?)L 18ga strip on both sides to make the seam weather resistant and strong enough should I put some sort of load on the roof. I got these from a local plumbing A/C house, Geo. H. Wilson, Inc I also ordered 100 3/16" solid dome head rivets from Hansen.
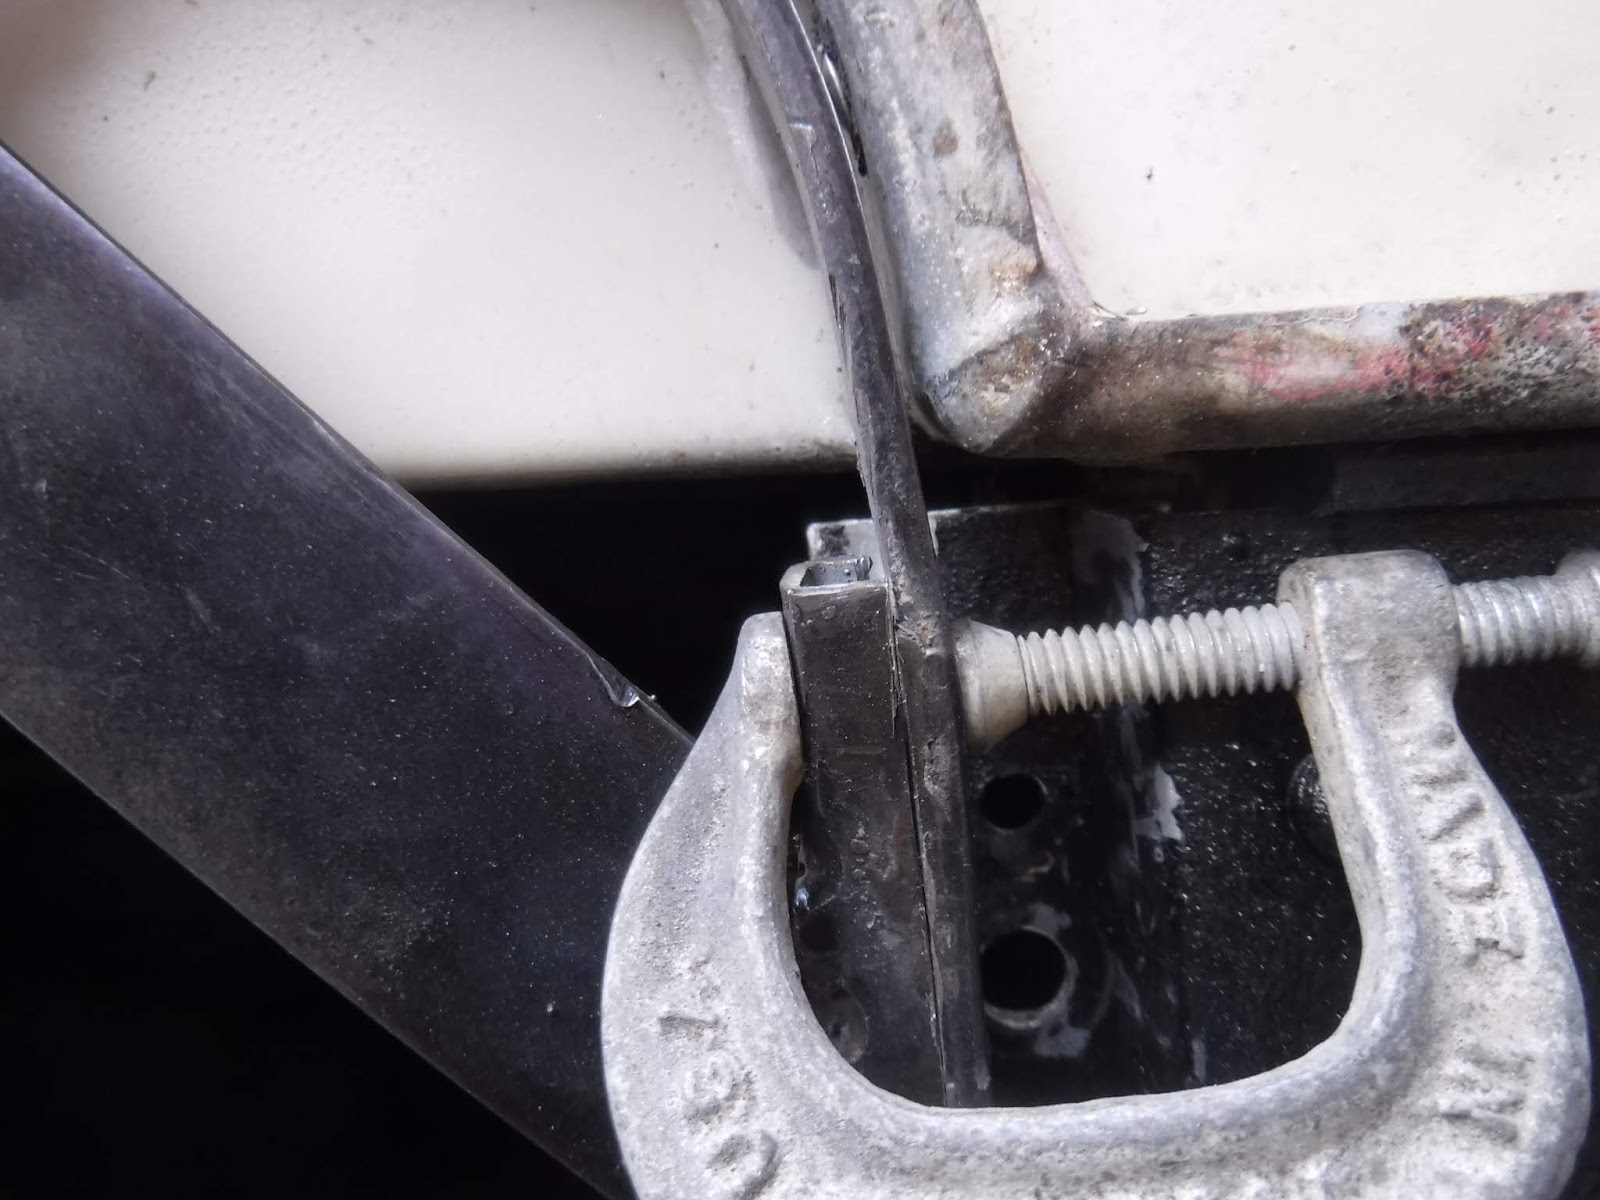
Once the materials were on hand I went to work, clamping and bending, drilling and riveting, bolting the roof on and setting on the strips. I used a light smear of RTV to help with the weather resistance, between the strip and the sides. After the sides were on and done I cleaned them up and sprayed more truckbed liner on them to help weatherize and seal.

I think it is a 9.5" lift. Now I needed to close in the front and back. Deciding that having removable panels so I could fit longer things if necessary. Another issue is that I had to use clamps to pull the front of the sides in to fit to the roof. If I ever removed the roof, the sides would spring apart about .5". I wanted a frame to bolt the front panel and the front of the roof sides to. Next thing is I went down to my local Land Rover dealer and bought one.....No you say? Right I had to make one.
With some Super strut laying around and some 1/2" square tubing and some little pieces of flat stock I put the strut on the top and the 1/2" along the sides and welded it up bracing the corners.


Now I could drill and tap at several locations to install bolts and had a flat surface for some weatherstripping. Next I needed a panel to cover the opening.
Picking up some OSB plywood scrap from my Son-in-law I cut out the shape and allowed for the fitting of a metal skin. The skin I used came from what was left from cutting down the 88 roof to fit the trailer. Problem was I didn't have 1 piece large enough and had to make 2 sections with a seam at the center. This I managed to cover with one of the roof ribs that I had to dismember and reassemble after using it as a hole guide for the rivets.

Holding it in place I drilled and tapped mounting brackets, installed weather stripping on the back side and coated it with truckbed liner.
Then for the back.......my thoughts were for something secure and easy to open/remove so I made another panel out of wood and skinned it with some alli and made some fixed bolts to hold it on.


But I knew that was going to be problematic. For one it restricted the size of things going in and out and made the interior visibility worse. It was also a nightmare looking at trying to weatherize the opening. Might as well have not lifted the roof at all. I needed a liftgate or a door.
While I could have made a liftgate I opted for a door. After all the hinging was easier.
First I needed a frame, so out came the last of my 1/2" square stock and I measured and cut and welded and painted and fitted and cut and welded. Until I got this;


The upper corners needed to be filled in. Wrongly I figured I could just make some out of sheet metal n that would be strong enough. So I tried.


Once I went to welding it on the frame I knew it wouldn't hold up to having a skin put on it. So back into the think tank......cue Jeopardy music......
................
.......
I needed some 1/2" flat strip to make an arc and weld in place! Maybe you noticed though that the opening where the roof line is isn't the same as the roofside door opening. There is a small notch that I would have to take care of.
It took a trip to the hardware store for some 1/2' strip and a locking hasp. Then more trial and error than I want to admit to get the arcs to fit in the opening and hopefully allow for adding on a skin.


Along with the arced corners I added some flat strips for hinges and locking hasp. After all that I predrilled the frame for rivets for the skin, and painted it.

While that was drying I set about attaching the front of the sides to the frame I had made in the front. I drilled some holes and tapped them and now the roof can come off and the sides will stay in place. I used some 1/4 x 20 tapered allen head screws for the job because I fitted the trim on the outside for the "door seal" to make it look more finished.

After a few days of this thing sitting in my front yard due to tree trimming I decided that it did not look right with the black roof sides. So I picked up a can of almond paint as it matches the Land Rover limestone best and had a go at painting the sides with it. Yes, I like it a lot better.


Wilson came thru yesterday with the skin for the back door. So late in the after noon I set about drilling and putting in rivets and trimming.


Then this morning when it got warm enough I bent the edges and finished off the riveting. That done and a test fit to see it still fit the opening a couple of coats of paint were added. Once dry the lock was bolted on using 10-24 ss machine screws. A pull was added. Lastly it was bolted on to the hinge only to find it is a little tight and I'll have to adjust the holes for the hinge.


As an experiment of sorts I used RTV to adhere a magnet to the rear roof side. You can see it in some of the pictures. It's purpose is to hold the hasp open and out of the way when accessing the inside.


And finally as luck would have it I was going to make a drip strip much like the ones on the Rover catflap, but, I found during one of my test fits that just leaving the bottom of the door skin hangin it covers that gap nicely and also helps to lock the tailgate.

The only thing left, and now that I have the front bolted to the frame, is to get some roof to roof side seals and put them in and finish bolting the roof and sides on. As it sits there are only 4 bolts on the top and 4 on the bottom holding it together. Probably good enough to drive around on but I want more for piece of mind.