
As you might remember I cut down an 88 roof to fit the top of the tub.

What I needed now was to make the interface solid and provide some access from the sides. It took some doing with the plywood adapter I made from some 3/4" marine grade ply. It was large enough to cover the tub so I set about drilling holes through the plywood and the tub galvanizing and screwing it down with flat head allen machine screws . I had to then mark and cut out the inside to the roof internal measurements. Here's a pic of the laying out of the internal cuts. At the corners I predrilled 1" holes and then cut with my skill saw.

A look on the inside with the ply between the tub and roof;


And 1 from the outside;

Now I admit it took me awhile to figure out the roof to tub attachment. At first I thought of some sort of latching clamp. Nothing seemed right due to the complex nature of the tub/capping curve plus the reach over to the roof. So I thunk up something of my own.
Now my initial thought had been to make some kind of super hinge out of 1/2" tube and 1/2" rod maybe some 9"s long 2 on each side. That might still be a good strong way to go. I realized that I didn't(I hope!) need the longer hinge if I just had something to hold the center tube in place.
What I did was use some 2" x 1/8" flat stock and that 3/8" tubing and some 3/8 rod I had. With this I cut some 2 1/4" lengths of tubing and welded it onto the end of a 6" piece of the flat stock. These were to be my top part of the hinge.


Then I made some bottom hinge pieces by carefully drilling, cutting and bending some tabs.


During the fitting process I kept the hinges aligned with each other by always keeping the rod inserted in both hinges on the side. I used my dremel to make sure all the hinges functioned the same removing some weld which was interfering..


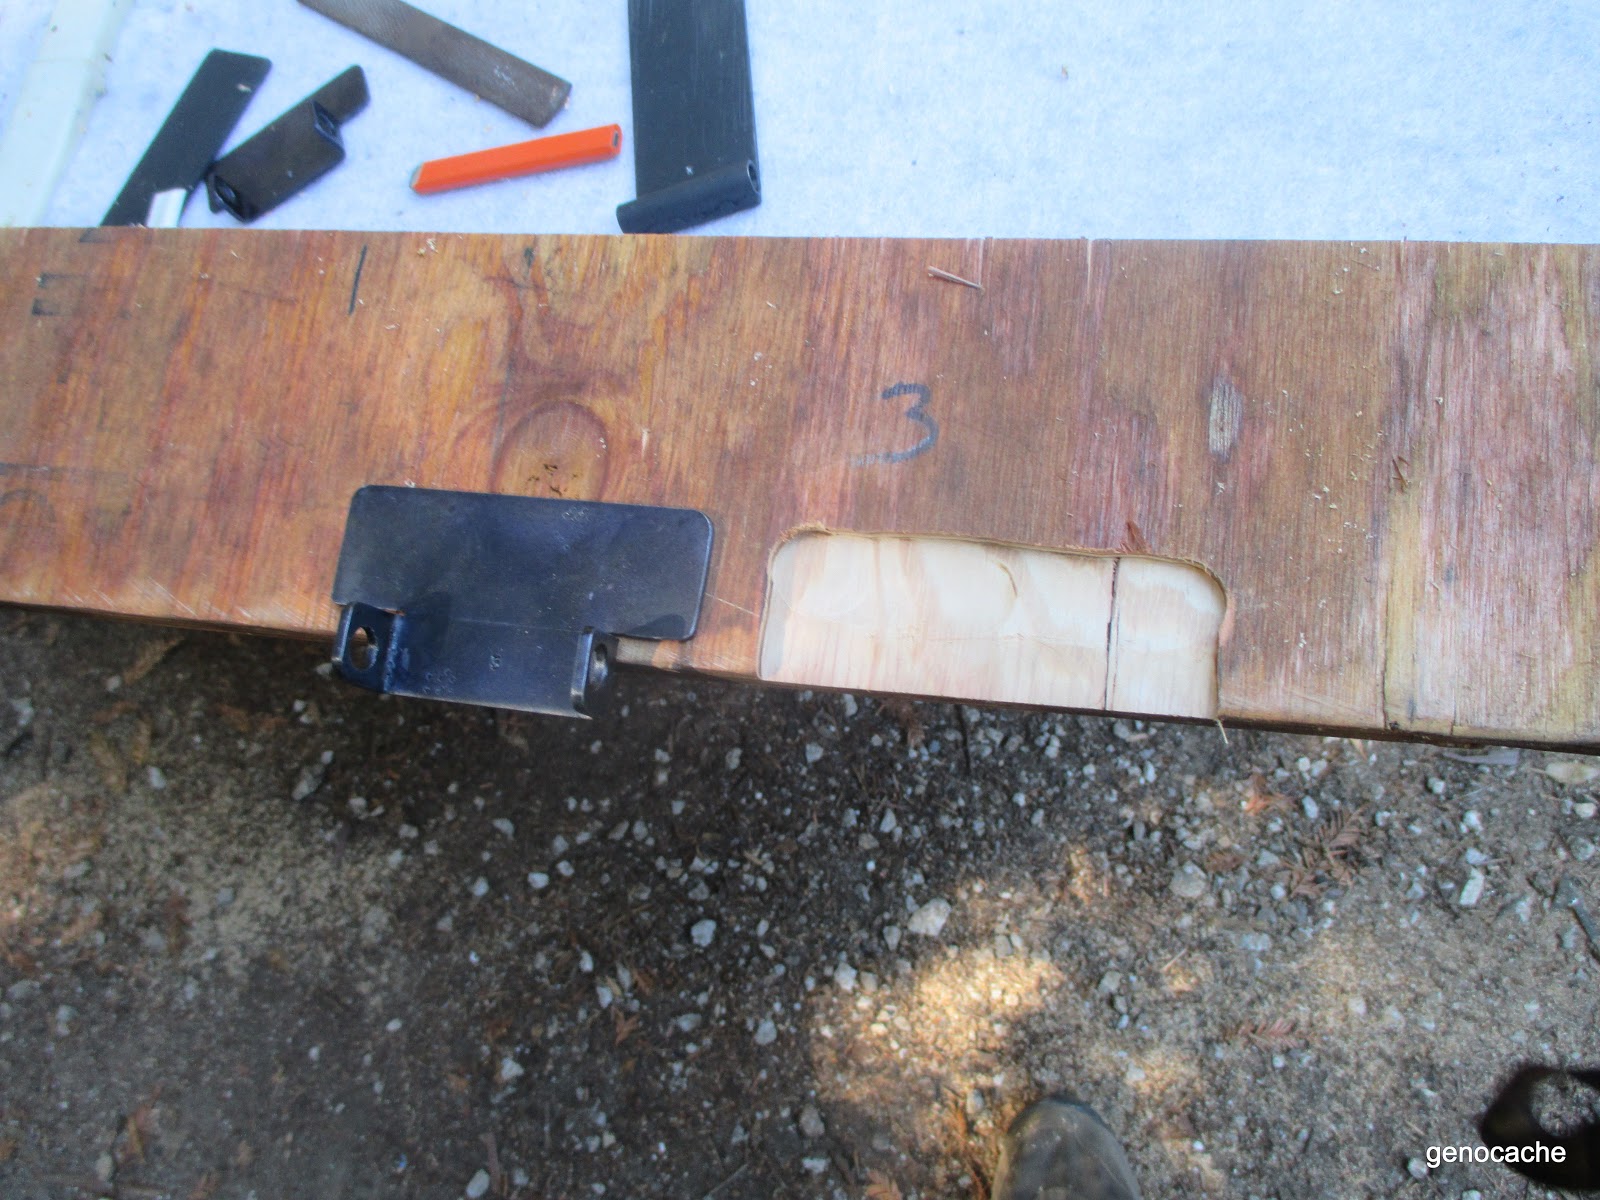
Once the 4 hinges were made I needed to put them on the trailer. I figured that I should put the bottoms on and then I could align the top parts to them. So I measured and marked and drilled the top of the tub and put the hinges in with flat head screws so I could set the adapter(plywood) on top.

Then I used my router to relive the bottom of the adapter for the hinge.


Trust me there was lots of taking off and putting back on of the roof and adapter. All done by me!
Once the bottom hinge was sorted out they were installed on the tub and the adapter installed and I set about marking the roof for the hinge position. There was some fumbling around as I searched for the right technique and sequence. I did one side and learned and then I did the other.
Lining up the hinges and marking the top hinge position on the roof and then installing 1 pop rivet I could get the right angle and depth on the hinge plate. Then with the roof propped up I could drill 2 more holes for pop rivets in a triangle formation to keep alignment.


So do this for 4 hinges. Keep the hinges aligned and Robert is a relative! I didn't think the pop rivets would be enough so I added a single flat head 5/6" machine screw to each top hinge.

All the pop rivets were removed and the adapter and roof. The hinges were prepped and coated as was the adapter with underbody coating.


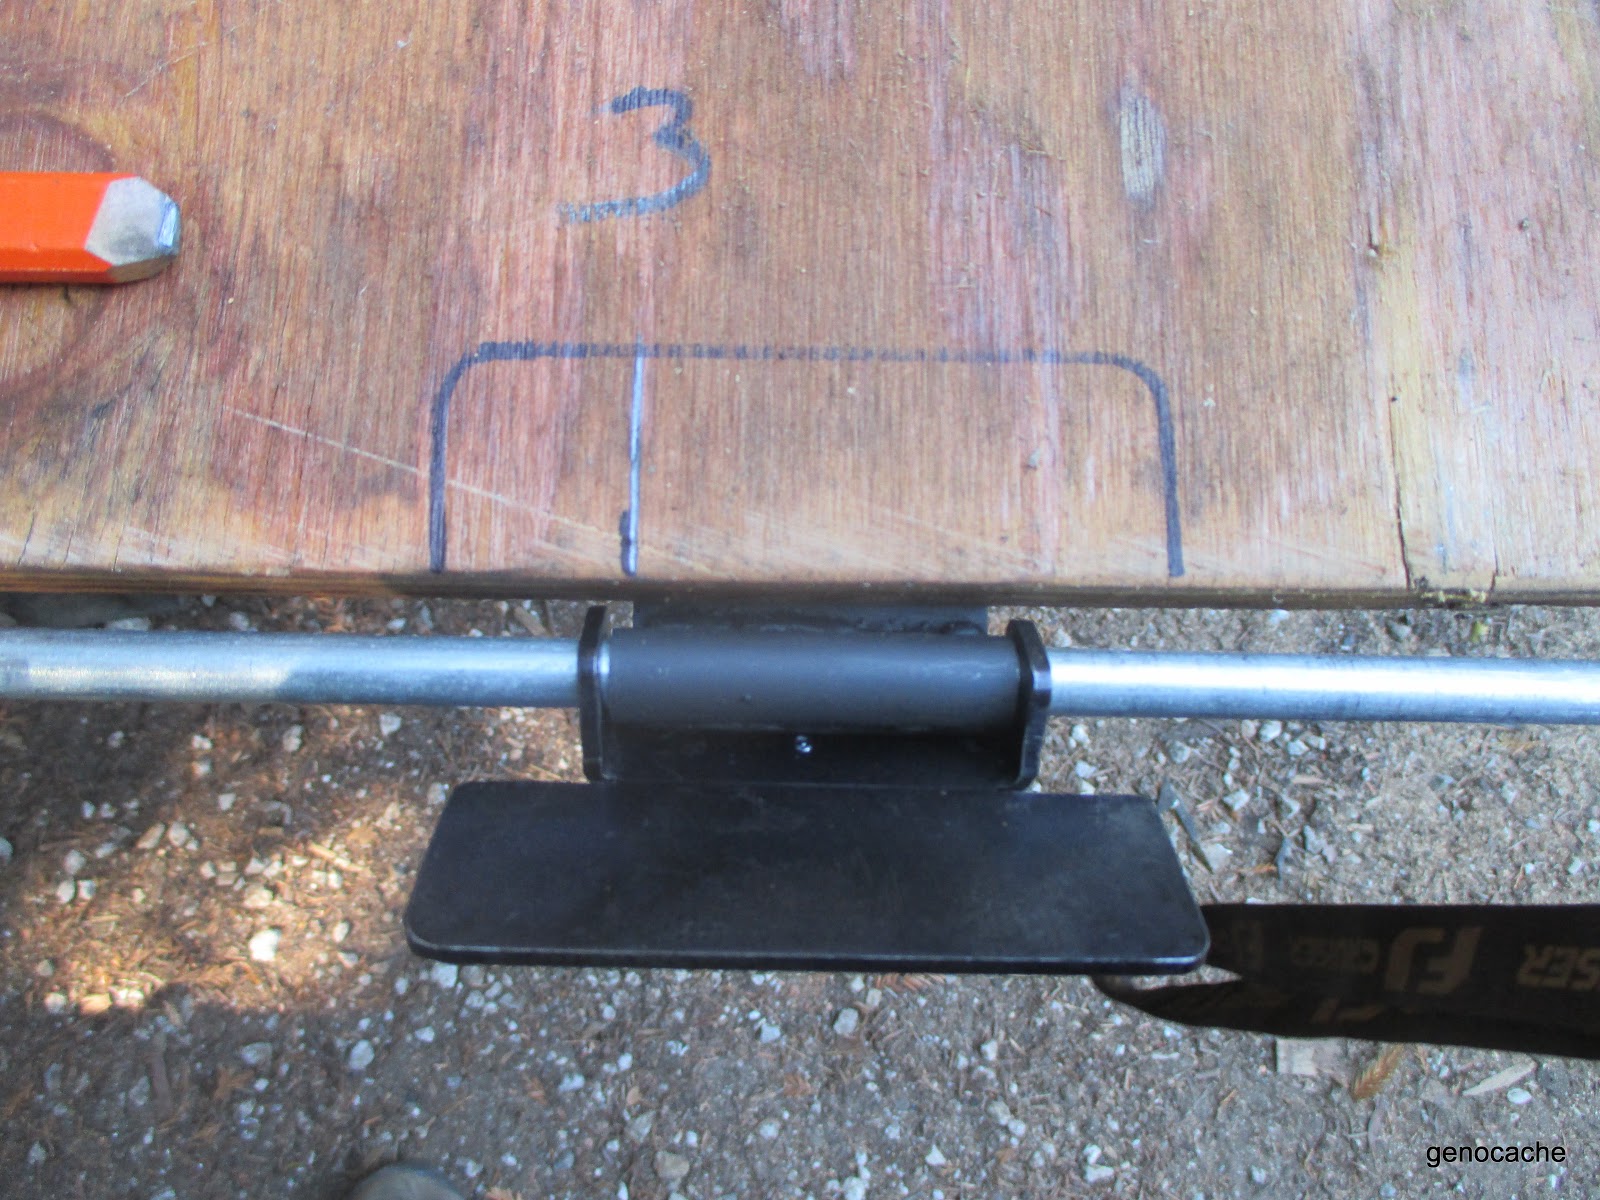
During the process due to subtle differences I kept the hinge pieces marked with notches for their locations. Here is #3;

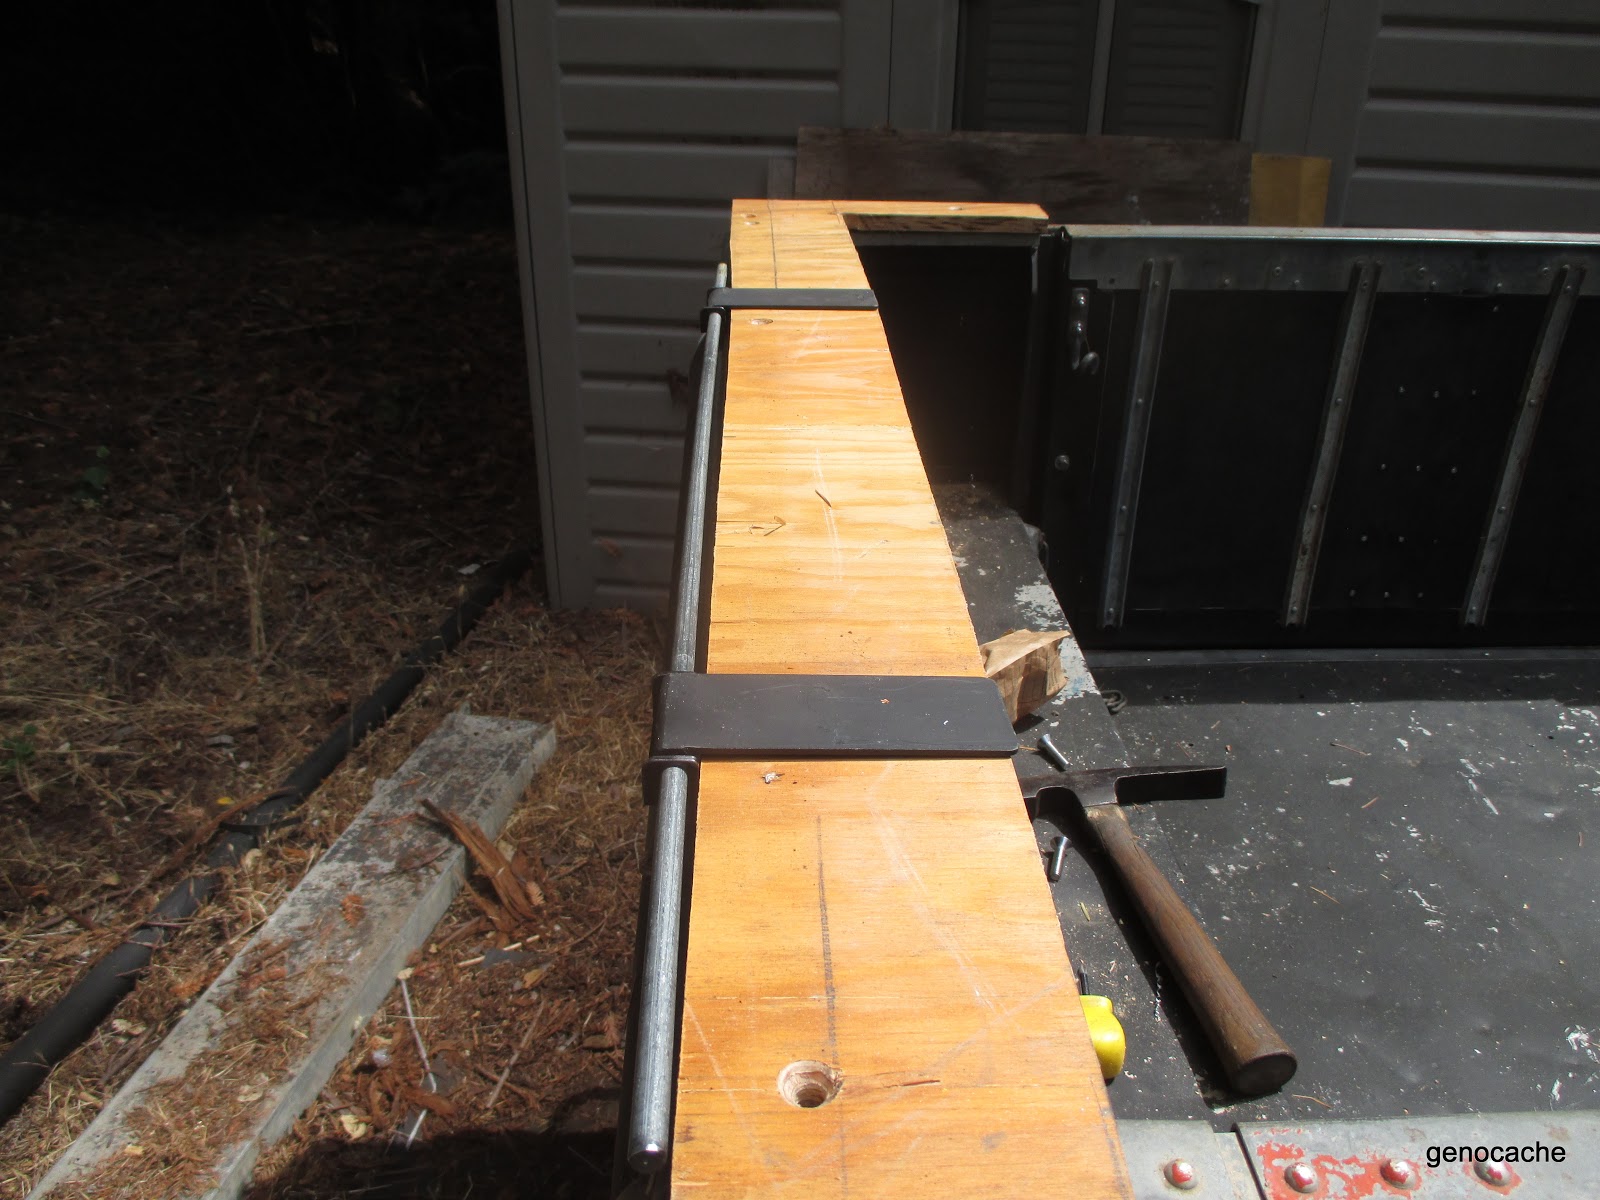
I made hinge pins which I can pull out;

When all was dry I re-installed the lower hinge and adapter.Pop riveted and bolted on the top hinges. Finally got my neighbor to help me put the roof on. Pushed in the pins. They were then drilled for 1/8" hitch pins to keep them from falling out while driving.

Not the greatest of welds I know......
Then I cleaned sand painted the roof using almond color paint.

I have been working on some lift supports but not sure they are the way I'm going to go. They will work for now.


