
I have been using a gallon container for decades with the pump that goes in the opening. Very messy! To contain the mess I have kept mine when not in use in an old ammo can that I did not have a lid for. So my first thought was that I could just use the ammo can to hold the NATO can. After all it fit snugly fore and aft but there was a side gap.


So I spent some time making the ammo can mo betta' by removing the hinges and locking bits for my non-existent lid.


Then I fitted it with some angle iron I welded to the bottom and drilled and tapped mounting holes in my trailers frame.

During all that I realized I only had the 1 ammo can and 2 of the 10L cans and I didn't like the way the mount was going to be on the trailer. So I thought of something else.
I decided to make something that would hold 2 NATO cans across the front of my trailer. I would design it similar to the old NATO can holders, the black one seen on the left.

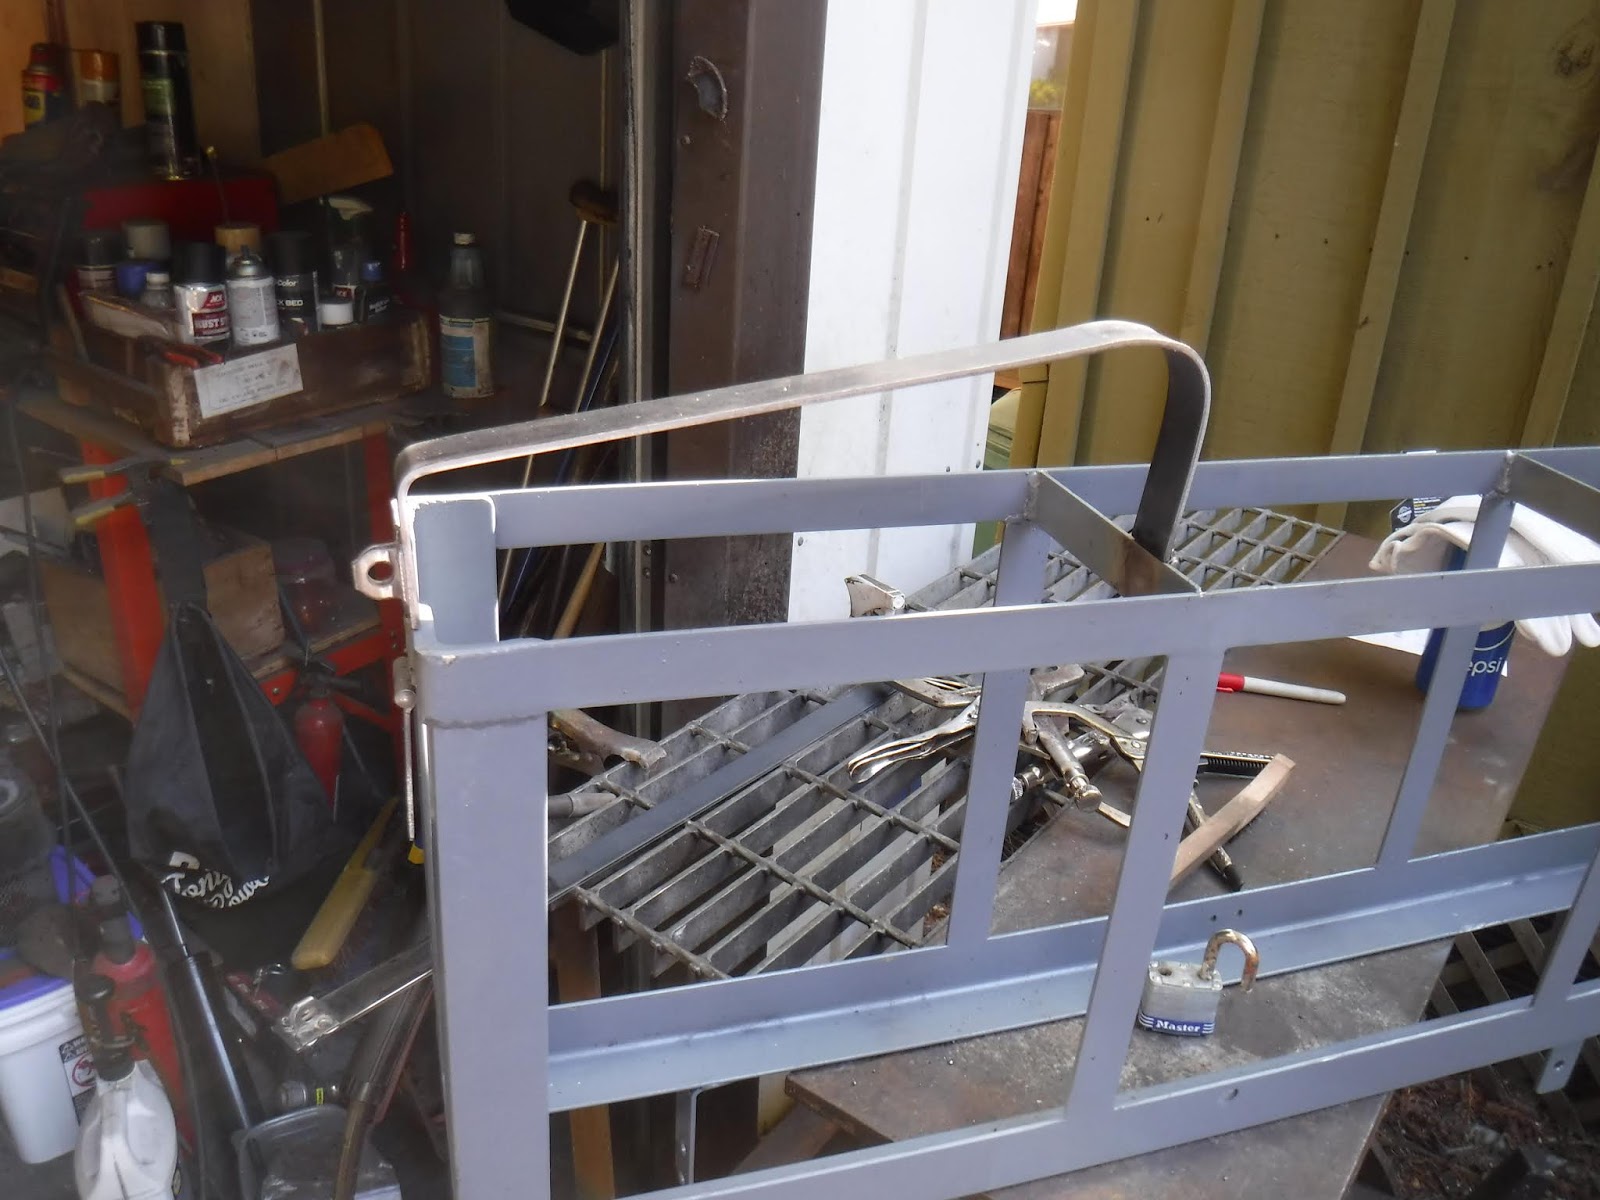
I started by demo-ing a jig I had made of angle iron and making a base for the cans. I used angle for the corner uprights;


Around the top I put some 1/8" x 1" flat. This I formed around the base to keep the dimensions and shape the same. That ended day 2.


As usual all along I test fitted both the can and the frame to trailer.

I put in some cross strips to stiffen and help with anti-theft. and vertical strips for the same reasons.The frame was tested and spots marked for mounting braces to lift the front of the frame and bolt it to the trailer.


Once these were on I clamped it all together and drilled holes for thru bolts in the frame and chassis. For bolts I used some 8mm x 1.25 x 100mm that I had mis-purchased during my 109 build.

With mounting holes done I welded a hasp on one end for the locking part over the spout end of the can.
Painted it up to prevent overnight rust.


Day 3 saw me again mount up the carrier and make some mounting brackets for the back of the carrier. Once made and measurements taken it was dis-assembled (again) and the brackets welded on.

Then it was remounted and holes drilled for the new brackets. The cross member is 5" thick and I didn't have any bolts long enough to thru bolt.

So I tapped the chassis for 1/4-28 bolts.

The brackets were welded on;


Then came the hard part; I need to make a strip to go across the top of the can and cover the spout. I welded the end of the locking hasp to the end of the 1" flat stock.

Then with the can in place I proceeded to bend up the right shape by some majickery I don't understand and amazingly the first one came out perfect.....

I dunno......so I welded a hinge to the inside frame and the locking strip.

The second one took more sweat equity and doesn't fit as nice as #1, but it will take a keen eye to see it. Once all the welding was done painting ensued.

I used Machinery gray, primer and paint all in one. Once dry.............drum roll................

I think that I will have to remove the front center section to refit my kegger bbq. It is at the welders getting some appendages put on it. It had been my hope that I could either fit a third can(too fat) or a theft proof box there for spouts and funnels etc...