23 Oct 2020
I know this is dragging out , but I am moving along.
14 Oct 2020
Got up the next day with the intention of putting in the front section and hopefully the back too.
The front is also difficult due to the sloping section and the complex curve in the corners. So I started out by cutting down the overall length and fitting the side to side and then worked on the front corner until I got one to fit.
I sprayed glue on one quarter of 1 side and fit it. I thought it went well, little did I know that I had not gotten the rear section even with the drip rail, I didn't find that until I put the roof on......sucked.
Carefully I moved across the top spraying and sticking and when I got to the other side I trimmed up the front corner and glued it in. Eventually getting it in.
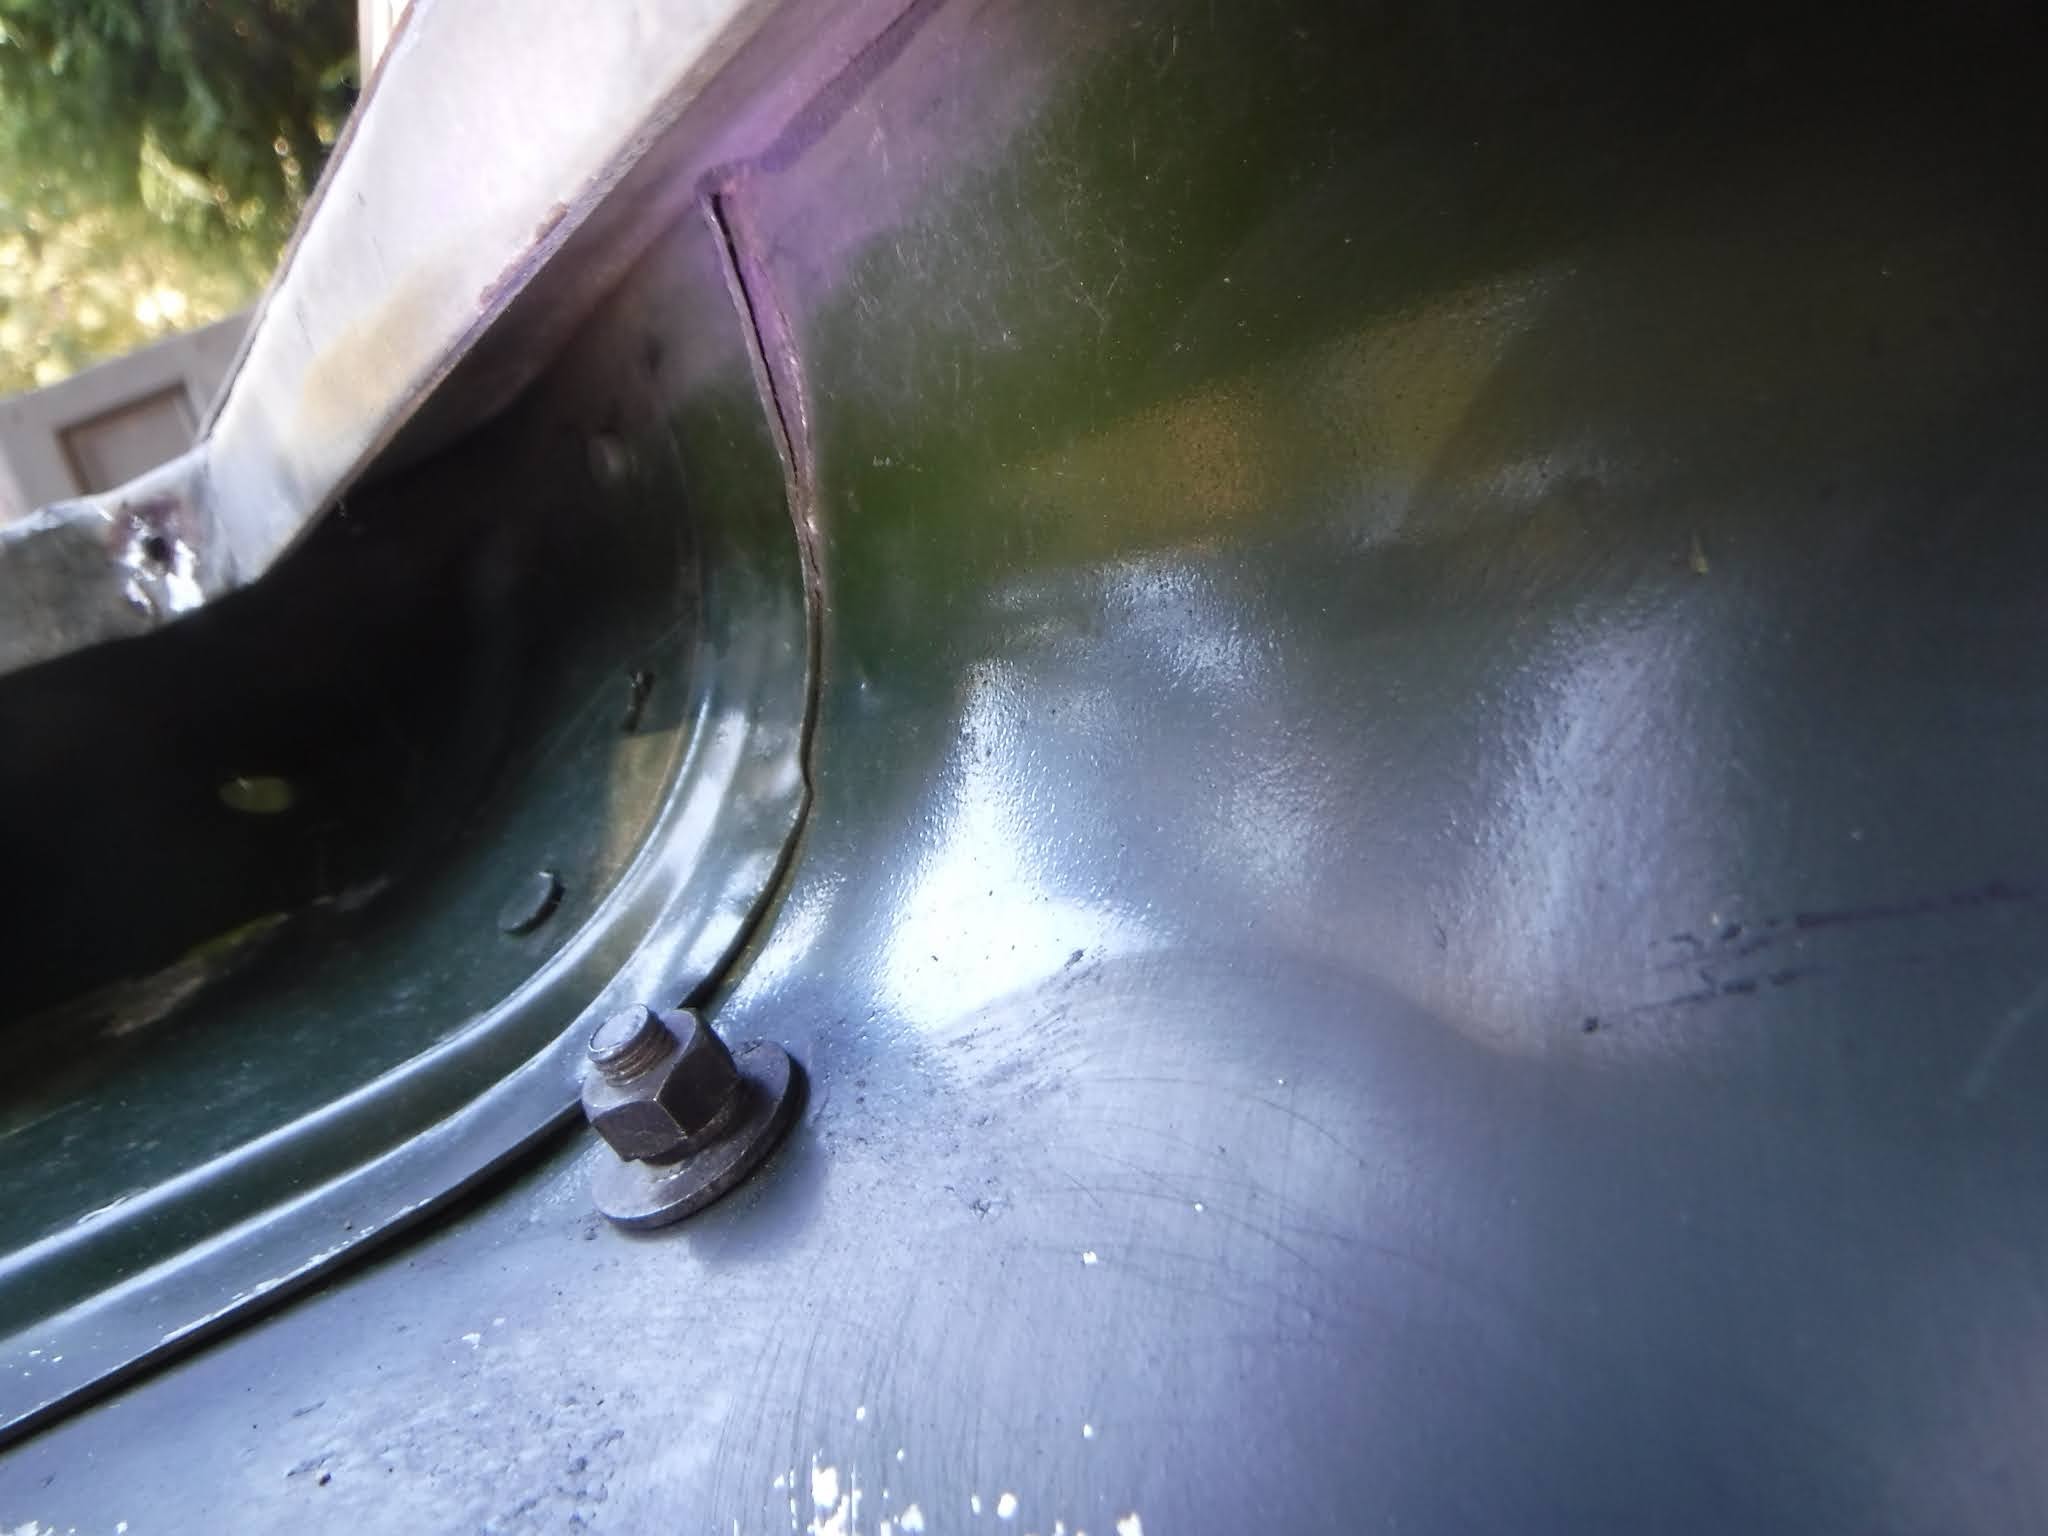
Just now I realized I took no pictures that day. It was a long hot day and the job was way more fiddly than I thought, IIRC it took me 4 hours(and still I f'd up).
15 Oct 2020
Now to do the last section the rear! This should be quick and easy as it is just a rectangle, right? No is the simple answer.
Using the old liner I cut out a piece for the rear above the door.

I didn't realize that the old liner was smaller because the headliner dropped off the roof due to insulation. So I had to make another larger one.
Then I glued in the top piece working in 1/4 sections as I glued it down, then I ran out of glue and had to go get another can, sheesh, always something.
But I got it in.


I didn't glue down the ends at the ribs because;
1) I wanted to run wires for lights
2) I was not sure how I was going to finish it off with trim

Don came over on the 17th of Oct and helped my lift the roof back on

Then started the long process of bolting it all back together over the next couple of days. Overall it went well except I had to modify the overhead bins a little to fit the ribs.


Then it was time to tackle the electrical; Back up lites, interior lights. I looked around online looking for better interior lights and found a LED pivoting light, and ordered 1.
https://www.amazon.com/gp/product/B00JAJ7Q68/ref=ppx_od_dt_b_asin_title_s00?ie=UTF8&psc=1
In the front rib I drilled a thru hole into the light holder and set a grommet. The blue tape is to prevent the drill from marking the vinyl.


I ran a hot wire for the light it will connect over by the drip rail. A ground was screwed in under the fixture.


I spent a frustrating hour chasing power. It went like this;
Couple days earlier I bumped the hot wire and caused a spark. When I finally hooked up the new light it came on bright and then dimmed. Repeatedly.?? My 12v test lamp showed no power. WTF? So I thought it was a loose connection and started chasing it down the line. I checked the fuses all good! (Missed one). Took apart the dash to trace wires, grrr. still no power. Rechecked the fuse box and saw I missed the 1 that was blown.
That was when I found out that the Blue Seas fuse box I have sends a small amount of power through the fuse box some how. When I hook my 12v test lamp to neg on the battery and touch the out side of the blown fuse the test lamp will light and the blown fuse light in the box will light. IDK the internal wiring on the box, but weird......
Replaced the fuse and the dome light worked as advertised. But I'm not happy with it as it doesn't shine into the seat area but will light up the cubby box. So the search goes on unless I shim the fixture to get a more useful angle.
28 May 2021 update; I removed this light and installed one better for my needs, read about it here;
https://poppageno.blogspot.com/2021/05/land-rover-109-dome-light.html
My neighbor Bill helped me lift up the rack and I got that bolted down, installed the awning and the propane mount and roof light bar.

No pictures, but I put on the sand ladders and have to figure out where to mount the Hi-lift as the cross bars for the rack are now too far apart for the old mount. Why? Because I went from 5 bars to 4 since I didn't want the mounts breaking the Alpine lights.