Friday, November 24, 2017

Something new?

I want to try something new out. I'm not just a one dimensional person with only Land Rovers as my life. I heard that collective sigh and muttered "bummer"....

I also like to ride bikes, road and mountain. And I went on a ride yesterday, so I hope to tell the tale today.

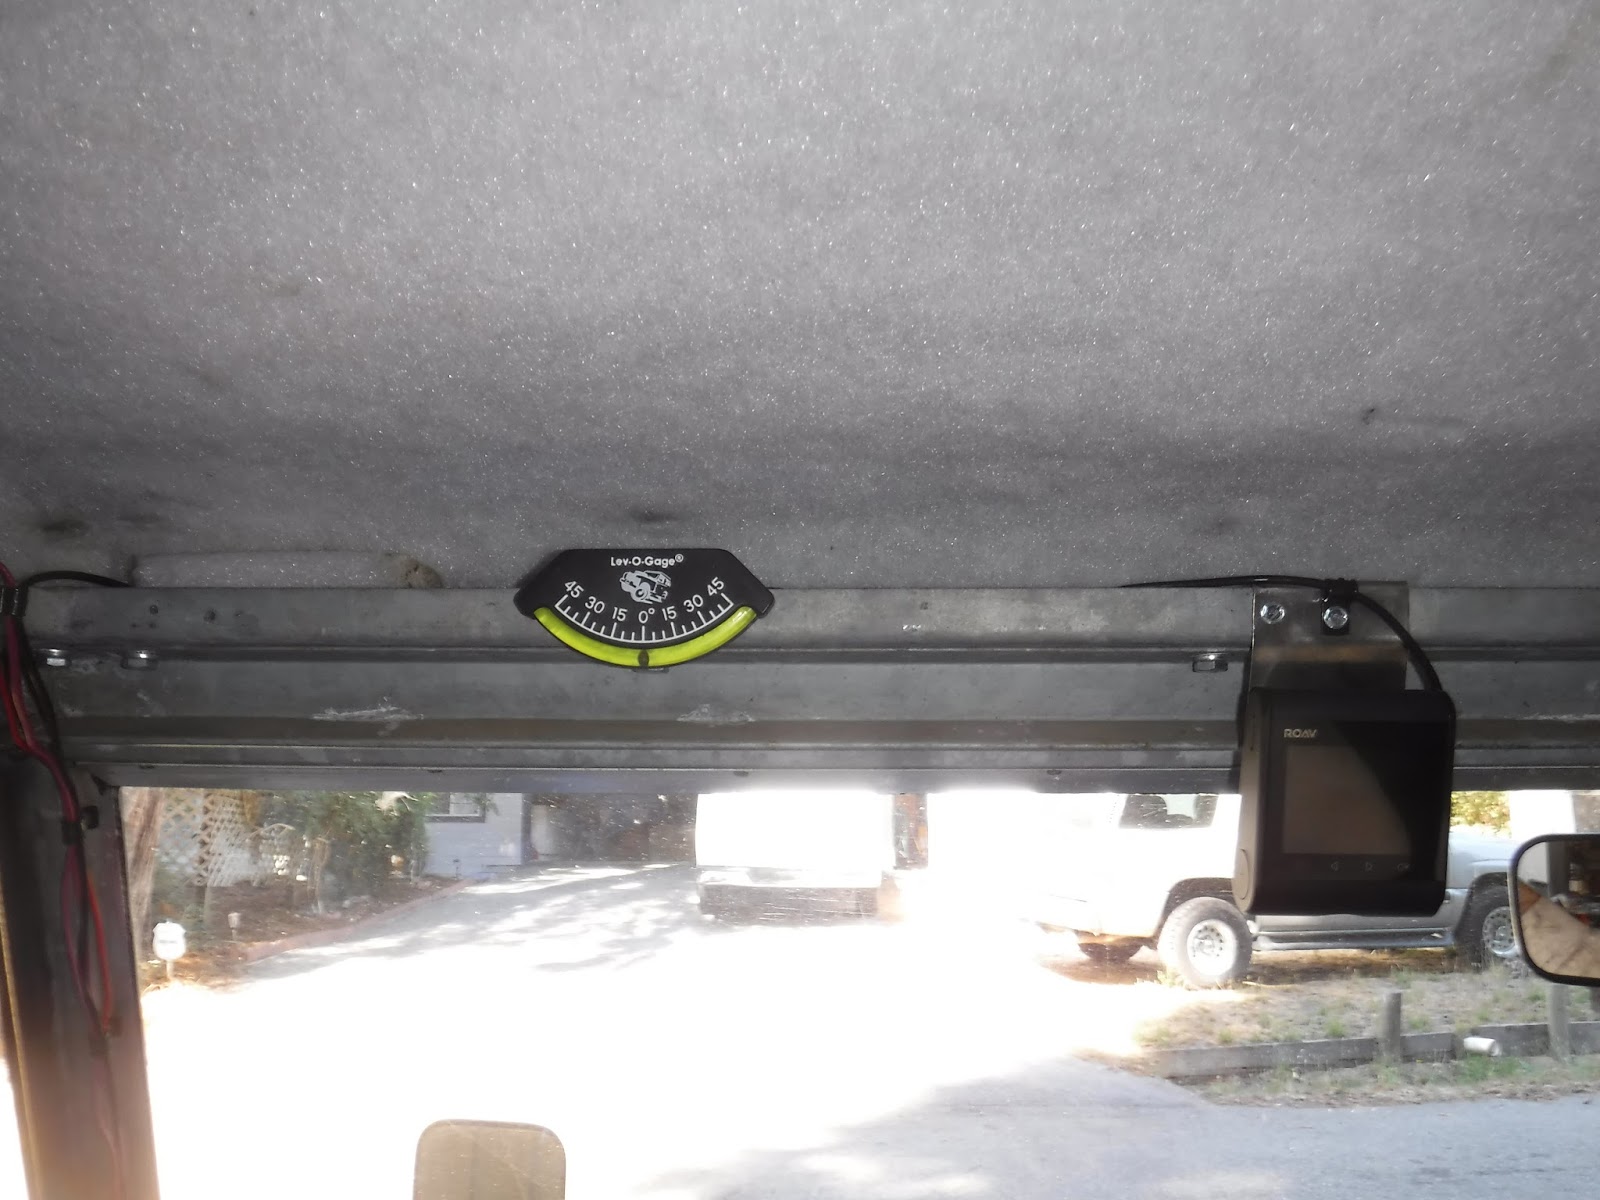
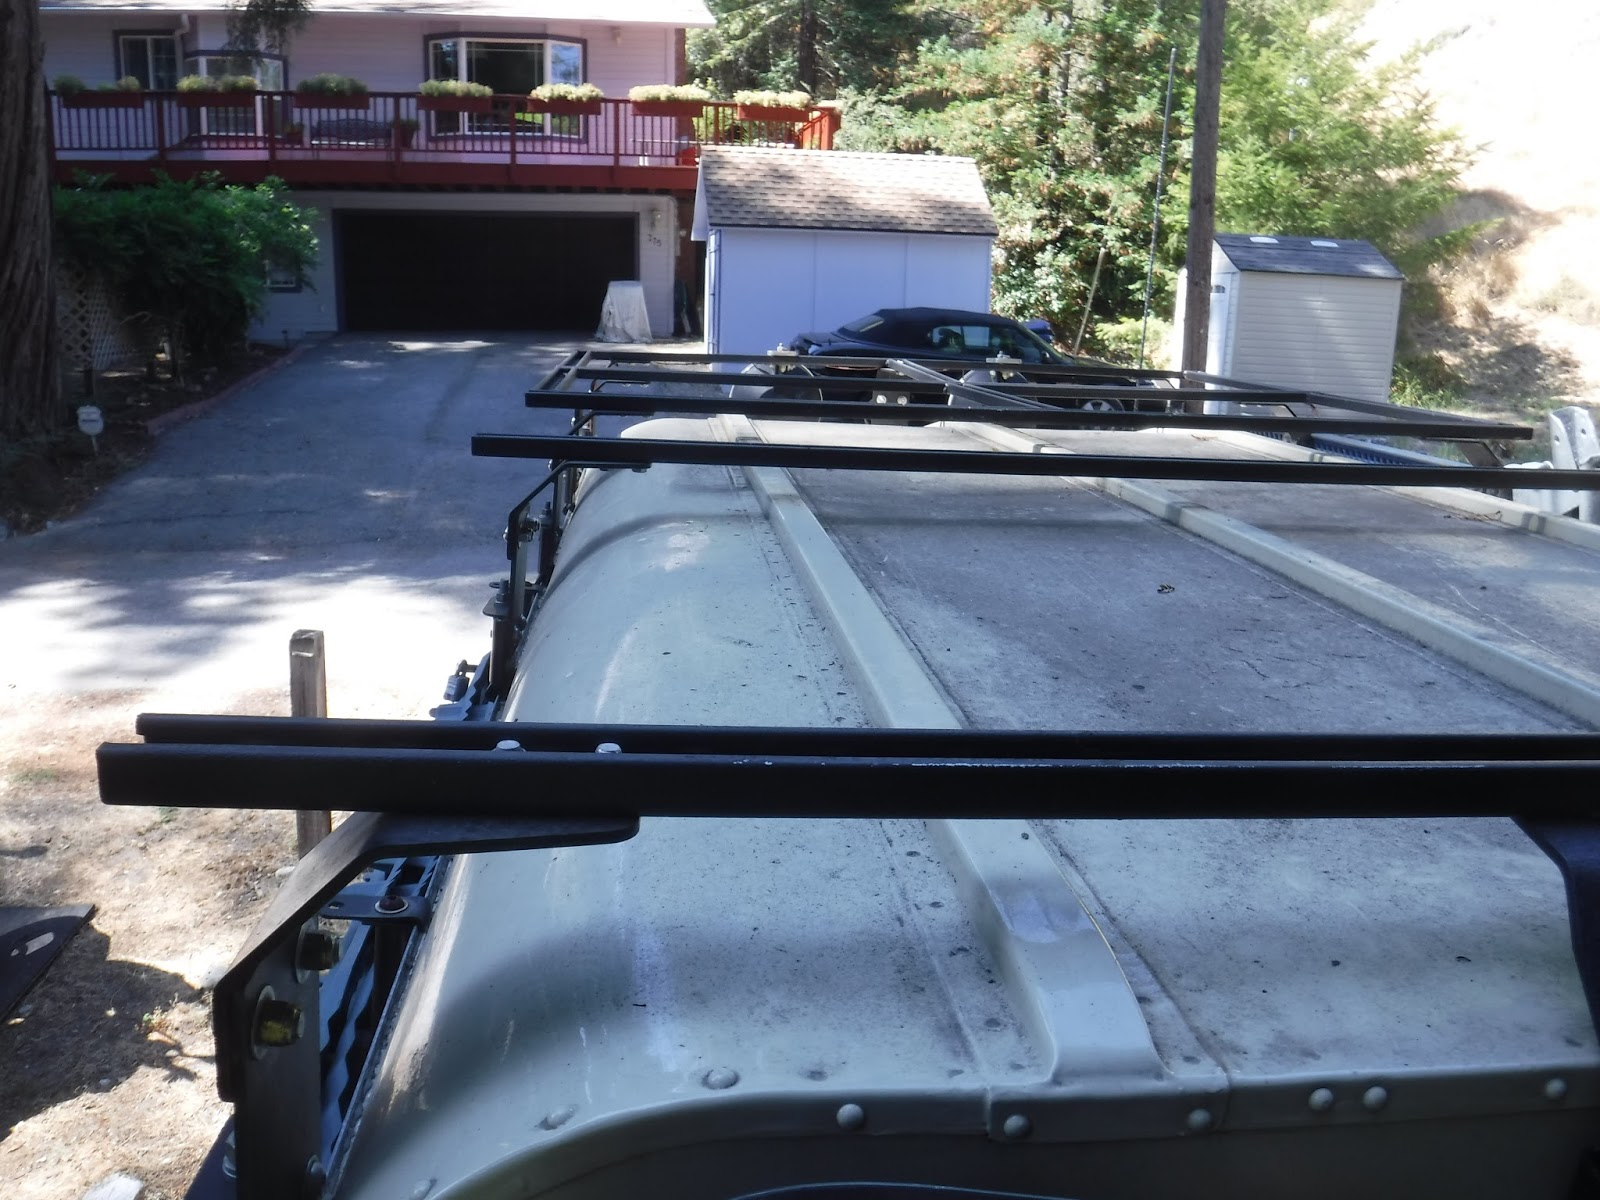
Loading up my bike and gear in the 109 then driving down to Santa Cruz, Calif I parked in front of the old Wrigley's building(yes of the gum fame) that is now home to Santa Cruz bikes. It was very quiet on the Thanksgiving Holiday morn as I geared up and headed N. on Mission Street.


My loose plan was to ride over to Wilder Ranch State Park and then climb to the top by 1 of many possible ways. As I passed the horse corrals I finally decided that I would go up the west side of Englemann's loop and then climb up Wild Boar Trail. Once there I wasn't sure which way I would go.


The coast around here is composed of sedimentary layers laid down in a series of marine terraces. It has been lifted and exposed by tectonic plate interaction. Between the different terraces are short intense climbs of 30-50 feet elevation gain in about the same amount of linear distance. I'm out of shape and could only ride the first one and the third one.
Once at the top of Wild Boar Trail I stopped for the view and to get my heart rate back into normal range, I'd only come 2 miles and already climbed 800 feet. Here's a view looking further up Wild Boar;


It was during this climb I became aware of both the warm temperature and high humidity, both a rarity around here. So deciding on going on up I followed Wild Boar over to an un-named cutoff and connected to Long Meadow Trail.


At the connection with Long Meadow, you can see more climbing in the distance;

So up I went, and up and up, this hill is a long grind in first gear when you are in as bad a shape as I am. Once at the top and rolling along I came across this bush, I don't know what it is, but each "flower" is composed of  fairy seeds.


Then it was back to the uphill and heat(notice no shade trees)....

And still I climbed until I came to the 1 shade tree, from it one is about halfway up the climb and you can see it going on up;
It took me a while but I made it up to where Long Meadow connects with Chinquapin Trail, here I had a snack this was my max elevation of around 1,300ft. While resting and deciding which way I was going to get back I espied this grass growing in a log;
I was in a quandary as to how to get back as there are 2 trails I really like to do downhill. Wild Boar Trail and the Emma McCrary Trail. Doing the EMT would be a longer ride and I didn't feel up to it in the humidity so I headed down Chinquapin to the Eucalyptus Loop where I took a break at the picnic table.
 On a clear day from the picnic table you can see some 60 miles to Pacific Grove across the Monterey Bay. Anywho after deliberating and seeing the downhill had cooled me off a bit, I was feeling better I decided to take the EL down to Old Cabin Trail and hook up with the Wild Boar.
Here is the junction of the EL and OCT plenty of ruts on the way down!;

I felt good I didn't crash in any! From the same viewpoint looking over to Old Cabin, so named due to the cabin that used to be there, it has fallen down and can no longer be seen, someone lived in it in the late 1800's.
The trail disappears into those woods and goes down into a creek bed and then you climb out the other side, very steep on both sides. It was some 10 degrees cooler down in the bottom. Going up the other side there is my favorite part of the park. It is beautiful and quiet, I see that this last winter took it's toll on the trail;


 I rode up the first hard section but didn't have the gas to get all the way up. After that effort I didn't even have the motivation to try the last climb. I did get on it about halfway up where it starts to flatten out.

Finally I was back at the Wild Boar, Old Cabin junction and I knew it was about a half an hour back to my 109.


Then it was just a matter of following trail past the horse corrals and getting on the County Bike Path back to town.

The ride was 13.86 miles with 1,561 feet of elevation gain. I hope you enjoyed the tale.

I have never tried to upload a video and did not take one on this ride, but I think I will try to upload one now from a different ride. If you want to see any of my videos on youtube you can find me under the name meignotus.

Here goes;


As I was putting my bike back in the 109 next to the pump track, this guy with 2 kids were leaving the track and he commented on my nice Land Rover. He gets extra point for not calling it a toyota!

Saturday, October 14, 2017

Land Rover 109, 200TDI fuel mileage

OK, I've been wondering what kind of mileage I've been getting. I haven't been driving very far, mostly in a 20 mile radius and the main speed limit up and down the valley I live in is 35. Been on the freeway for short distances a couple of times, forgot to look at what my max speed was.
   I ran almost a tankful over the last couple of weeks whilst making sure my gps was on. I think(fingers crossed) that I got all the mileage, if not I'm only a mile or 2 off.
  So on Friday I filled up the tank and checked the gps against the speedo odometer. The gps showed 250.1 miles and the odo 201.6. a 50 mile difference although the speedo indicates in a wonky way, somewhat close to the actual speed.

    The numbers show that I used 8.98 gallons(US) which was approximately 7/8 empty on the gauge. Covering 250.1 miles gives me 27.84 miles per gallon.
    That's good and now I know that I still have 3 gallons in the tank.


Saturday, September 23, 2017

Dash cam for the Land Rover

Hey, I got a tip from a vlogger, Seth's bike hacks, about a good dash cam, the Anker ROAV. I already have one of their power packs and really like it so it was a no brainer to get the cam on. Amazon for $90. https://www.amazon.com/Dashboard-Recorder-Wide-Angle-G-Sensor-Recording/dp/B06XNSDRW8/ref=sr_1_1?ie=UTF8&qid=1506196675&sr=8-1&keywords=roav+dash+cam

It came the other day and it took me awhile to figure out where and how I wanted to mount it. That and I still have to get a micro SD card for it.


After sitting in the drivers seat and holding it up in different places and weighing the pro's and con's such as ease of visibility and access for the card, wiring and removal and not blocking the visibility out the windscreen in critical locations.

What I came up with was a clip on over the roof inside gutter and allowing the cam to hang just below the windscreen frame enough to not block the cam's view with either the frame or the rearview mirror. I also took advantage of the existing holes for the sun visor I don't have. This will keep it from bouncing off and getting crazy from the vibrations. (I hope!)


I made a prototype out of aluminum cause it's easy to work with then I made one out of some scrap stainless I had laying about.


Here it is hangin up in place. I found #6 sheet metal screws fit right in.


Then it was a matter of mounting the cam,


Running the power;


Pluggin it in; making the wire so it won't vibrate too much;


I tied the excess wire and stashed it in the gutter;


Lastly, power it up!


So it is not permanently  mounted and if it is too cumbersome I can move/remove it.

Tuesday, August 29, 2017

Roof rack gets updated

My first post on making a roof rack is here;
 http://poppageno.blogspot.com/2014/04/land-rover-109-roof-rack.html

Then I followed it up with a rack designed around my Off Road lites;
http://poppageno.blogspot.com/2014/10/off-road-lites.html

Granted there is not much info on the front part of the rack. Basically I just cut and welded some Super strut into a square that held my Hella 2000's.


After I figured out how to sleep inside I sold my roof top tent. Now my roof rack didn't quite fit what I wanted it to do. Hold things, maybe even some sort of sunshield.

Well I went to Home Depot and bought 3 more pieces of Super-Strut. Figuring on making 2 longitudinal sides and 1 center one. I got eager and coated them with truck bed liner first. Wrong!
First I should have figured out where to put them. As they were drying I did this. I looked down the sides and figured I could just use the existing inboard bolts on the towers. Simples!


It was friggin hot outside to work but I started unbolting the right side inboard bolts, I got halfway done and had second thoughts about this being the best way. My main reasoning was that I wanted the rack to be flexible, that is I could reshape it if I needed to. Unbolting and moving the bars where ever they worked the best. This meant leaving the towers alone. So I put all the tower bolts back and moved the bar over to the first available slot. That is when I realized that I had not cut them to length........


I had already decided that I wanted a 1 hole overhang on the front and I would bring the back end almost even with the rear of the roof. This will be if I need/want to attach any tarps or for rigging. The 2 outboard ones were cut and then re-coated with bed liner. and now ready to install.

Starting with the ends for support I loosely bolted the outboard ones up.


And that is when the real work began......the bolt holes on the welded up section did not line up with the new pieces :^0 There went 2 hours...


The next morning I began the great labor of the day. I used a jigsaw to cut out the side pieces on the welded section. Next I removed the back 2 crossbars and ground off the old weld and re-bedlinered(NEW WORD!) the bare metal. Trust me it wasn't easy, climbing up and down on the roof, cutting and grinding up there and then realizing it would be tons easier if I took it off the roof. Unbolting the gutter clamps. figuring out how to clamp the darn thing so I could grind on it. Re-spraying. then putting them back on the roof.


Since the longitudinal side bars were there I had to figure out where to put the other cross bars. I tried measuring and setting it up evenly but the gutter mounts for the sand ladders are in the way so I got it as even as I could. There is another issue with the center long bar. The front tower is centered on the roof and the cross bar does NOT have a center hole.


This means the center long bar is crooked. In order for it to line up with the closest holes.


But it was coming together! The final thing was re-mounting the Hi-lift jack. I knew from taking measurements that it would not go back on the same holes. 


Sure enough after making the swap, I offered up the jack and Viola!


Put away tools and take the money shots after 4 hours of sweaty work and a trip to the hardware store for nuts and bolts 3/8"-24x3/4".