
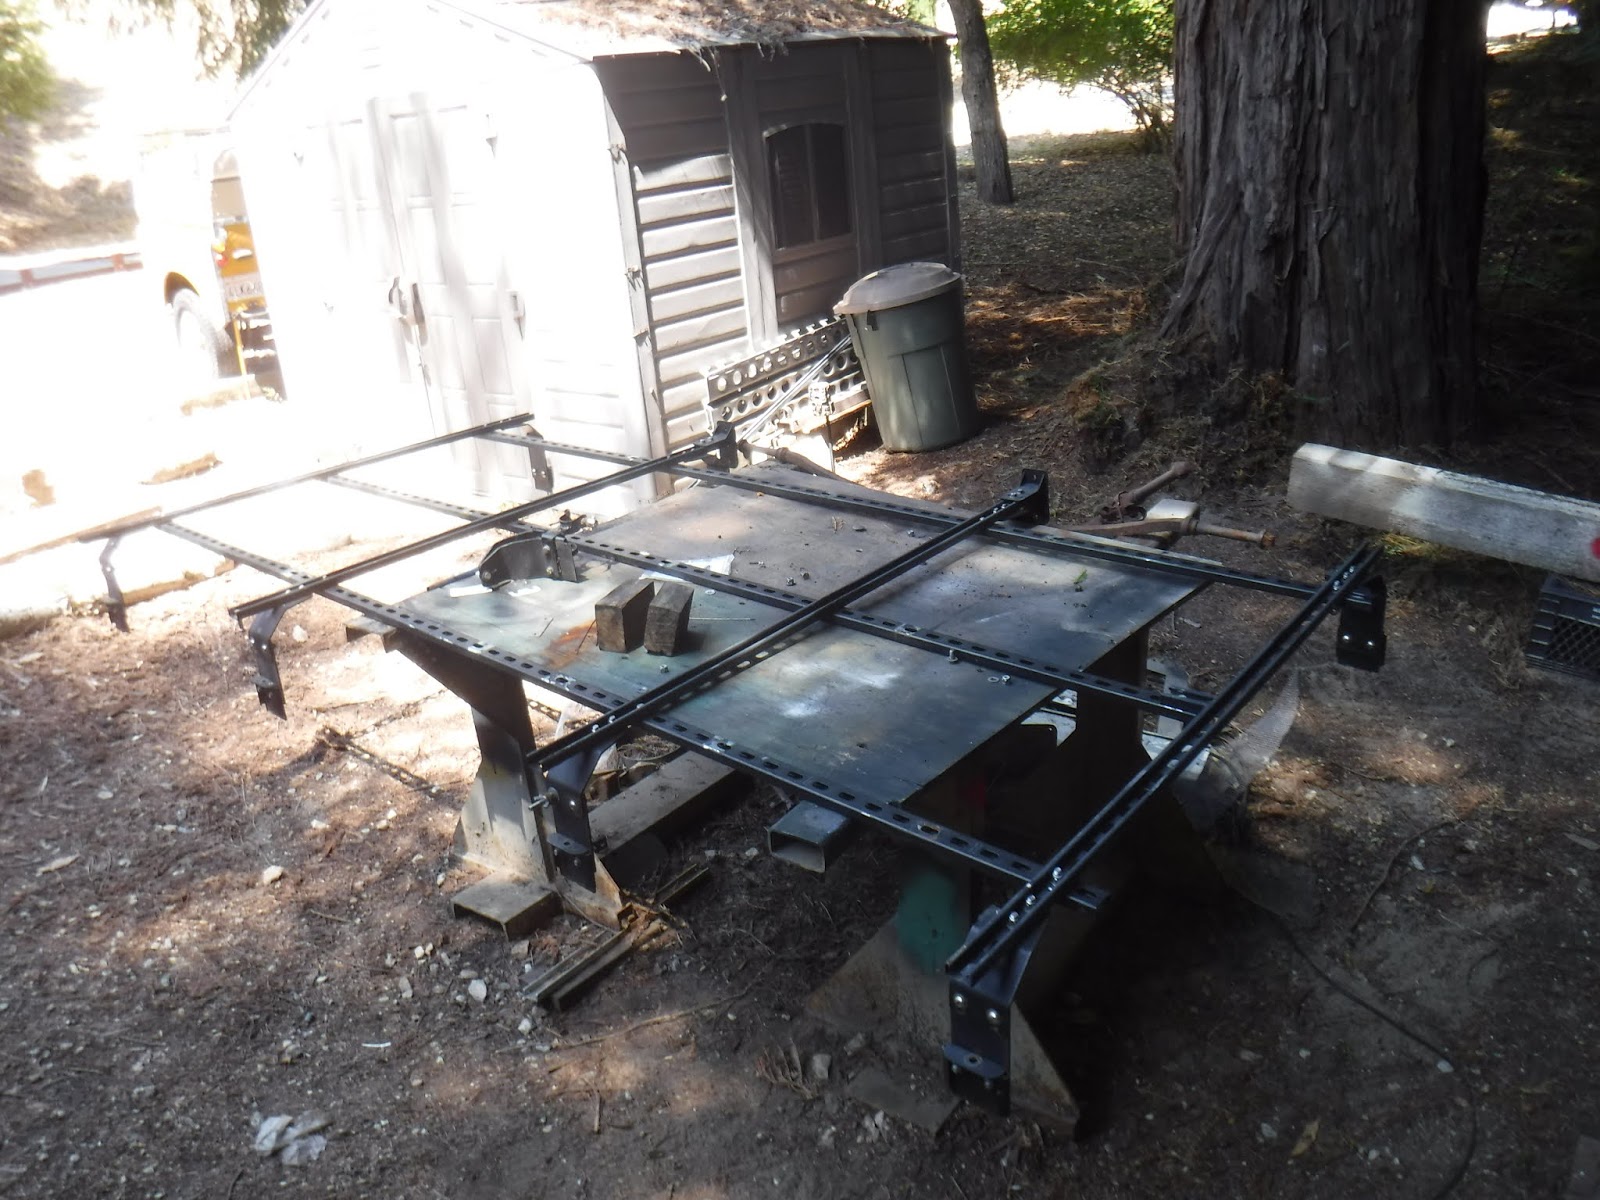
Circumstance dropped a trade for a tropical top on my 109, straight across for my 109 regular roof.

I swapped it in Placerville at Forbyn Bros machine shop when I went up to pick up a gearbox from Timm Cooper. It took about 3 hours to unbolt and remove the rack and then the inside bins and disconnect all the wiring and take out my interior lights and finally to remove the top.
I only bolted the trop top on enough to drive home, across the windscreen, at the corner of the doors and the middle and corner of the sides Then re-installed the rack. It was hot up there, I was lucky and Timm was able to find a fan and blow air thru the inside while I was working. I still sweated off 3 pounds. Then I drove home, it was a looooong day I was up at 0430 and left by 0530 in Placerville by 1000. Had a great tour of the shop and all of Timm's new projects. He designs and builds some sweet stuff!
What it looked like on the way home;

23 July 2020
After unloading most of the crap;

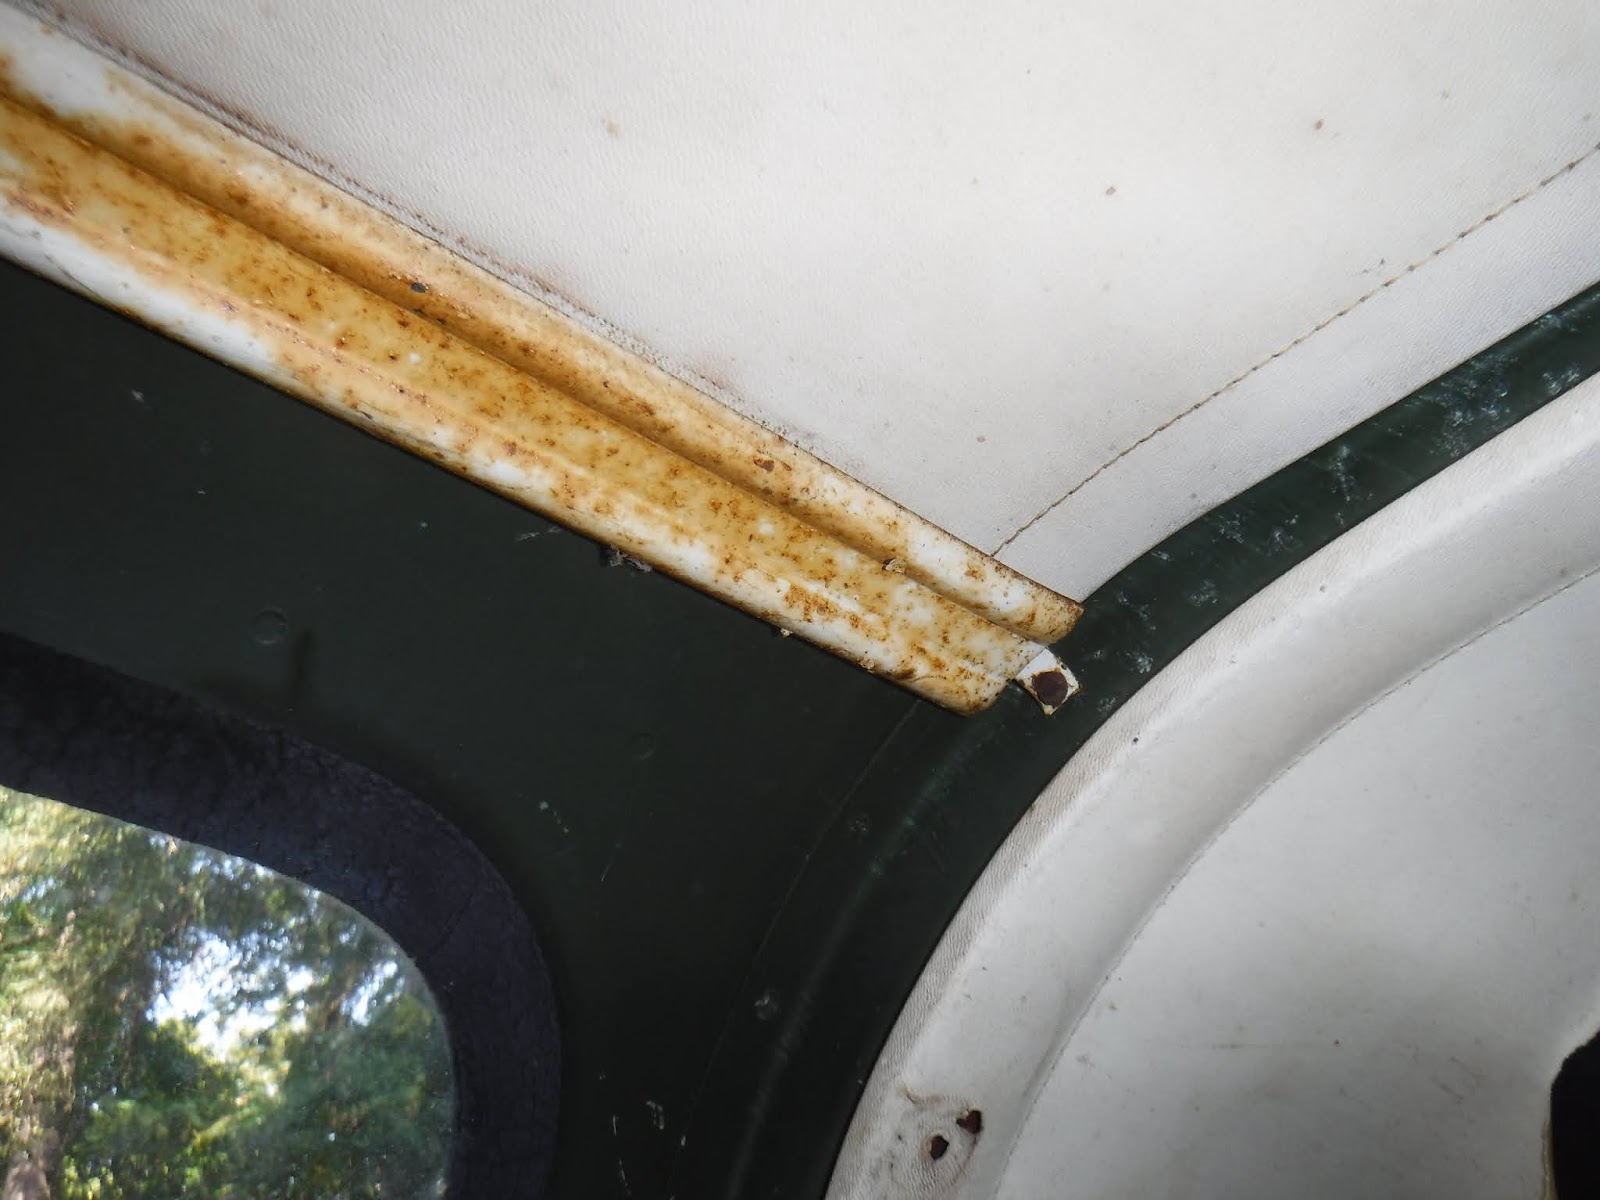
One thing I had to fix was the door seal fit. Starting at the rear door, I removed what was left of the factory crumbling rubber and drilled out the rivets holing in the retainer strip. Next I looked at the lip on the top door seal and needed to make it aligned.

This was accomplished by grinding down the lip with an angle grinder and removing the bend part too.

I also had to make the gap between the top and side bigger to allow for my back up light wires to pass. ^^^^ While the Defender style seals went on I found the fit better minus the lip.
Here is the top done;

The seals get spread out by the lip so I use some vise grips to clamp them back down on the edge.

I still have to do the front door seals.
24 July 2020
It was a struggle and I lost some skin off my shin but I got the awning and rack off. I then had to remove the middle support as it was in the way of the alpine winders. Then because I dropped it I had to square it all up. I hope it all fits again.....
Next was some reference pics of how it was put together and I found that 1 side piece is missing.


With that done I tried to carefully remove the first of 4 rooftop vents, I started by removing all the trim rings. These will have to be cleaned and painted.

The rear headliner was removed as it was destroyed and I took the rear section on the upright over the door too.

25 July 2020
On to the vents!
Then the 4 screws holding the vent itself were removed and...............................it didn't fall out, so I exerted a slow pull with increasing force and pop it came out.............and ripped the headliner. I was wanting to save that.
It was sooo funky! Someone had put some tar like substance to seal it, but it was a crappy fix.


It took a bit to get the catch apart, I wound up drilling out the end of the 1/8" semi-tubular rivets on the hinges, the finger handle on the slide was hammered out and that took some doing on this one, it fought me all the way! On the next ones I will sand off the rust on the handle prior to removal.

Some time later I had those bits I could cleaned up and after the pic I used a rust inhibitor on them.

The body was more trouble I could clean the outside easy enough with a wire wheel and sandpaper, but the inside couldn't be reached. So I diverted my attention to the vent itself.
Frelling mess! Lots cleaned up with a wire wheel, but that bubbly tar crap.........putty knife took some off, screwdriver some more, then I resorted to my propane torch and heating it up and scraping that mess off with the putty knife. Then about an hour of #80 grit sand sponge and #220 grit in the 90°F hot sun resulted in;


26 July 2020
It was Sunday and I gave the neighbors a break from all my pounding and grinding. I got some paint on the vent (Rustoleum gloss almond, paint and primer) No pictures though.
27 July 2020
I removed the middle headliner. The factory insulation is still in good shape, still during the process I wore a respirator and a face shield. and sweated........

When the second vent came out you can see why the respirator. Yikes!

"I hate meeces to pieces!" Bonus points if you know who said that.
Finding that surprise led me to setting up my compressor and using an extended nozzle blowing out the underside of the sunshade. Bunches of dust and what looked like 1 mouse house. Can you say Hanta virus?
Out came vent #2 and I set up a tarp to catch the vent to roof seal that I was going to have to scrape off. I started with a putty knife, the stuff is like dried on 3M window caulk. Is it supposed to be that? I had imagined rubber for some reason.
Quickly I escalated to using my heat gun on the seal. Mo betta!


I will document a refurb of a vent in the next installment.
Please like and subscribe.