Thursday, May 24, 2018

Land Rover trailer gets new paint

I spent a few days taping and sanding and painting my 88 tub trailer. I used some ACE interior/exterior RUST STOP protective enamel in Machinery & Implement Caterpillar Yellow Gloss. The cap looked closest to the old cat yellow on my 109, but, it is lighter.

It's not perfect but then neither is the trailer as I didn't put any bondo on any of the imperfections.

I haven't decided whether I will paint the tailgate yet as I think it helps to make the trailer more visible.

The pics;


Sunday, May 13, 2018

Compression testing my 200TDI Land Rover Engine,,,,not an easy project.....

Holey shmoley was this way harder than it should have been!

   At first after I had made the glowplug adapter I thought it was going to be fairly straightforward. Pull the plugs, take turns on the cylinders and write down the numbers and repeat it with some oil in the cylinders. Easy right!?

   Would you believe it took me frelling FIVE HOURS!

So here's the story;
     I went out and pulled the glow plugs inserted my homemade adapter in #1 and with the fuel solenoid disconnected cranked over the engine. The gauge moved, a little, it kept fluttering...WTF? Are my valves off or my rings so bad I can't build up pressure? What the hell DID happen when I changed heads?

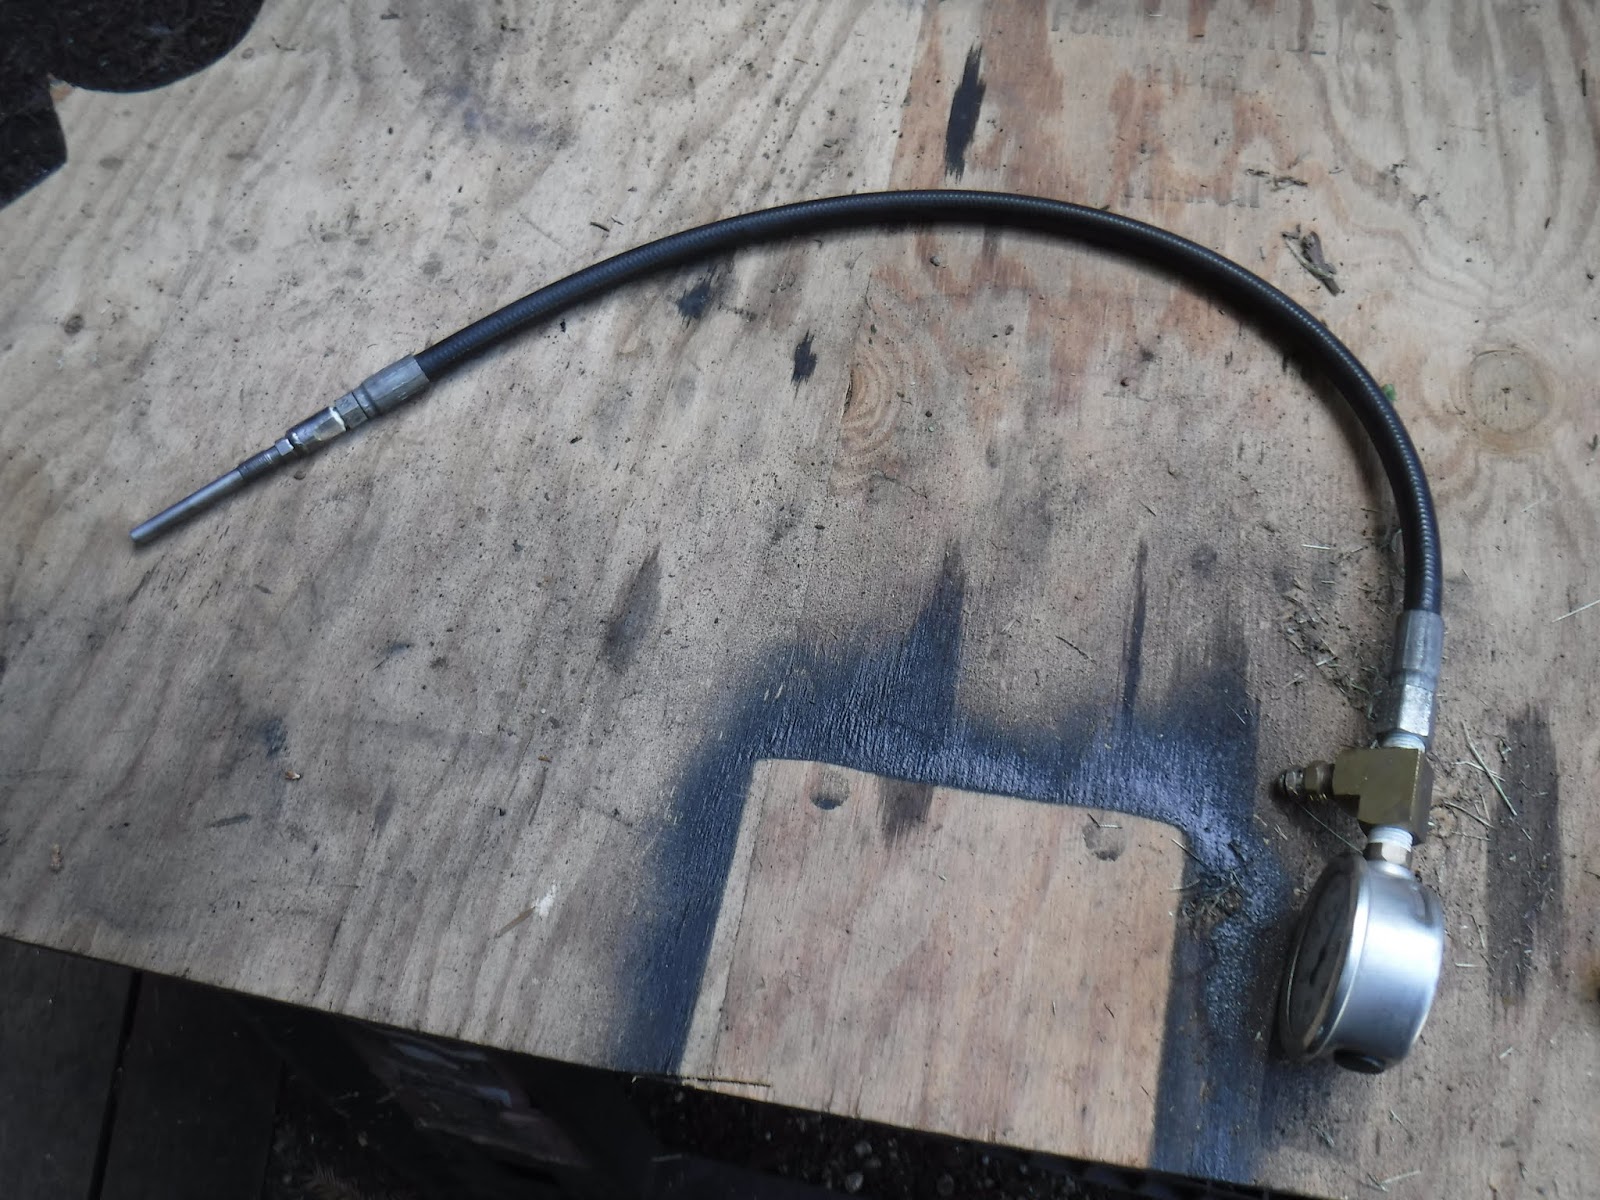
    So I tried the adapter in #3 cylinder. Same freaking thing, just a fluttering of the needle. Time to put on my thinking cap. While I do that here is the video I shot of it.


I knew in the case of my petrol compression tester it held the pressure. Eventually I reasoned out that the gauge was not keeping the pressure and it wasn't my engine(I hoped).
 So I took the fittings off and tried to see what must have seized up. And there for my eyes to behold was only a pressure relief valve, no one-way valve to hold the pressure. The fluttering on the gauge I was seeing was just the valves opening and closing.
    I conferred with one of my neighbors, a car guy, and we looked at his petrol compression set up and that's when I saw a Schrader valve in the end of his fittings to hold the pressure.
   So I needed to buy/find/make some thing that would work with my homemade adapter.

Since I'm a bicyclist I have some valve cores and old tires laying about, but it was too hard to figure the right thread size to drill for the valve core. Instead I took a schrader valve from a tube and removed all the rubber, exposing the brass body.


The next picture shows where inline I hoped to place it;


The fitting was drilled out undersized(7/32") from the valve(9/64") so I could affect a press fit.


It took me a few tries at fitting;


Before I hit upon putting the valve in the drill and sanding it down with 1000 grit paper.


 Eventually I got it and had to shorten the length by about 1/2" in the process.


Using a metal cap I was able to hammer it in without damaging the thread. Yay for keeping old stuff! here's how it would now go together;


First I had to put in the all important valve!


And screw on the adapter, if it fit.......


Success!

Once that was done I went on to do a dry test, oh wait I have a video.....First a warning the sound is really loud because there is no exhaust on so turn down yer sound.


Then rinse and repeat;


I used a syringe and piece of aluminum tubing to get the oil deep into the cylinder. I put about 3cc's of oil in each bore in it's time. That way they would all be the same or nearly so. You might have noticed that my gauge still bled off by itself at the end of the cranking. It perplexed me until at the end of it all I found I had not put the pressure relief valve on tight......

Results of the tests;
Dry
1=260
2=260
3=260
4=280

Wet
1=320
2=350
3=340
4=360

My conclusion from all this is my engine probably needs rings if not pistons and a rebore. Since I got it used in unknown condition I don't know if it has been gone thru once (or more) before. I won't be able to tell anymore unless I take off the head(again) and have someone measure the bores.

Thursday, May 10, 2018

200TDI compression test gauge adapter for Land Rover

I want/need to do a compression test on my 200TDI to try to figure out what the cause is and what the remedy will be.

     I have a compression gauge for a diesel that I used on my 19j 2.5DT engine. For that I had to make an adapter from an old glow plug. Luckily I had a bad one lying around for that project.

    Not so lucky that I don't have one for the 200...So I decided that the need was great and the needs of the many outweigh the needs of the few so 1 of my spares was sacrificed.

   Here is a pic of the glow plug and the end of the compression gauge hose. The glow plug is metric and has M10 x 1 thread while the hose has 1/8BSTP. they are close and will thread into the same hole just not the right pitch and the T means tapered so it won't work.


I started off by removing the round bit above the red insulator. I wasn't sure if it was threaded or pressed on. Using vise grips and a vise i found it was indeed threaded on.


Next was to try and get the center electrode out. I did not know if it was threaded or pressed on either. So I tried unscrewing it...No. Pressed on from the threaded end, so I'll hammer on the electrode end....No. Has to be pressed in from the other end so I'll hammer on the threaded end.....No. Hmmm must be threaded so I will try harder to unscrew....Oops, no, broke out the electrode center.


OK, now that will make it easier to drill out. The looong 3/16" drill went in the drill and a few moments later;


 At his point I had to go and get a 1/8 BSTP connector, I found one at Fastenal for a couple of bucks. Then off to Daren at Arc-Tec and have him weld the 2 together.


I was thinking that I needed to have access to the 10mm flats so as to screw the adapter into the head. Turns out it looks like it was more useful to grind some flats on the side of the 1/8 fitting to fit a 12mm  open end wrench as it is tight on the head for the 10mm open end wrench. I always use a deep socket when installing/removing the glowplugs.
    Then once I put it on the hose it became apparent that the fitting on the hose may suffice. Time will tell.


I know that this is a small story in the overall story of my progress, but I include it hoping that someone in the future will read it and KNOW what to do(or not do) from my struggles.

Hopefully tomorrow= the compression test!!

Sunday, May 6, 2018

Land Rover 200TDI oil in exhaust

Ugh!  I've been reluctant to deal with it but it has kept me from traveling far as the oil consumption was/is too great to go anywhere over say 100 mile with out fear of running the sump dry.

Since I had the head reworked in 2015 I was hoping that it was and was not it. As in maybe just a valve stem seal for a simple fix.

As Spring came this year and we got several days of sun and warmth in May I decided to change out my head gasket which had oil leaking out at the front.


Not my first time with a LR head off so other than the usual struggle with the exhaust down pipe things went well. I pulled the head off and here's what I found;
The block with and without gasket;


The head, showing #3;


Now the valve stem seals all look good and are the genuine Corteco ones ETC8663.

So I decided to swap out the head for my spare which was also rebuilt, not locally but in the UK.


Got it installed and all buttoned up over the course of a couple of days. While I had the head off I checked the injector pump timing with the #1 cylinder at TDC, I was only off .005 with the dial caliper depth gauge down the injector hole trick!


Ran it at idle, tightened up hoses and had to redo the valve cover gasket and took it for a test drive of around 4 miles.  After the usual oil and coolant leaks were taken care of and while fiddling with the valve cover gasket I re-adjusted the valves. I was thinking I had finally got it when I saw oil bubbling out where the turbo bolts to the exhaust manifold. Strange I don't have that picture.......

Well my next step was to remove the intake and exhaust manifolds and make sure that the turbo was not the culprit, that the turbo oil return line was not plugged. As it is a relatively new turbo I hoped it wasn't it. Struggling with the downpipe again I could see fresh oil in the top of it and so too in the exhaust side of the turbo.


and the exhaust manifold was a mess;


It all appears to be coming from the head;


From the exhaust ports. The intake side is clean;


So I cleaned things up a bit and ran the engine at idle without the manifolds on and in about 2 min this is what I could see in #3 cyl #5 valve;


Hopefully here's the video;


Now weighing my options. Do I pull the engine and rebuild it, Do I pay someone else to pull the engine and rebuild it. (my driveway is on a slope and gravel), Do I buy a 3/4(long) block from somewhere in the UK and just put that in, Do I take this time to put in the Mercedes conversion or finally use that Scotty Chevy conversion adapter I've had kicking about for all these years, or............Whatever it is you'll be first to know, well maybe not but I'll get around to putting it on here...... ;^)

Thursday, May 3, 2018

Receiver hitch on a Series Land Rover?

Of course you can! Seems everyone wants a pintle hook, but on this side of the pond they are not so available. A few years back I bought a 2" reciever hitch(galvanized) for my 109 from Pangolin4x4.


For me this is much more versatile, I have a tow ball I can plug in and I made a step to help with getting in the back.


It can stay there in the stowed position when not in use.


Then there is the use of my bicycle rack. My main reason for a receiver. I can get 4 bikes on there but it is not easy.


At first the door could barely be opened but that was just not adequate so I modified the bike rack so that when the rack is lowered the door cleared the upright locking position. I did this by just moving all the locking stuff down and cutting off the stuff above the door. You can see that the door still won't clear the rack but at least there is access to the rear even with the bikes on the rack.


Now you ask what am I going to do when towing the trailer? Well, I've thought about this a bit, the roof top on the 109 is waaayy too high. The roof top on the trailer is much better but the added weight of bikes on top make lifting it for access not such a good idea.
    So back to a receiver hitch. Since I bought my first one I have seen the receiver part available at my FLAPS. A 6" one ran me $25.00. I have an old Land Rover hitch that someone had made up and  I had had it galvanized.


So I cut off the blocky hitch bit and shortened the overall height so it would not be a plow on off-road occasions. Then set about centering the receiver and tack welding it on. Next came the hard part. I measured and cut from 1/2" flat plate the angle braces and using a cutoff wheel in a worm drive carpenters saw I cut them out. It took a couple of hours since I had to make small cuts, about 10 of them for each piece. At the end of the day my shoulders and right arm were tired and sore!
    I trimmed and cut the braces and tacked them in place.
   The bottom brace has a 1" hole in it for chains from a trailer so I figured I would put one in mine too and use it for locking the bikes up. This proved problematic. I started with a 1/4" bit and stepped it up to 5/8" and ran out of bigger drills. What to do?
    I found a 7/8" hole saw but that was as big as I had unless I wanted to go to 2". I was thinking I could dremel it out, but decided there was too much material for such a small tool. So I slept on it.
    Before quitting for the day I welded the receiver and the braces I had finished on, cleaned up the flux and sprayed it with rust preventer.
    The next day I rode my bike into town and bought a 1" hole saw. It took a while and with plenty of cutting oil I got most of the way thru with my drill press. Then it began to bind up.
   Out came the big gun, a 1/2" drill with a strong motor. I put the plate with the hole in my vise and the hole saw in the drill and 5 min later had a hole all the way thru.
   I chamfered the edges, lined it all up, tack welded it down and then fully welded it in place being careful to not breathe any of the zinc fumes.
   Finished off with a heavy coat of truck bed liner and in a couple of days when it's all dry I will mount it on my trailer. Then I can tow the trailer and the trailer can carry the bikes.

Finished receiver;


Next I can get a bumper dumper......http://bumperdumper.com/