Lot of stuff to cover, here goes; I been busy and things are moving along. Besides watching my 8yo grandson play baseball for the first time, I've been plodding along on the 109.
Here is some pics of the final hose routing for the power steeering.
I started up the engine and ran it a bit and added power steering fluid and checked for leaks. It was nice having the throttle cable hooked up and being able to modulate the engine at start-up. While it was idling it wouldn't keep an even idle it was steady for the first few min then as things warmed up it began to speed up and slow down. I felt the adjustment screws and nothing was moving so I'll have to investigate further. That means read the book and ask questions online.
I've needed to install the mudguards to the inside of the wheelwells. So I had a new steel one for the left side that needed to be modified to fit the servo brake installation and the new power steering apparatus. So as I sat in the HOT sun I was able to fit and mark and cut and fit and mark and recut and retrim. Then I put in 1/4-20 riv-nuts so I won't have to deal with nuts and bolts in the future. You can see in the second pic that I am using 3/4" spacers so stuff just falls thru and won't sit and rot the footwell or mudguard.
I am working on fitting a guard to cover the end of the brake master cylinder and another to cover the lower steering column. These too will be attached by riv-nuts.
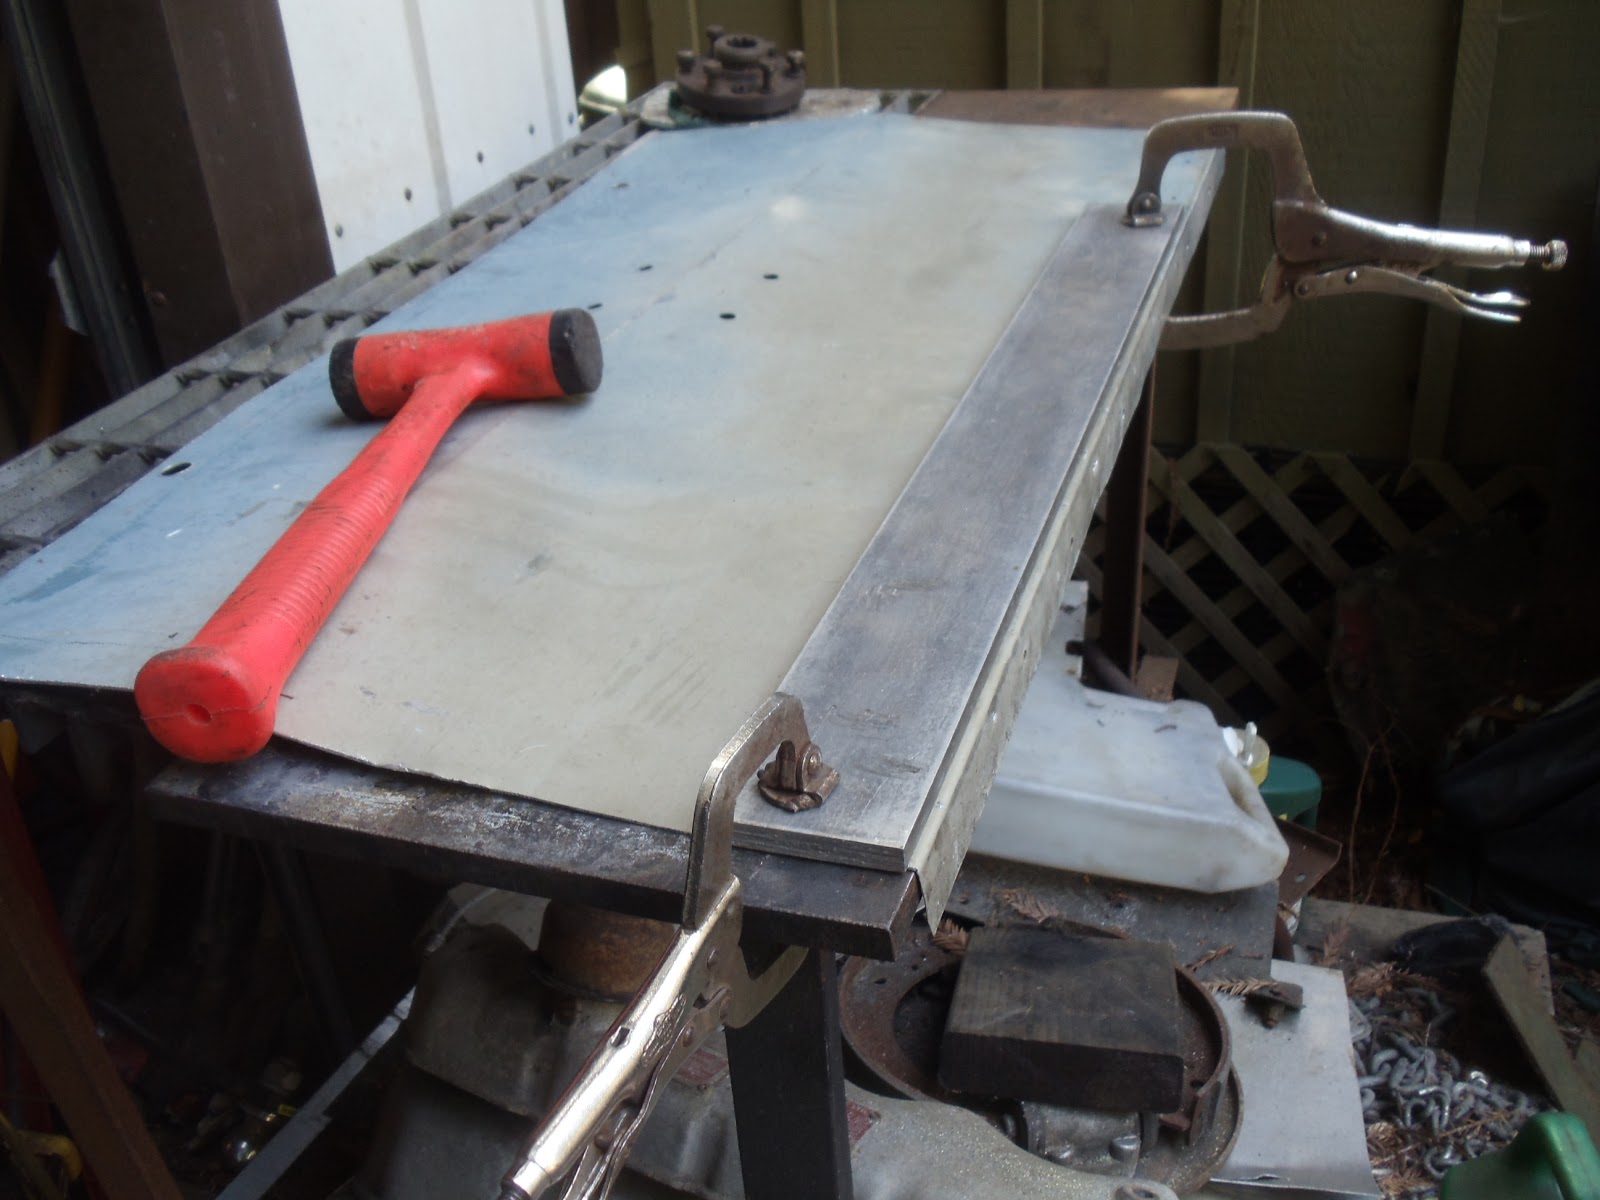
With the right hand side I needed a new guard entirely. So I made one out of a piece of inner seat bulkhead. There was alot of measuring and fitting and cutting and bending. Fortunately I had an old rusty RH one to work off of as well as the holy one which came off the 109.
Since the RH wing was off the vehicle I went about cutting the end of the top panel off and adding a support panel to make it removable for easier installation and maintenance of the heater/blower.
I was able to fit the mudshield and make sure the riv-nuts were lined up. MUCH easier while off the vehicle.
I just hope the hole for the hose is in the right place!
A couple of weeks ago I set about making some new demisters. Part of the reason is the upgraded blower. The old hoses were 1 1/4"ID the new ones are 1 1/2'. I made them out of Brimabright which I had lying around and had a local welder (Arc-Tec) make up some 90deg fittings out of aluminum.
Then after bringing them home and marking the "clock" on the fittings to clear the wheelboxes of the wipers I took them back and he welded the 90's to the demisters. Part of the process was paint removal(palm sander 80 grit) and some wirebrushing. They were test fit about 10 times to get the fit against the glass right with fettling about the frame. Finally they were sprayed with truck bed liner. Today the hose came in so I was able to put it on
. Next I have to fabricate a new(?) air distribution box or make this one work as the holes for the outlet are not right and there is no control flap for diverting air to the windscreen.
Awhile back I had Daren the welder make me some stainless steel wing mirror arms. I bought a 5x7 mirror and mounted it up.


 The seat belts arrived although I forgot to order the bottom mounting bracket. I decided on the inertia seat belts. These require a 4 point mounting system which is another small challenge. One is the aformentioned bottom bracket, 2 is the top above the shoulder, 3 is the reel mounted to the top of the seat bulkhead, 4 is for the stalk recepticle on the side of the seat.