Wednesday, November 9, 2022

Land Rover 2 speed wiper motor rebuild

 9 Nov 2022

    While I was sorting out my jammed up wiper motor I took the opportunity to clean up and fix the one I have as a spare. I don't remember where I got it. It was disassembled and all greasy in a bag.

   One of the first things I tried to find was an IPB (illustrated parts breakdown) for the Lucas unit # RTC3867. I found one on a Lotus website.


Though there are no part numbers just seeing how it went together and names of parts was great.

What I want to do here is show the difference between the 2 units I have. Basically the same as I found the clip and drive shaft on the #22 Final gear are different as is the shape of the #18 connecting rod.


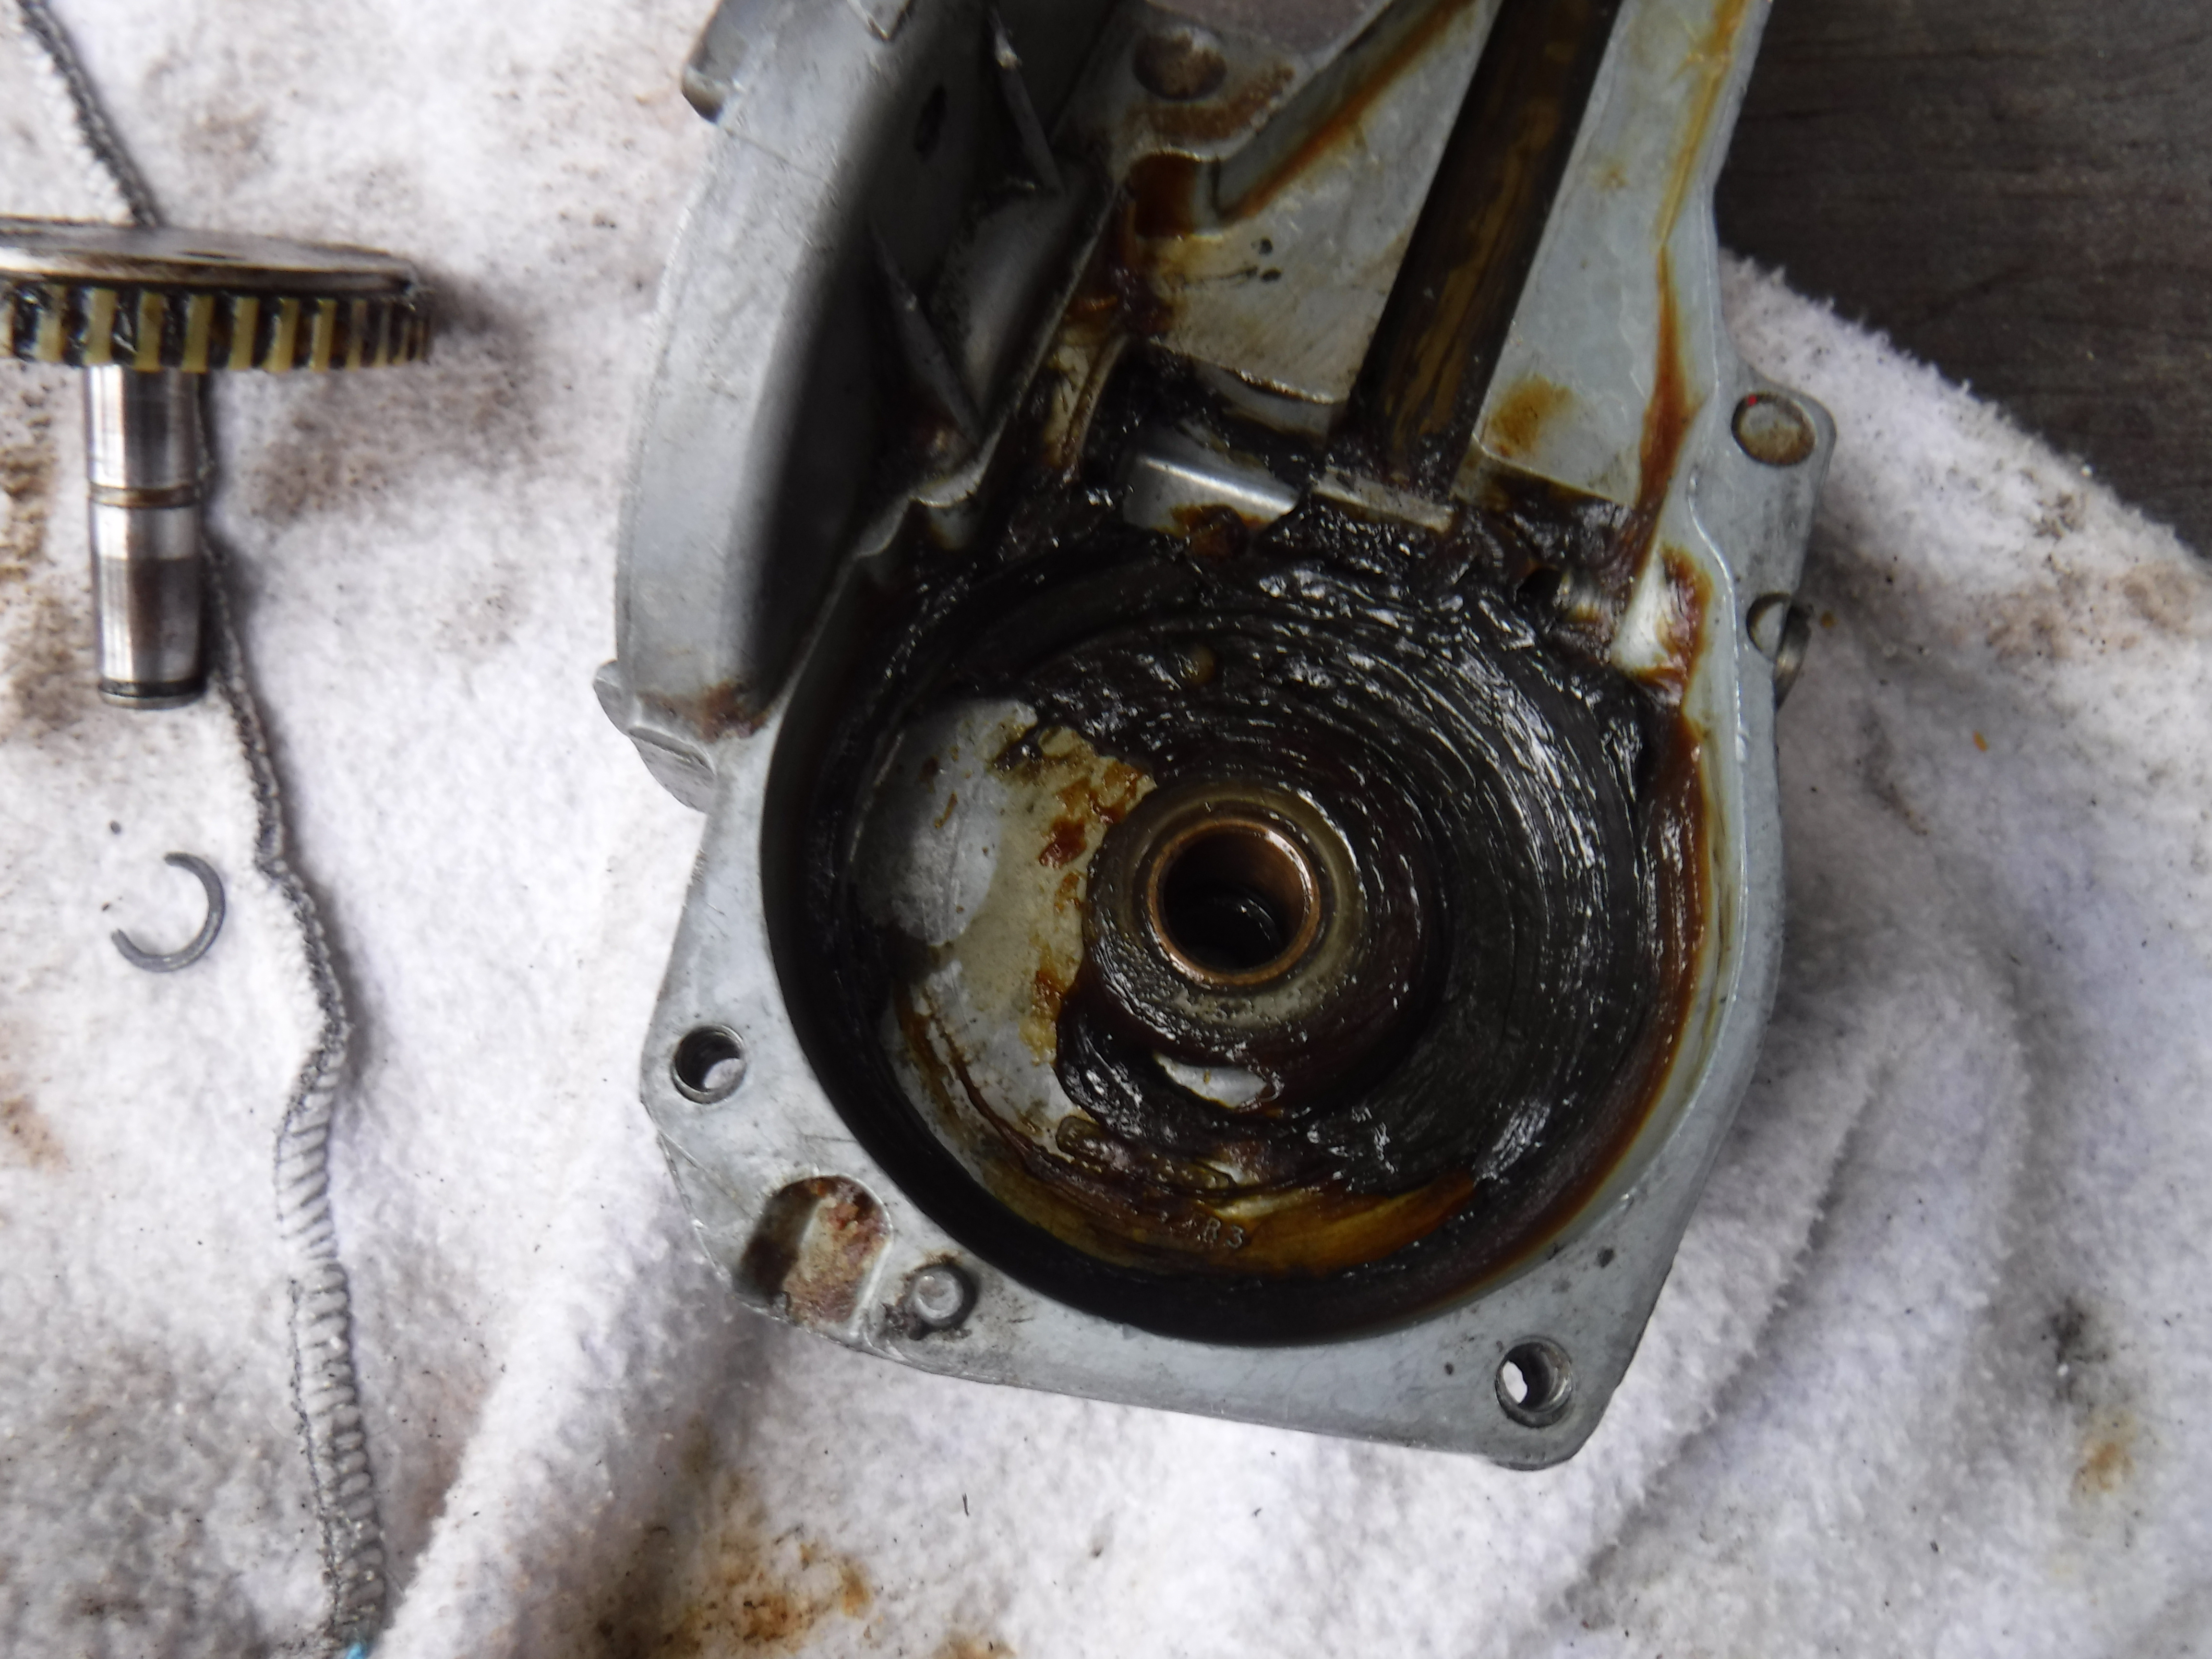
Mainly the difference is the drive shaft on the final gear, the older one (1969) has a larger shaft at where the e clip fits. Whereas the newer one(1974) has a reduced shaft at the top and a smaller horse shoe clip. Below you can see the 2 clips and above them you can see the disconnected brush.


After some clean up you can see the brush plate and the missing brush. Below that is a pic of the windings.


   Setting about to clean it all up and see if there was anything else needing repair I removed the c clip from the shaft of the final gear and pulled it out for cleaning and inspection.


Next I turned my attention to the brush plate part #RTC198, and cleaned and removed it.


With the final gear removed and the grease cleaned out of the gearbox and crosshead guide channel I had access to the 2 screws holding on the electrical connector.


Which I promptly removed.


I was surprised to see the brass insert for the slide as I was cleaning it up. It looks pressed in and machined.


The final gear was cleaned and I found this 120° stamp.


With that done the windings were pulled and the commutator cleaned up with 1500 grit sand paper then I used a dental tooth cleaner to scrape the space between the copper to clean them out. A trick my electrician brother showed me. With the cover empty I cleaned it with brake cleaner and wiped out all the built up crud and rust. The outside was wire wheeled to remove the rust.


 I like to use different paint on things I have rebuilt so yellow was chosen for the cover.


 As that dried I cleaned the brush assembly with brake cleaner, which is just acetone under pressure, and re-soldered the brush on.


As I put it all back together I lightly greased all the slidy, turny, teethy surfaces with wheel bearing grease.


Then I had a chance to test it with the cover off my cars wiper motor. I unplugged the old wires and plugged in the ones on the 109, and hit the switch! It jumped as the rotational forces affected it in slow speed and jumped again as I hit the high speed on the switch. No smoke came out! WOOT! WOOT!


 Now I have a working spare!

Thursday, November 3, 2022

Land Rover single motor wiper repair

 1 Nov 2022


   I was coming back from shopping in the first rain of the year and........GACK! my wipers stopped moving! Got lucky I thought as they stopped in the "park" position. It was raining hard and the Rainex on the glass enabled me to see and drive the 6 more miles home.

   After puttin the groceries away and having lunch the rain slowed and I checked the fuse, it was good. So not a simple fix....After the rain stopped, the dash panel with the switch was removed. and I used my test lamp to check power flow through the switch, all good. Has to be at the motor. Right?

   I have no idea how old or used the motor is. Unscrewed the cover and flipped the switch, nothing! Again using the test lamp I could tell power was getting to the motor. So the motor has to come out. :^( It's not complicated and not easy at the same time.

   Removing the clamp is the first step,  the bottom nut is hard to access. On my 109 I have a flat bar with 1/4-28 bolts welded to it as opposed to the factory Late 2a-3 nut bar. With the bottom nut off using a 7/16" deep socket and extension bars I could then take off the top nut.

    With the unit loose the wires disconnected the motor to wheelbox tube needs to be disconnected at the wiper rack nut. This makes the unit easier to turn around for access to the back panel of the unit. Removing those 1/4" head screws gives one access to the inside of the drive. The slidey gizmo needs to be disconnected from the drive cable simply by pulling it out.

   Once this was all done and the unit in hand I could see why it had stopped. There was hope yet for a cheap repair!


Can you see the horse shoe clip jammed in the gear?   Using an ice pick I prised the clip out.


It was bent to ......well you know.


I think it is spring steel and I tried flattening it out but wasn't perfect so I went online for help. Didn't go so well as  noone has an IPB of these units. Having a vague recollection of a spare I searched, and searched, finally I found it in the last place I looked, funny how that works!

    Then it took an hour of cleaning up the greasy mess someone had given me. But Yay! it had a clip! BOO it was the wrong shape and size.......you can see them both in the pic. The spare is on the right. it used a smaller "e" clip.


     It also used a different shaped slidey dogbone drive thingy. Technical terms, don't get confused.


    The next day I went to an auto parts store in search of a horse shoe clip, no luck, didn't have an e clip that fit. Then hit the local hardware store where I found a 1/4" e clip and I bought 2 of them $.30ea.


At the same time I figured out the spare I had must have quit due to the 1 brush had lost connection and the PO didn't want/couldn't fix it. You can see the brush in the pic above, below is the wiper motor brush assy #RTC198.


    It looked like the PO had not stored, or perhaps used the wiper in wet conditions as the windings show rust and doesn't turn so good. I'll not use this one.


     So with the kind help of the Land Rover online community I am sourcing spare bits.

    The old unit was tested and reinstalled and tested again. We'll see how it goes.

9 Nov 2022

Someone online sent me a horseshoe clip so I put it on today. I am stoked!


OK winter, bring it on!

"Bring what on?"

"It!"

Saturday, October 29, 2022

Land Rover 109 rear door strap mod

 29 Oct 2022


   I've lived with the fact that raising the spare tire mount on the rear door made the outside handle hard to access. Mostly impossible with the right hand, making it difficult when the hands are full. Generally I just use my left hand, it has to do with leverage. Here is a look at the problem;


   On YT I espied a fix on a video of some folks in their 110 travelling, I didn't get the channel name to link it. If I find it again I will post it up. I didn't see how they did theirs, so this is my version.
    Here is a look at my spare mounted on the door.


In this pic you can see how much I raised the mount and for access to the handle the spare had to come off.


I found a strip of nylon strap 3/4" wide, figured out I needed a 6" loop and cut it too length.


Holding it with my needle nose I melted the 2 ends together.


Next I dragged out my grommet kit and selected one with a 1/4" ID.


Punching out the hole on a piece of wood and getting out the anvil, placing the bottom of the grommet, strap, top of the grommet and then hammering on the mandrel.


Viola!


    After some searching I found a 10-32 machine screw long enough to do what I wanted. It needed to be long enough to go through the strap and 2 washers, have a nut and then another washer, go through the handle and have another washer and lock nut.


   Using a SS finish washer under the head, I tightened the nut down until the strap would not turn and then backed off a 1/2 turn so the strap was free to rotate on the screw. A 13/64" hole was drilled in the handle.


The SS screw emplaced and it all worked out OK except I couldn't fit 1 washer between the handle and the first nut. Testing had the handle working as advertised!


Soooo, the tire was remounted and the strap testing worked out again.


Last image is of the tire cover on and the strap at the ready! I'll see how it goes, eh?