


 |
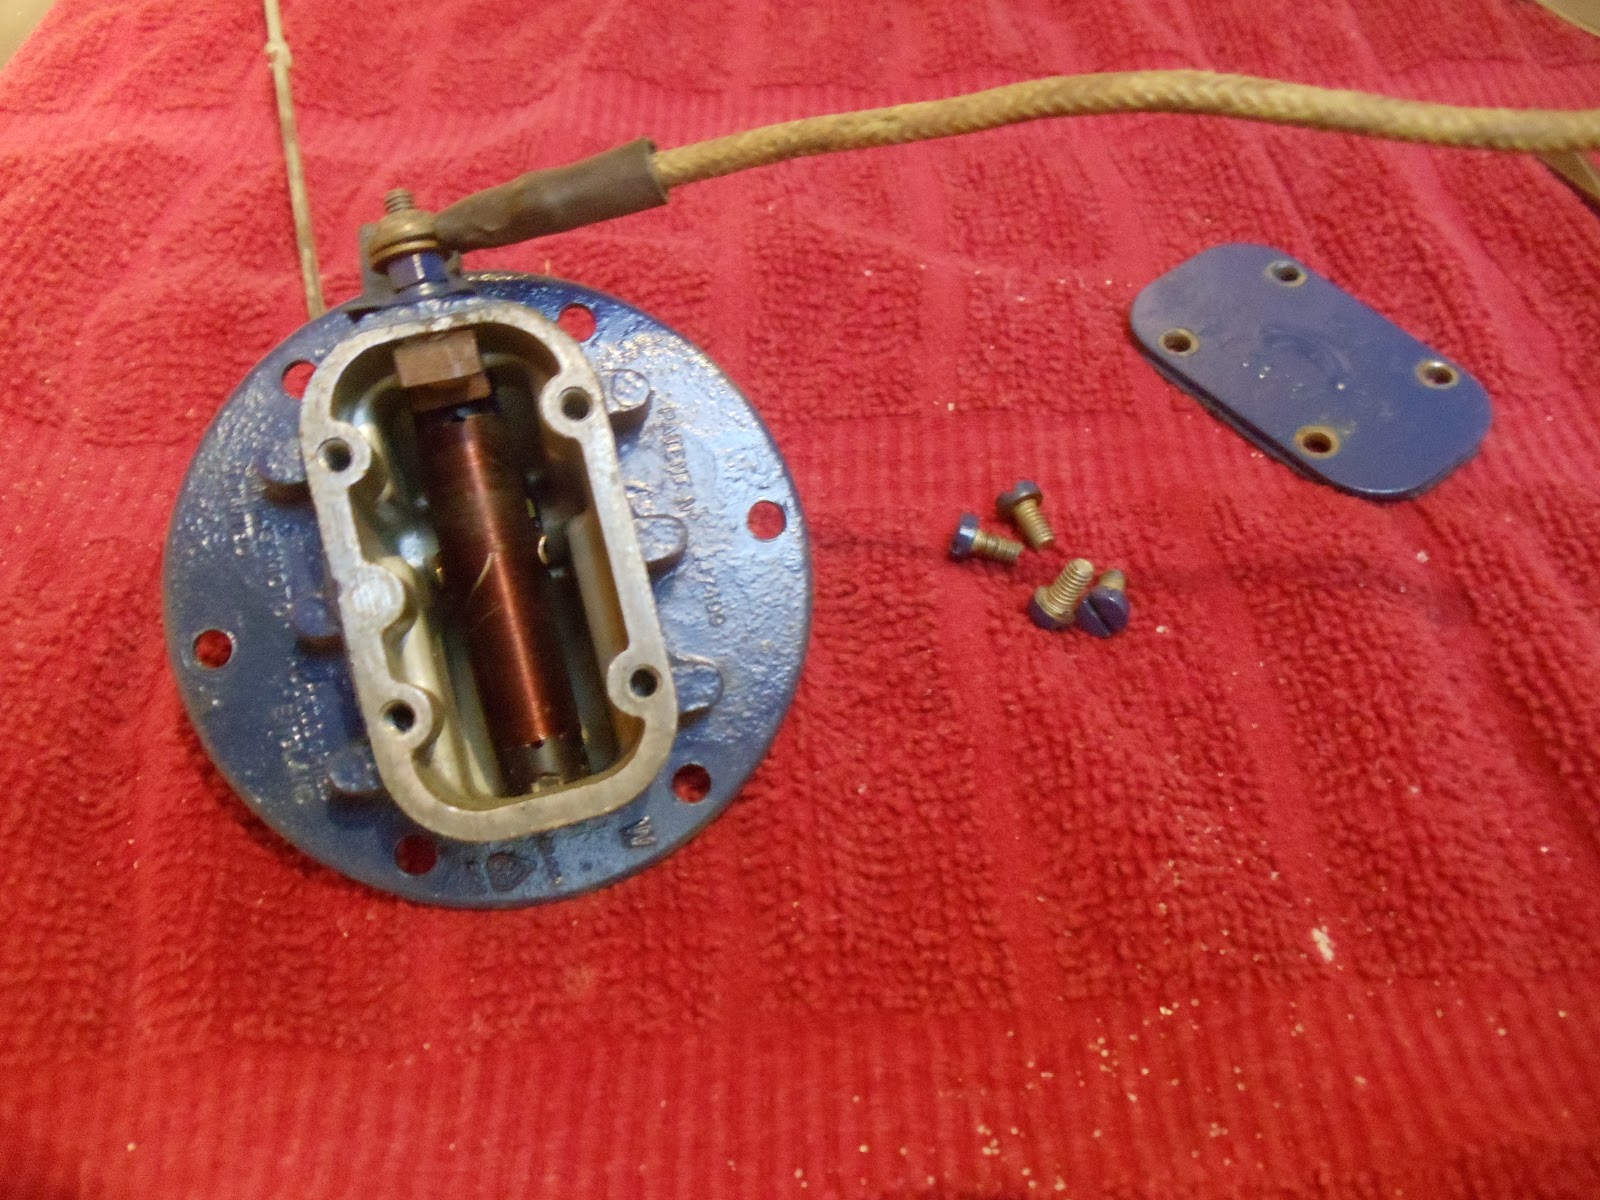
| Back of guage |

Once the pressure guage was in and the air distribution box I could put on the RH wing. I did this with 1/4-28 stainless bolts. One thing I have gotten to use a lot lately has been my cordless drill. I cut off the handle from a 7/16 nut driver and chuck it into the cordless. Makes quick work of the installing of bolts!


With the guage done I could also close up the dash. After doing so I connected the battery and turned on the power with the key. It was then that I noticed that the fuel guage was reading MT. I knew there was some fuel in it but not how much. So in went another 2.5gals. No change on the guage. :^(
So I opened up the seat cover for the fuel tank. I went about testing the wires for power thinking there was none. When I touched the hot lead with a grounded jumper the needle about slammed itself thru the roof of the guage! Well I had power alright! Now the needle was stuck on the top and nothing I did would make it come down.
AAhhh, I had a spare so I once again opened the dash and changed the fuel guage out. Nothing I did could make it read correctly. So I asked on the Series 2 Club forum for help.
Turns out there are 2 types of guages and 2 types of senders, early and late, and they don't mix. Early guages have the arrow style needles and go with the domed senders(2 terminals for diesels). The late have the straight needle, need a voltage stabilizer and go with the flat top senders(3 terminals for diesel/ground). The second terminal on the early guages runs a low fuel warning light for diesels.
Now I had kept my orginal sender and had cleaned it up. Even though it is for petrol I can use it in my diesel tank with out the low fuel warning light.


While doing all this I realized that my fuel guage was "on" every time I hooked up the battery cable. It was a matter of disconnecting the wire from the fusebox and tapping into an existing hot when keyed circuit. When the sender and wire were swapped out and working correctly I closed up the dash!
A few days ago I put on the steering wheel, sorted out the positions of the horn and turn signal. Started it up and put it in gear. HORRIBLE grinding in the tranny. Traced it down to the overdrive, it is not adjusted right and not going into regular gear. When in od I could lift the clutch and move it forward about 6 inches and roll back on the chock.
I didn't drive it because I was still awaiting a new brake master cylinder. Well that came in on Thursday from LRSeries. www.LRSeries .co.uk But I was fighting with a clogged septic line starting on Wed night. Finally got it cleared Friday afternoon,,,whew!!
Saturday June 1st I put it on in the morning and used my power bleeder to bleed the brakes. Then I spent the HOT afternoon lounging in my daughters kiddie pool.

My solution; I used super glue (Locktite) to glue the washers to the spacers, one on each end.


Once the bits were stuck together it was easy to hold them and put the bolt thru. This should help drop the water and dirt thru the footwell area and prevent more rust issues.


A happy owner!

Update; the superglue didn't work. It held fine for the original mounting but upon the first dismount it fell apart.
No comments:
Post a Comment