
14 Aug 2021
I made some mat mounts and are fairly happy with them, except the aluminum ones are not universal fit, they have to be EXACTLY RIGHT to remount on the holder. While I have yet to use them in anger, I have had to take em off and put em on several times.
That build is here; https://poppageno.blogspot.com/2015/11/sand-ladders.html
What to do? Look on the web.......how do others do it? I saw one where the picture showed the mat at 90° and could be used as a table. No story behind it or how it was done. Kool idea though. Look more on the web......
Being pretty un-busy due to covid-19, last week I finally got around to looking at the problem, doing mental gymnastics and finally heading out to the garage with the hope of figuring something out. (I needed something to DO!)
My mind kept coming back to the table idea. How to make that work???? Looking at the mat I took some basic measurements to see what would be required to hold the edge of the mats and if I had anything that would fit. I found a 6" piece of Superstrut and tested it for fit. OMG it worked!
Now what was needed was a hinge. Reasoning that I would no longer need the lower locating pin on the mount upright I cut one off and re-welded it down lower. No one likes too tall a table! Bonus was I could use the lock hole for a hinge pin hole. Bending up some 1/8" x 3/4" flat stock into a "U" took some doing and then aligning holes on both sides for the pin......
I wanted a stop on the hinge for the mat to lie at 90°.


I got this far and realized that having 2, 6" sections was going to be hard to load the mats back into after use. I needed a full length 1 piece tray. Luckily I had a piece of strut left over.
So I went ahead and made 2 "U" pieces and cut off the other lower pin and had to make a new one for the hinge due to length, welded it the same place on the other upright.


Once I was sure they would work I did the finish work. First the length of the tray was figured out, 3' and the hinges were put at 2'.


While doing this I came to the conclusion that I wasn't going to be building any runways and the little hooks on the sides of my mat were just in the way. So off they went with an angle grinder and a cut-off wheel. This made it so much easier.

Of course it needed a test mount. Making sure the tray would pivot and then hold the mats and pivot.


I was stumped for a day or 2 on how I was going to hold the top, locked and keep it from rattling when driving. Whilst farting around with it the germ of an idea grew.
It would up punishing me. Here is how;
It looked like I could make some flat pieces to weld to the upright and fit thru the slots in the edge of the mats. Problem was I didn't have any steel the right size. So first I found a section of 2" square tubing and cut out 2 x 3/4" pieces. Fashioned them to the same size and put in a radius to fit the upright in one end. They are on the left of the picture. A test fit showed they were too short.
So next 2 x 3/4 x 3.5" were cut out of the same tubing. They were sanded to the same shape and it while I was putting a radius in the ends I realized they were too thin at less than 1/8". They are on the right in the picture.

All this done on a hot day. I really had to scrounge for what I really wanted/needed, a piece of 3/16" steel I could get 2 x 3" pieces out of. But I found one! I had to make several cuts out of an odd shape to get what I needed. I did all this with a cut-off wheel on an angle grinder. Then clamped them together and squared them up on my belt grinder.
Mounting the mat on the tray on the uprights I could tack weld the new bits in location.


Test the lock hole placement.

And that got me to about 4 days ago. I needed my thinking cap on to keep them from rattling whilst driving. Something that would clamp down or provide tension(spring?) and not get lost. I hunted the local hardware store, and wound up online.
There I found an adjustable clamp that might work. A pair were put in my cart, paid for and shipped. They arrived today.
Anndason Toggle Latch Clamp 4006 With Keyhole and Movable Spindle,816Kg 1800 Lbs Holding Capacity

So a test fit;

Got lucky the clamp fit the lock tab! So OFF WITH THE OLD MOUNTS!

Another test fit!


Good to go so tack welded, then the mats removed and fully welded. The shape of the clamp bracket is too wide so I ground it down to fit better.


AND PAINT!

Next how to hold it in the open table position?

A bit disappointing is the clamps. They don't seem to want to stay in the tensioned position, maybe due to the angle the pull is. I need to have a little strain and then use a lock to keep them from opening.

The tension does help with the noise from vibration. Another issue is when I rotated the tray by hand I can actually pop the mats out of it. I did a test of the mats at 90° using just some paracord to hold it up.


By pushing down as hard as I can I was able to slide the mats out of the tray. Bummer. Deciding to make an "L" bracket to hold the mats in I located a spot in the middle.

Drilled it out and prepped it for welding on a 1/4-20 nut.


It looks OK and works perfect, I'm just sad that using the mats won't be as simple as I wanted. Maybe if I remove the keeper before I go where I might need the mats....


16 Aug 2021

Not the direct pull or easy clip on I wanted . SO OUT WITH THE ANGLE GRINDER! Followed by the flap wheel. OOooooo! nice!


I made some funky temporary bottom S hook thingies Out of old bicycle spokes until I can get/make something mo substantial.


17 Aug 2021


Still clamped together the hole was drilled. A little cleaning up.


Next careful alignment and scribing lines for the bends. Now I don't have a press so it takes some gyrations to make a "U" shape bend, and then to make 2 the same.....whew....my vise and hammer got a work out!


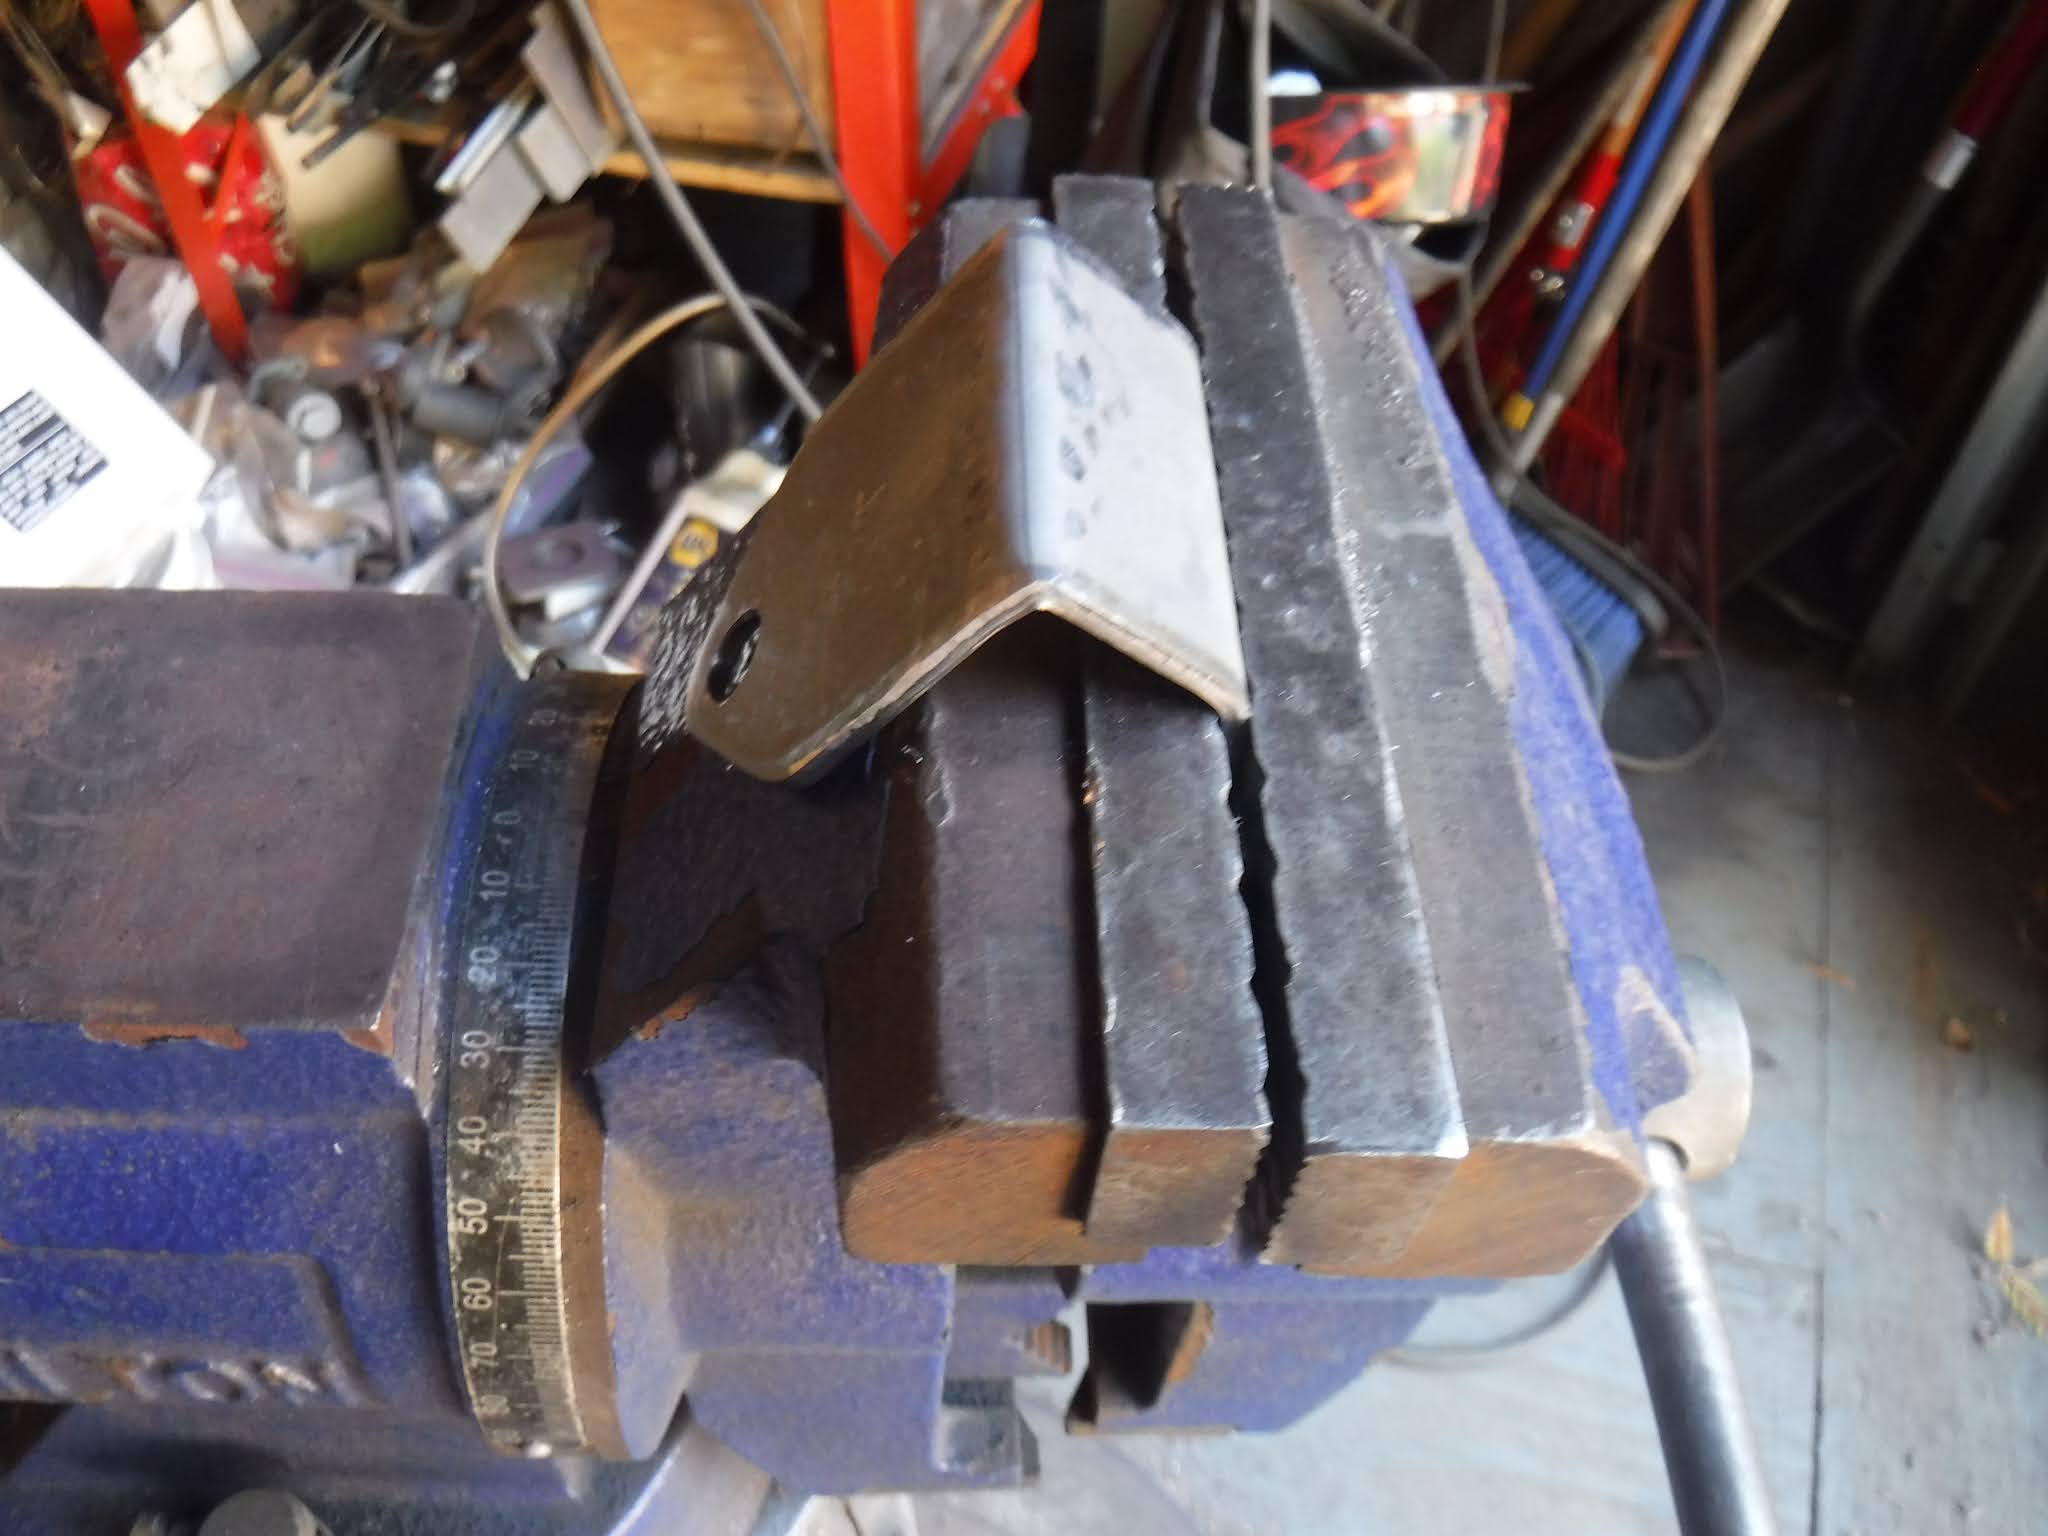
In order to finish off the last bend I had to use a block and a shaft to tap the side down.

One done!

2 done! Of course they were cleaned up and the holes chamfered prior to rust preventive application.


Up next after drying was to fit them on! WOOT! WOOT!


They work, and I have to admit they are one of the better looking things I've made. I tightened them up, after seeing that they hung down slanting out, so they sit level. Not like in the pictures.


Now to figure out something for the Maxx Traxx style. They are a whole different shape so something else will have to be designed. But I have an idea.......
No comments:
Post a Comment