
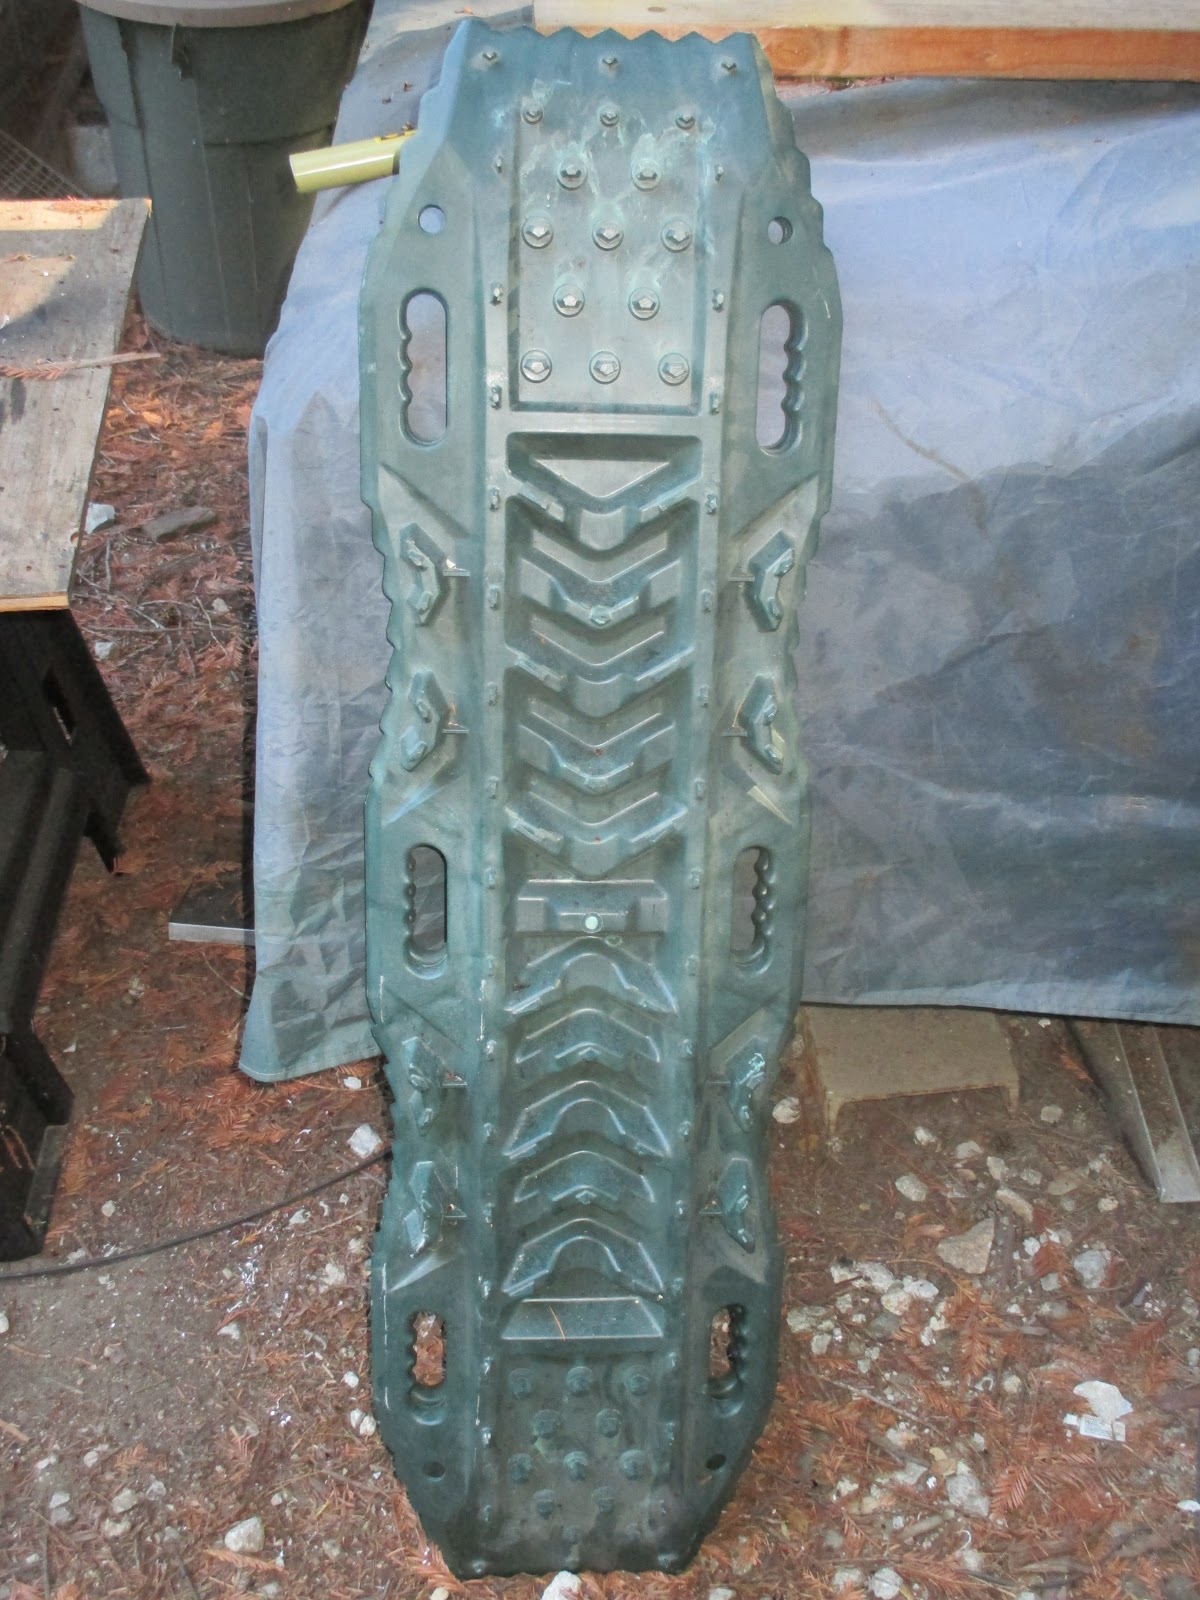
Then this Summer I found some of the old aluminum ones like they used in Viet Nam to make airfields. Another deal, $75! These are 48" long and don't fit too well up on the rack and my 109 is so tall I'd have trouble getting them off without going up on the bonnet.

So I started dreaming and looking at how other ladder/mat mounts were made and attached. I was also informed that the ladders once locked on will prevent entry into the windows if placed right. So one night as I was going to sleep it hit me what to do.
By now you should know I'm a fan of KISS(Keep It Simple Stupid), what could be simpler than a mount where holes were drilled in the roof sides and flat bar used to stand off the ladders with round rod used to support the ladders and the ends bolted to the roof side.

So I made a pair of them and put them together and set the holes up for the ladders and drilled them;


But YUKK! I am loath to drill holes in the body if I don't have to. Had to dream up something else.
What I wanted was something which would clamp to the raingutter and hold to the tub. Maybe rivenuts? No, more holes..... Having removed the paint and doing the whole rebuild I had intimate knowledge of the construction of the tub capping and fitment. I knew there was a gap between the capping and the tub side. Once I realized that I could take advantage of that gap as a holding point I set about planning a turnbuckle type of set up to clamp between the raingutter and the capping. Too costly and complicated so I scrapped that idea.
I do my creative thinking just before I go to sleep, usually I don't remember that great idea in the morning and try to write things down before sleep. I tried to make a clamp out of flat bar stock but getting the tension between the top and bottom was way more difficult than I thought. I still needed some kind of turnbuckle thingy to get it right.
The next night; WHAM! It hit me I can use a hook at the bottom connected to a rod with threads at the top and if it is the right length it will hold the tension keeping it in place. Simples!
So using some stuff I had laying about I set about to build a prototype. 3/4 tube, 1/8" flat bar, 1/2" rod. Then it was a couple of hours heating and bending, drilling and welding, fitting and grinding.


I welded a nut in the tube at both ends to center the tube and hold it tight. The tube is welded to the bottom clamp;

Here is a pic of the prototype;

I had to center the holes for the rod to hold the ladder off the predrilled holes for the flat bar mount.

Yeah, It worked! So then to make 3 more........Starting with obtaining more tubing and flat stock and cutting;

And bending;

Drilling and filing and tack welding;


After they were all made;

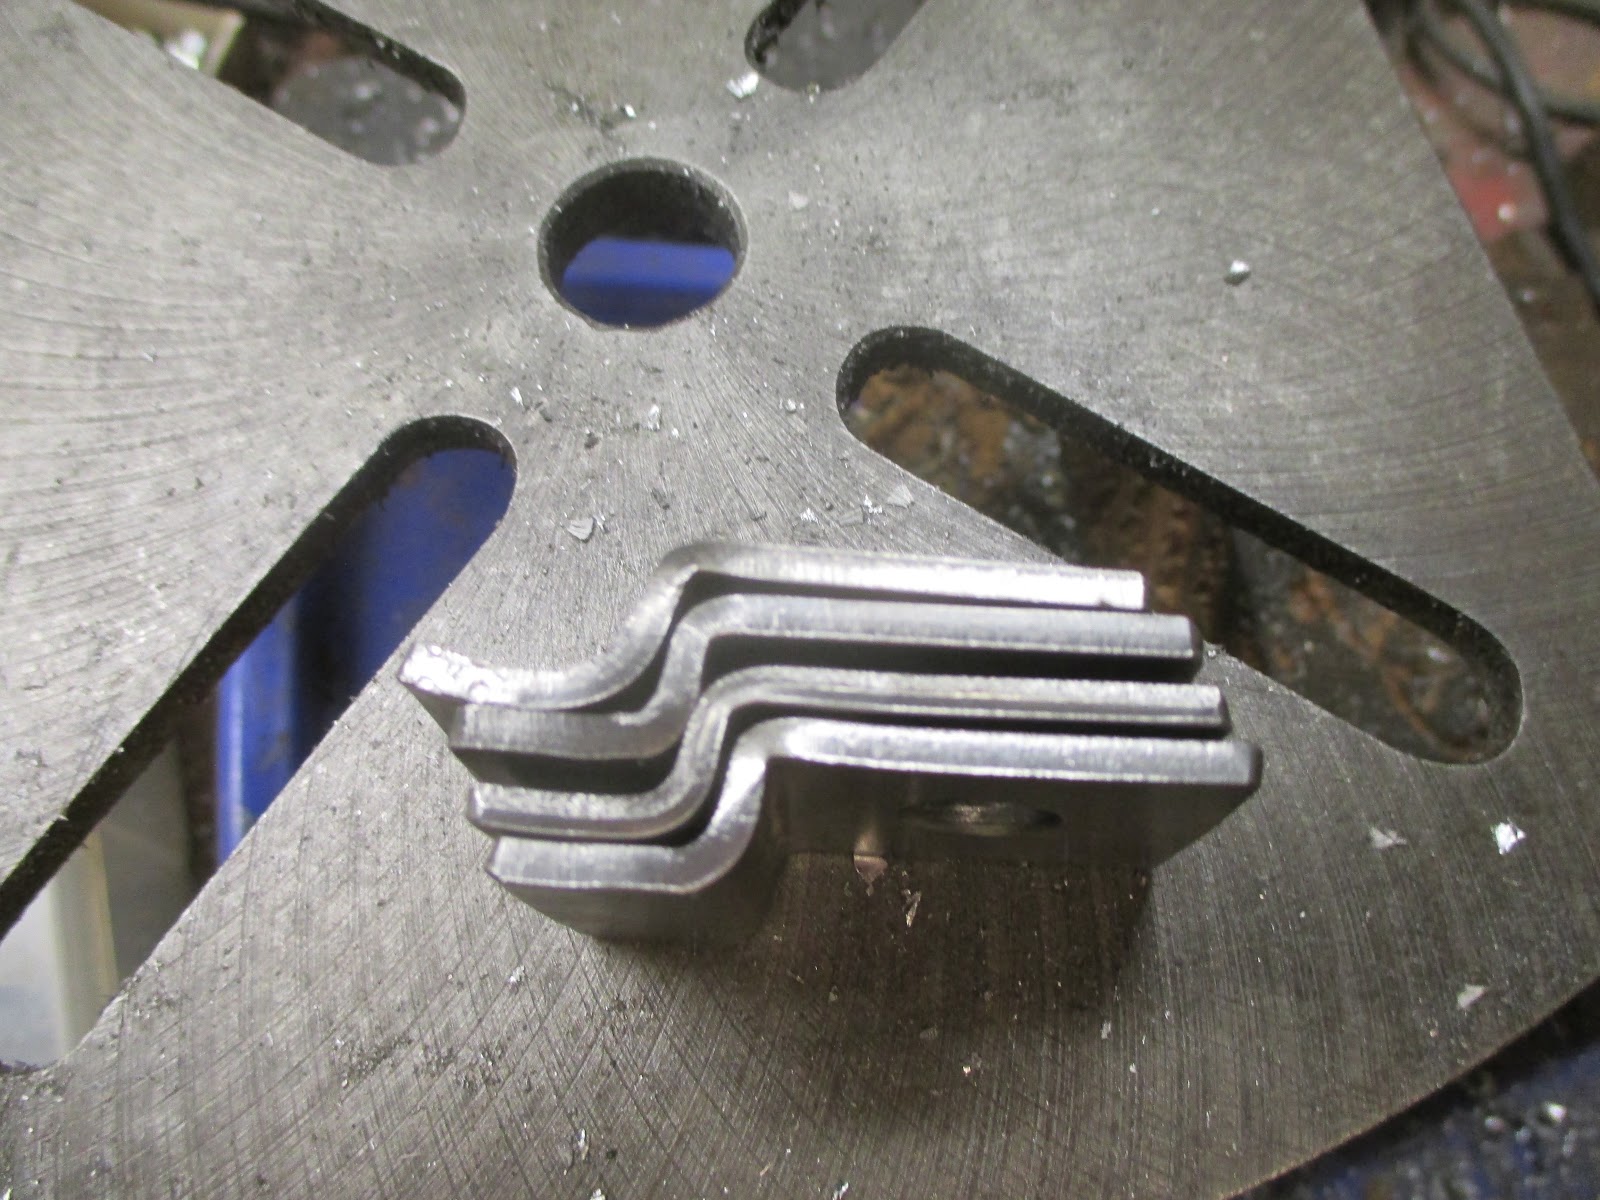
I got another idea,,,,,,,,,,,,,I wanted a lower part to the top clamp which will fit under the raingutter and hold the mount even better and hopefully foil theft attempts.
This required a "Z" type bend with small size and close tolerances beyond my home hammer and heat skilz. I had taken the mounts to my welder(cause he does a prettier job) so I took my new idea down and explained it to him. Since he has a sheet brake he is going to make them for me and weld them all together.
He was so busy that I wound up making the bottom raingutter clamp myself.

It took some figuring out and even the welder was impressed when I took them down for the final welding. I wanted him to do it cause my welds look like.............
So after 2 weeks waiting I got them back and cleaned up the welding debris and re rust treatmented them and then coating them with good ol" Duplicolor spray on truck bed liner I put them on.
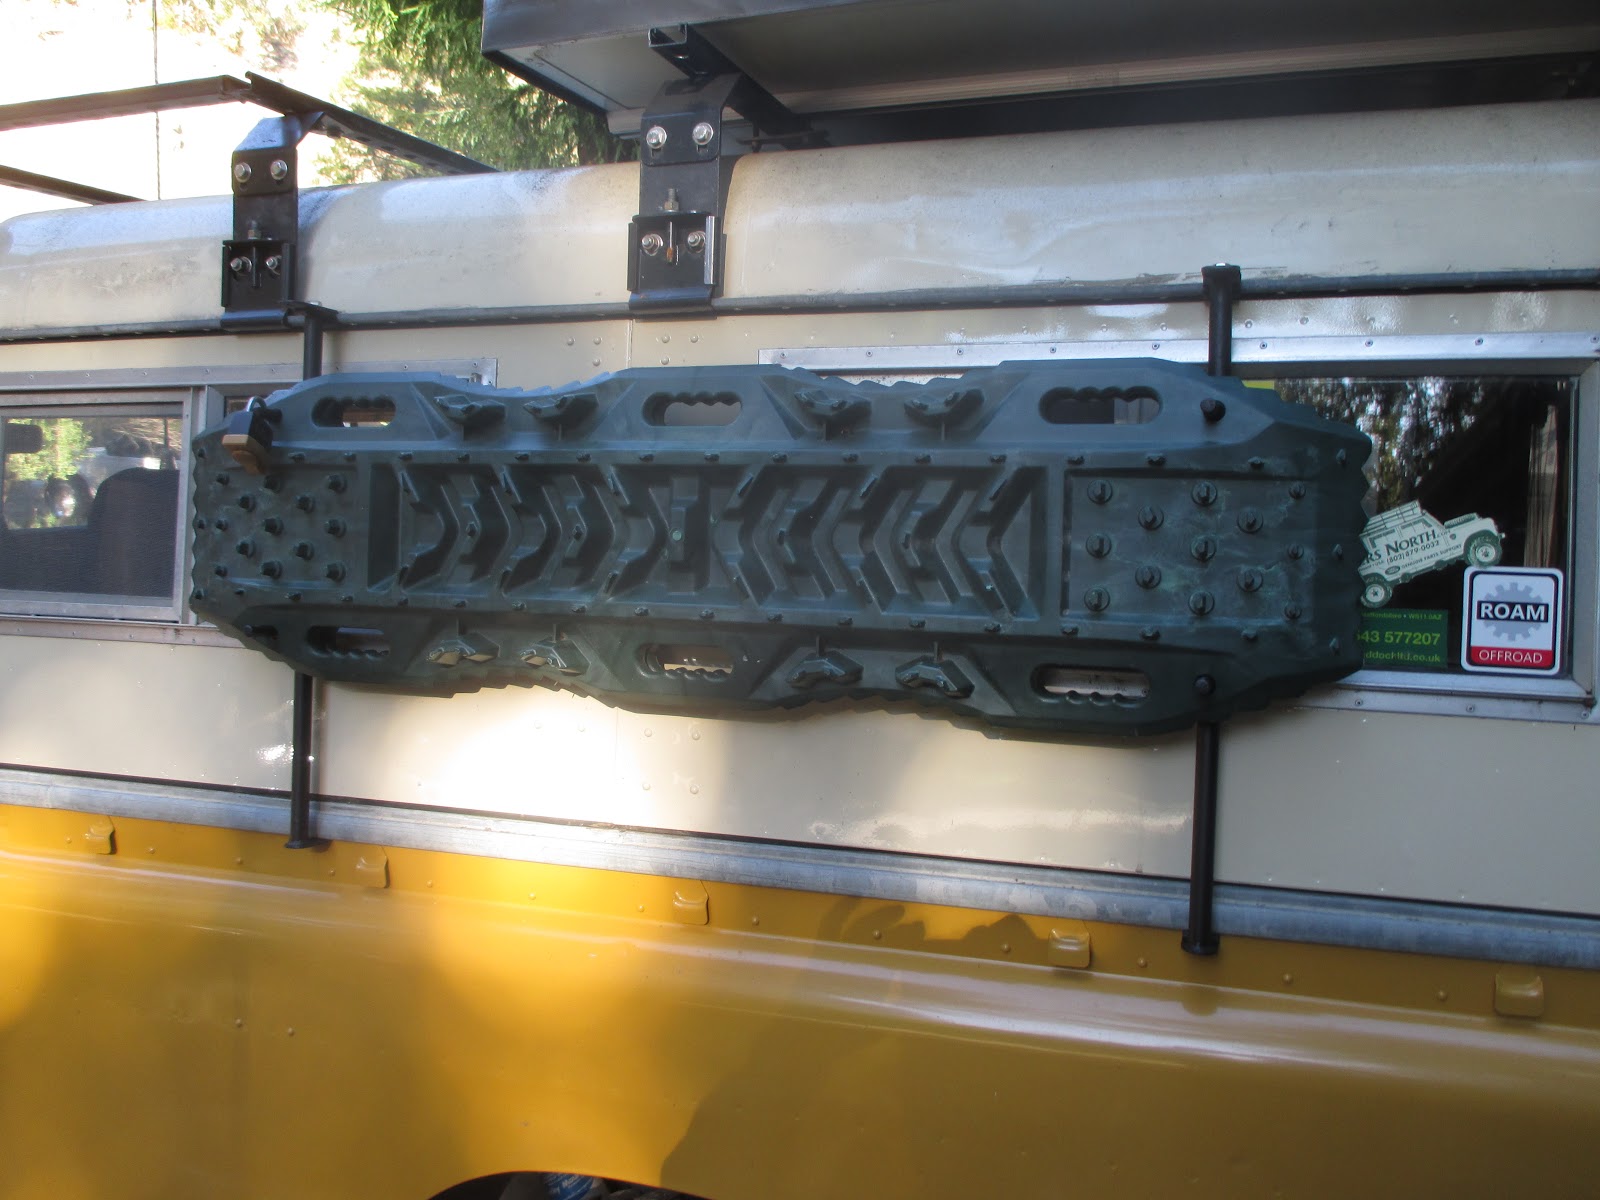
You can see from the pics that they will provide fair coverage from breaking and entering.
Here's a look at the top of the clamp, using 3/8-24 stainless bolts, inside are welded grade 8 nuts.

And how they are installed on the passenger side for the aluminum ladders(?). Don't know why they are called ladders......

They went on pretty easy using a tape measure. I wanted them centered in the panel/windows but the roof rack clamps got in the way so they are a little off.

Yes, I know I need more locks.
A couple of things to think about;
1) The top brackets have an extra length with a hole drilled in them for tying, clamping something on them like maybe a tarp.
2) On the bottom I have a 3/8-24 bolt in just incase I want to attach something there, who knows what, just options.
3) I need some foam or springs on the inside to push the ladders and keep them from rattling.
4) Look at the top lock, I don't like it upside down the top hole needs to be horizontal not vertical because the rib in the ladder gets in the way of closing the lock. Not an issue with the plastic mats.
No comments:
Post a Comment