
So when trying to figure out what I wanted I looked at varous websites and Youtube reviews of hammocks and cots. I decided on a cot if I could figure out how to make one fit, and support my mass.
So after looking around both locally and online at cots one was ordered from an Army surplus online; Armed Forces Outfitters, Inc; www.AFOI.com
The next day my daughter came over to clear her stuff out of my shed and gave me a cot that was in there...................
So a few days later when the online cot arrived I set them both up and compared them in my living room. My daughters cot was larger both wider and longer and had better supports and canvas. The next test was to see which fit the 109 better. Ever try to get something long with 6 legs thru a too small door? The army cot fit better in the 109. So I decided to do a sleep test. Over the next few nights with daughters cot in my living room I tried to sleep. I discovered without a pad cots are too cold to sleep in. Having been advised to get a memory foam pad, I did. It was cheap and warmer but not comfortable. The cot is just too tight. I have used my tent cot from Cabeleas with a Thermarest pad for camping so I knew that set up was one I could go with.
So how to put a 6 legged cot in the back of a 109 without all the legs and poles????????
I started to think,,, I would need to replace the cot orginal side supports with tubes ala Dormobile. Those tubes would need to be suspended in the bed. One side needs to be held to the side the other span the space between the seat bulkhead and the rear door. Plus it would need to support my weight as I got in and out of the cot.
I measured the sleeve in the cot and knew I could put a 1 1/2" tube thru it. I also measured the length and folded it over at the "foot" end to fit and pinned it. More on sewing later---
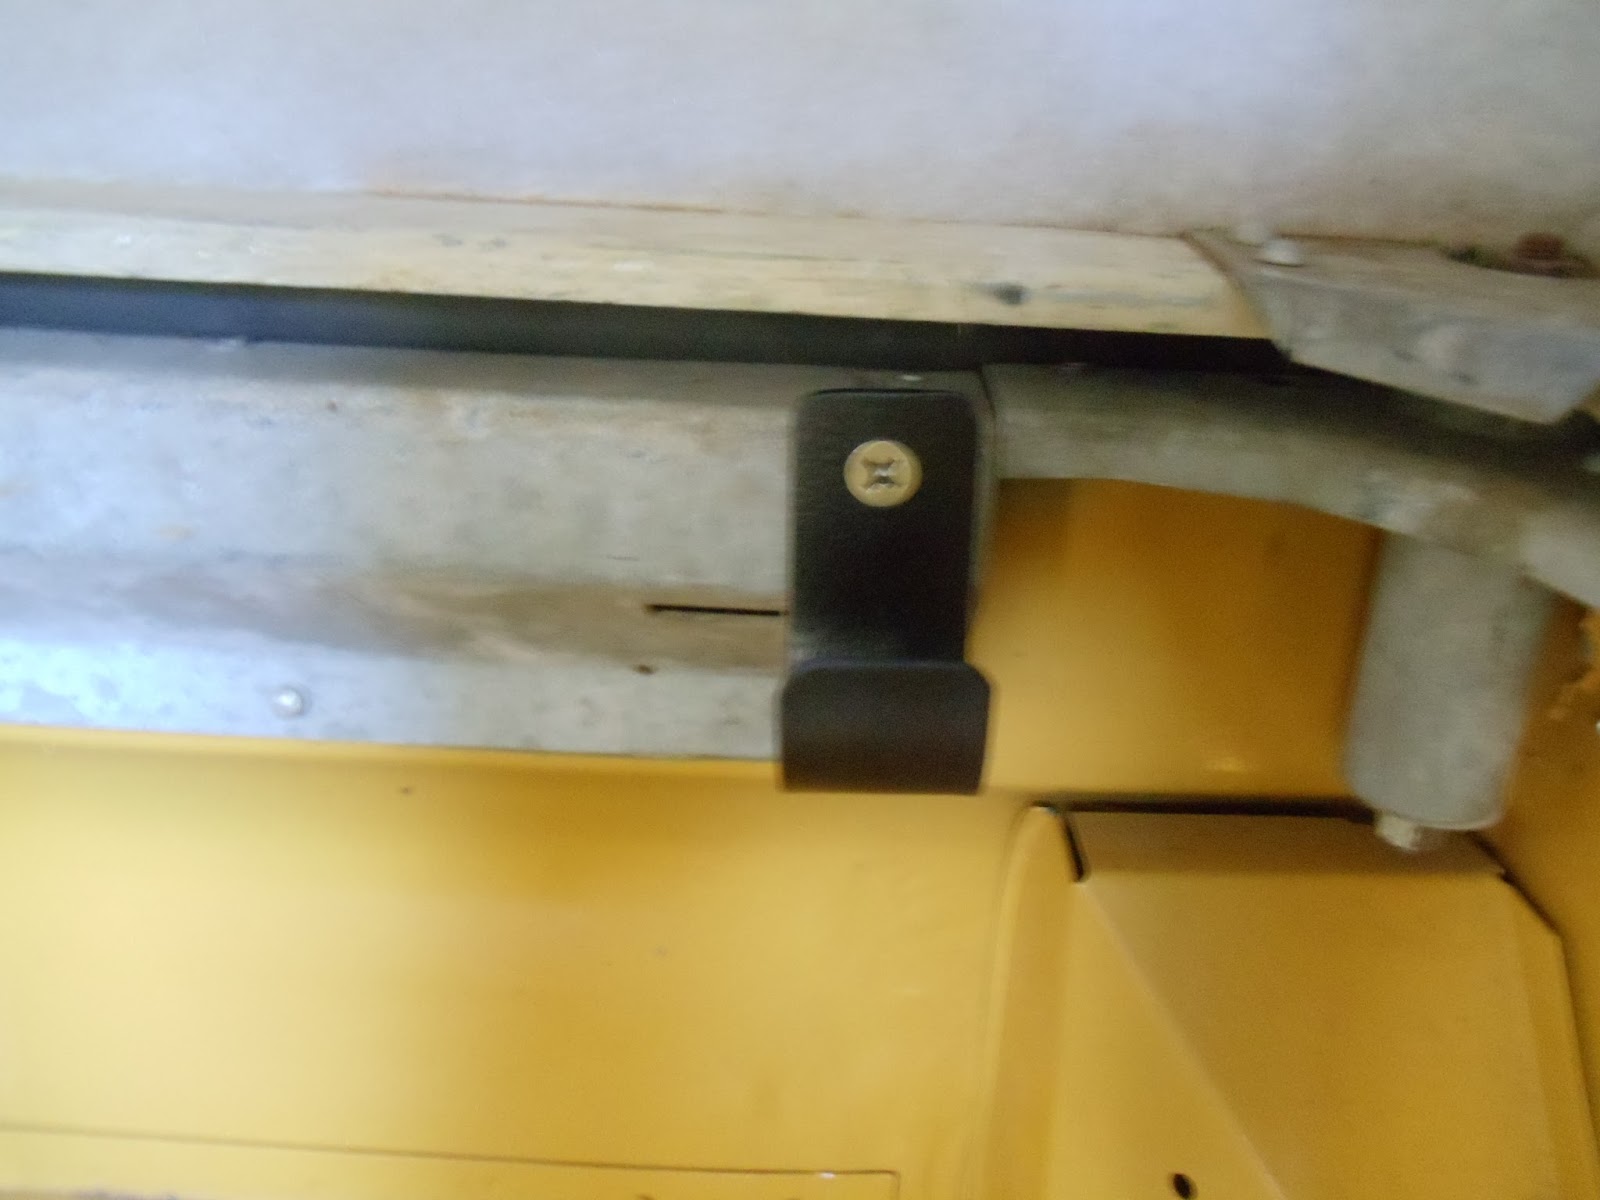
So the local metal mfr supplied the 1 1/2"x1/8" tubing in 3 80" lengths which I could cut to fit. I also bought some 1 1/2"x1/8 flat stock 4' long. With the flat stock I set about making "J" hooks to bolt to the inner tub capping. It took me 6 trys to get 3 of equal size and shape. In the pics you can see both the J and U brackets.


Here's my process; Taking about 8" off one of the tubes I could use it as a design aid. With it in hand I could see what would and wouldn't fit in the tub. This is how I came up with the J hook idea. To make the J hook I put the small piece of tube in my vise horizontally. At the open end I clamped the flat stock with vise grips, this I heated up with my propane torch and then using a hammer I bent it around the tube. I made the first 3 this way. They came out the right shape and size but I couldn't recess the hole for the screw head........The next step was to make the hole with recess first, THEN clamp it to the tube and heat and bend. I had to be careful to make them the same length from the hole to the bottom of the bend so the tube would sit evenly along the tub.
Once this was figured out I set about making the center supports. Sitting in the tub I could see that each end would be slightly different but have the same basic design. A "U" welded to a flat plate. The tube would sit in the U. The front one I designed to hook over the seat bulkhead capping and bolt thru the top to keep it from sliding when weight was in the cot. I was able to make use of my first J hook attemps by using the U section for the plates. The rear is just a flat plate with a "U" welded to it. That is then bolted to the door skin. My door inner skin is steel 18ga IIRC.
I used 1/4-20 rivenuts to secure both the J hooks and the U plates.
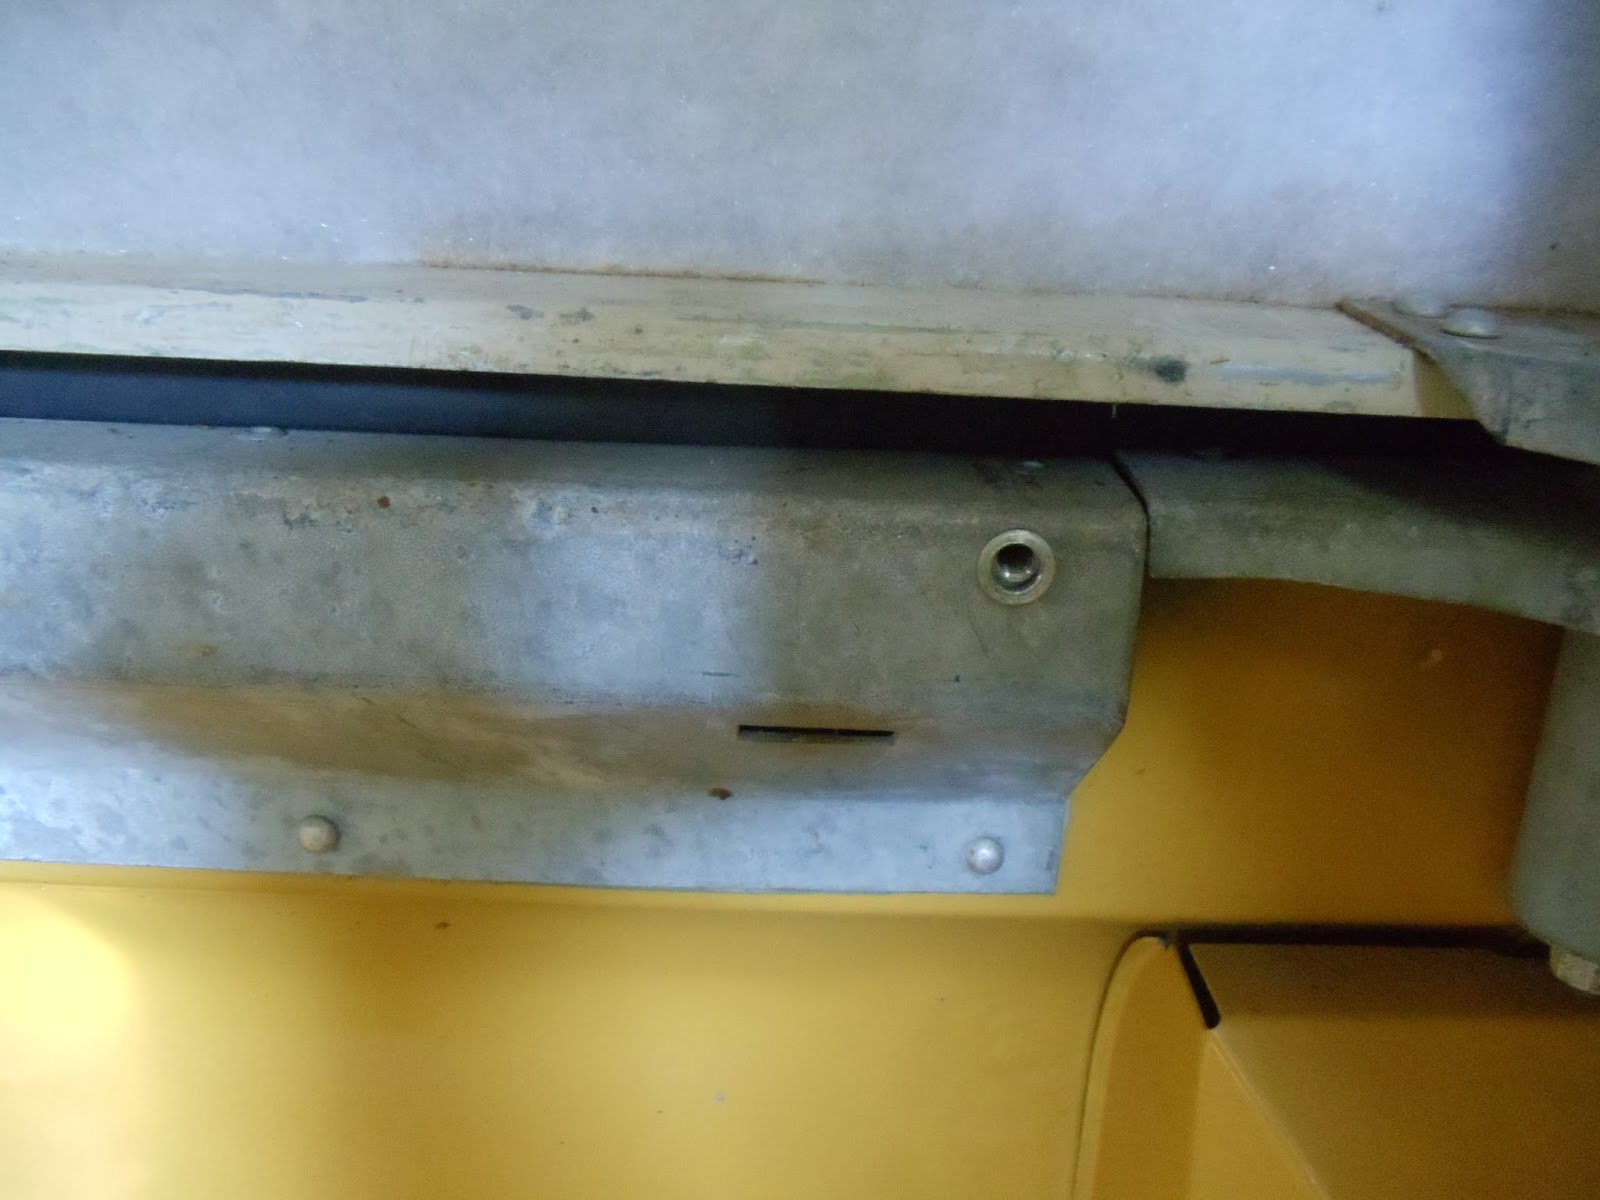
So the seat brackets were removed by cold chisel and drill. The U brackets carefully measured and placed. Holes were drilled and rivenuts installed. The cot with tubes installed and test fitted and tested for comfort and weight. All seemed good with the exception of the fit of the canvas, it is still too long and I have no end support figured out.
Then all was removed and cleaned and painted. The brackets all installed after drying.


Sewing; I figured out the length I need and tried to sew the canvas on my machine but neither I nor it was up to the task, My thread kept breaking and I broke a needle, so I'm going to take it to someone to do once I get it all figured out.
At this point I am thinking that I can install grommets in the canvas and hook them to the seat bulkhead to keep the canvas from sliding. I may be able to do the same on the foot end too just haven't looked hard at it.
No comments:
Post a Comment