Tuesday, June 19, 2012

109 door seals, bottom

I got the bottom door seals in today. First I had to find the sill channels and remove the old seals. When I took them off I labeled them so I would know where they went back. I drilled out the solid rivets and punched the heads off and out the holes. Some I had to chisel off. Once the rubber seal was off I took a wire wheel lightly to the surface to clean off the dirt on the seal area.
     Next I set the rubber in place, this is when I found out I needed to clean out the holes on the rubber seal as some of them were still solid. I tried a variety of ways and ended up cutting a circle with a razor blade then pulling on the plug and cutting it off with the aforementioned razor blade.
     After lining up the holes I just used 1/4in grip pop rivets in 3/16 diameter. Counting on the metal strip to hold the seal in place.

Monday, June 18, 2012

109 clutch

Well, I'm not being idle. I am waiting on the correct clutch parts. When I got the 109 it had the motor and tranny in. It was a 9.5 petrol clutch. The 2.5 diesel also had a 9.5 clutch.
     So I figured I was good. When I got to looking at them I realized I couldn't use the 2.5 disc as it has a 23 spline center hole and the series pinion shaft has 10 splines. So I could use the petrol disc and the 2.5 pressure plate.
    But no,,, the 2.5 pressure plate uses the newer style throwout bearing. Hey no problem I'll just use the old presure plate the 109 came with...DOH it's petrol! Now I've changed my mind and decide to put in all new stuff so I don't have to take it apart in a year to replace the worn out stuff.  So back to the books and having Trevor check the mounting holes between the 2.5 flywheel and the 2.25 pressure plate for compatability. Then place the order. They shipped today.

Sunday, June 3, 2012

109 roof sides

On Friday Brian came over and he painted my roof sides for the 109. Once again we used the Limestone color after a primer coat. While awaiting his arrival I put the flywheel on the back of the engine, I thought I had a pilot bush but the one given to me by the po was damaged so I had to order a new one. On Saturday I put the roof sides on the tub of the 109. I had to glue the seals on the sides bottom for them to stay during the install. Here's pics for the 2 days.

Thursday, May 31, 2012

109 roof paint!

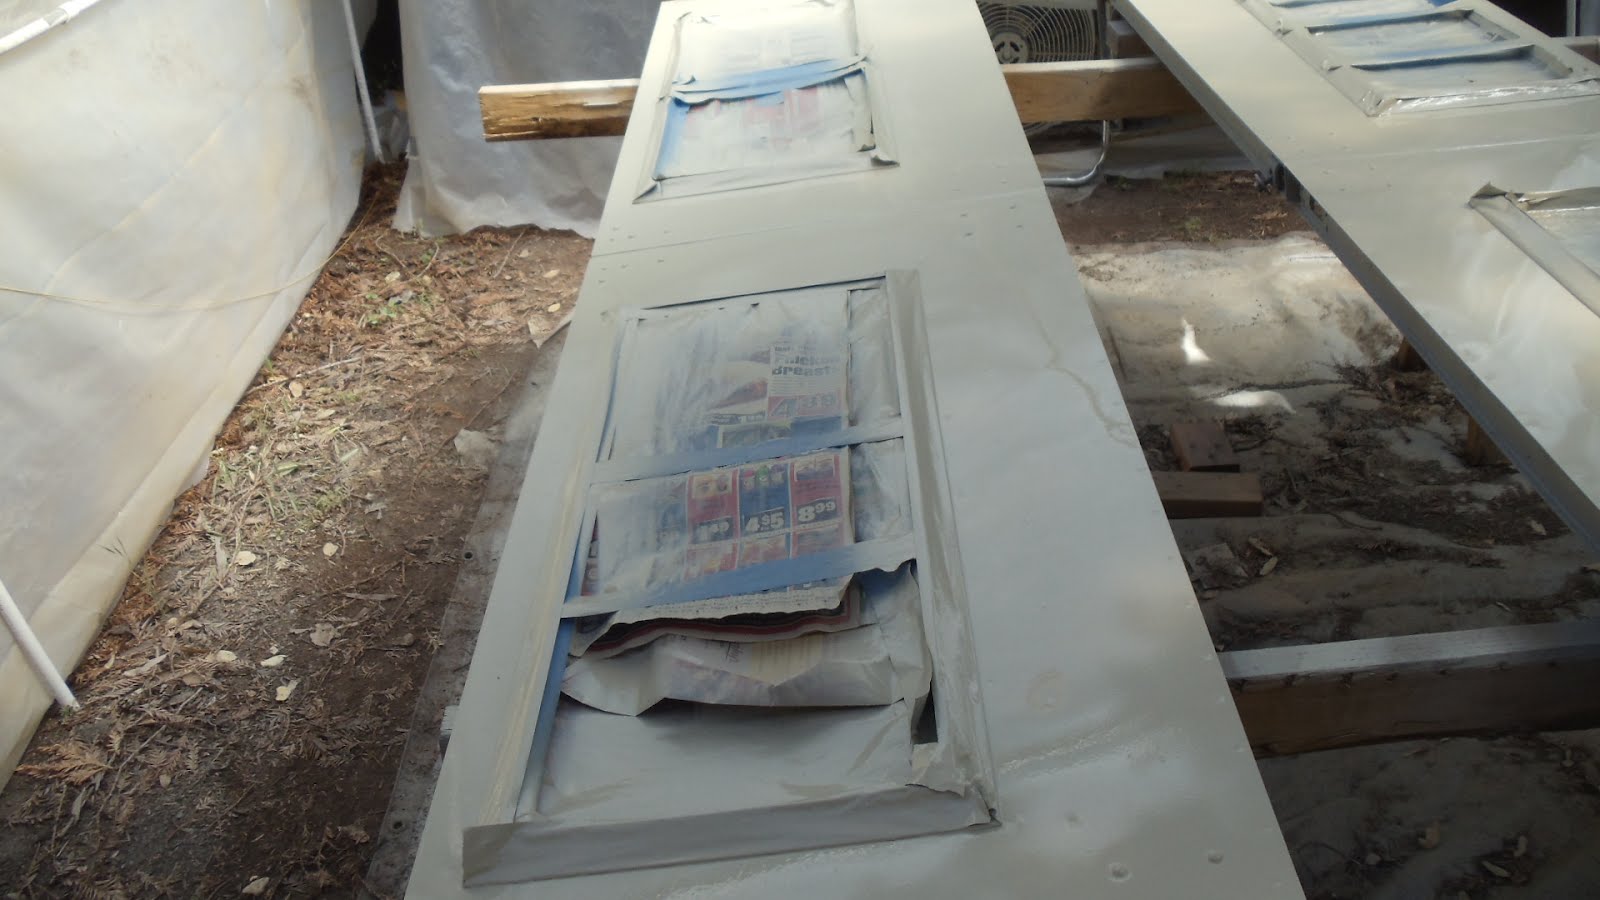
Okie Dokie, Brian L. came over today and painted the roof. We had gone over to the paint shop yesterday and bought some Limestone paint. Paint code we used was for Dupont 38505 in a Nason brand urethane paint($128.00). We bought a half gallon plus the reducer and catalyst. As I was prepping the roof I noticed that the few months of sitting on my front porch had allowed a buildup of corrosion/crap on it so I spent a hour or so using my vibrating sander with a red scuff pad on it to clean up the alluminim of both the sides and roof top. Then I taped everything off. My paint booth is too small to fit the roof and sides so we sill paint the sides tomorrow. Then next week Brian will paint the replacement parts for my Range Rover and then the paint booth can be taken down! I think the neighbors will like that! Thank you so much for all the brilliant paint work Brian!! So here are some pics from todays painting.

Friday, May 25, 2012

109 flywheel housing

I went to look to see what I needed to mount the transmission. I knew that some of the studs were missing off the flywheel housing for attaching the bell housing. When I checked them I pulled one of the existing studs and went and bought some new ones. Then I tried to put them in place, this is when I found that some of the holes were threadless and would not hold the stud....GRRRR. So now I had to get a Helicoil set and put in some helicoils. These sets are not cheap!
So I went ahead and bought a set of M10x1 helicoils and put some in the housing. first I drilled out the hole to the proper size 13/32(?) then using the supplied tap I tapped the hole out. Once the hole was cleaned I added a couple of drops of Loctite and using the installing tool I inserted the helicoil. Once the coil wsa in I put in the proper stud and tightened it up.

Wednesday, May 23, 2012

Roof top job 109

Since my adoring fans(all 2 of them[you know who you are]) clamoured for more, here is more. I worked on my roof top the last couple of days. Brian is leaving for the UK and wants to get things painted prior to leaving. So I fixed up my paint booth, the wind keeps blowing it apart, and put the roof top inside. I thoroughly recleaned it and flipped it upside down. I then tested the spot welds on the front and found that quite a few had given up holding the 2 sheets together. That is why it leaked. While the previous owner had put in pop rivets he failed to totally accomplish a seal. I hope to, so wish me luck! I drilled out the remaining spot welds and cleaned out the mastic between the sheets. Then I deburred the holes top and bottom. I was going to clamp the sheets together and put in the rivets but I don't have a deep enough clamp to reach over the drip rail and close the seam. So I went to the hardware store and bought some 10-32 allen bolts and nuts and washers. With these I was able to loosely close the gap and put some sealant on the inside of the seam where the mastic was applied. Then I closed the bolts down and closed the seam down. With the 2 sheets firmly in place I proceeded to put in solid rivets in all the spot weld holes. Some came out quite nice and others are crooked so I will have to remove and replace tomorrow. They did however pull the 2 sheets together. I hope it sealed them, I think so as the sealant squeezed out as I installed the rivets. In the event that the front doesn't seal from the bottom I am also getting an autobody sealant and will go over ALL the outside seams and drip rail. The auto sealant is paintable and the roof should be Limestone when done. I still have to figure out how to put the side rivets in. I think it will be a 2 man job. Pictures are of the roof with the spot welds drilled out and some of the steps I went thru.

Wednesday, May 16, 2012

trips and 109

Well, once again it has been awhile since I posted up. But I have been busy. There was the trip to Nebraska, Then I put in the fuel system, tank, filter, lift pump and all the hoses. I still need to get the bottom hose for the radiator.
I may just wind up with a generic one. I have been struggling with what I am going to do about a transmission. I have one that came with the vehicle but it is in unknown condition. I also have a series 3 transmission that came with it and the guy said that it was bad. When Timm Cooper was her putting on the brake system we talked about him rebuilding my series 3 gearbox and putting the older lower geared transfer case on it. The major factor for me was time and money, I knew that any time Timm spent on my project would eat into the work he was doing on Gonzo and that had gone on too long. So I waited and did other things. I went to the annual Mendo_Recce campout for Land Rovers on the last full weekend in April at Cedar Camp in the Mendocino National Forest. That was Fri., Sat., Sun. of Rover porn! It was nice to see new peoples and Rovers and see old friends! The Saturday night potluck was fabulous!!!!
The following Wed. saw Linus and I heading to the Owens Valley, in Calif. He had gotten us signed up on an Expedition Portal arrainged trip "Cinco de Inyos". However Ignotus(my88) was having loud clunking noises coming from the frontwheel drive, as I had discovered at Mendo. I checked things out as well as I could between trips and replaced one suspect free wheel hub. But trying it out in the Alabama Hills showed that the noise was still there. Bummer! So I decided to not go off road into the Inyos. I didn't want to break down 25 miles from nowhere and have a difficult extraction. So Linus and his girlfriend Hayley went with the group on Friday and returned to Independance on Saturday.
In the meantime my friend Emilie and I did the tourist thing and visited the museums in Independance and Lone Pine and a stop at the Internment camp of Manzanar. That night we camped at a windy Alabama Hills! The next day we found the dirt road that goes up the Eastern side of the Owens Valley, and we visited 2 mines a gold mine and a talc mine. Then we rondevouzed with Linus and Hayley. Linus was also experiencing noises in his front wheel drive but his double cardan in the rear had failed and was making horrible noise and vibration! So he took it off and we got an early start on the way home Saturday night. We drove to the East side of the pass to Lake Isabella and camped at a place Linus knew of. It was among the Joshua trees and the coyotes howled at night, with almost a full moon! With the tailgate down I can sleep in the back of my 88, Emilie in her tent and Linus and Haylie in thiers. I want to go back to the Owens Valley and spend more time there! On the 109 front I was contacted by Brian H. and he said that Timm might have a gearbox for me. So I called him up and arranged to go up last Wed. I borrowed my daughters Toyota Tacoma and piled 2 transmissions in it. One I spent Tuesday night taking the low gear transfer case off of. So I hauled it all up to Placerville where Timm showed me what he had and then I had him install the lower gear xfer case on the Late 2a gearbox he had rebuilt previously. When I came home I had 2 complete transmissions plus my old gearbox! We did look into the inspection port on the series 3 xfer case and we could see that the mainshaft nut was loose, That could be the only thing wrong with it. I drained the oil today and could not find any metal in the oil. So I need to take the top off the selector forks and check it out more but first I need to clean the outside of the case1 YUCK!! I did finish putting the xfer case back together after painting some of the rusty covers and new bolts and studs for the covers and such. One thing I did do was I took the flange for the output shaft drive gear, you know the one the rear prop shaft and parking brake bolt onto, down to the auto shop and had them press off the mudshield for the flange. This gave access to those damn Whitworth bolts that hold on the brake drum! We removed them and replaced them with 5/16 SAE bolts. Yaay!!!
I also replaced the four Whitworth studs that the backing plate for the park brake is atttached with. Funny they are 3/8 SAE going into the case but have Whitworth for the nuts???? Now mine are all SAE. So I have all that back together and am ready to put it into the 109. But nagging at my mind is that it would be nicer if I put the fully syncroed gearbox in, so I may wait until I see what shape the inside is in. That brings me to today, Wed. Brian L. came over and painted the bulkhead for me. It looks great but the paint really shows all the galvanizing imperfections. I am pretty sure all the body is painted now. Still have to do the sealing of the roof and then paint it and the sides.
Sometimes this is really alot of work! I want to get the tranmission in before I put the bulkhead on, it will make it easier and less chance of damaging the fresh paint. I had to get some new studs for the bellhousing as some were missing. So I took out one and bought some new ones, When I went to put them in I found that 3 of them are stripped out and I had to buy a Helicoil set ($ouch). I get to do that next. Then I need to find out what bolts and shims I might need to put on the flywheel. I know I only have 2 bolts for it.