
Side tarp;

Rear tarp;

In Saline Valley 2016;

Now of course since I've been to Overland Expo in 2014 and I'm on the internet I have seen, how do you describe them?, self-contained awnings put out by different manufactures such as OzTent, Front Runner, ARB, etc. Most of these are better than my design and cost waaaay more! But, I think worth it.
So using some of the money from the sale of my 88 I did some research on up-to-date designs and settled on getting a 270° Batwing from Rhino Rack;
http://www.rhinorack.com/
Partly because they now have dealers in the USA, but mostly because they took the OZtent 270° Foxwing and made some design improvements;
https://www.oztent.com/products/awning-range/270-awnings
The design improvements include permanently attached swing down legs, plastic(?) hinges for flex, magnetic attachment in the stowed position.
My biggest concern was how was it going to mount to my unconventional roof rack. I did some research on the stock mounting and figured I could weld up something that would work. So I pulled the trigger and ordered one making sure I got a left hand drive model, part #33100. The RHD model is #33200.
http://www.rhinorack.com/en-us/awnings
It came in a few days and WHOA! there were 2 holes in the box!

What is it lately with shipping companies wrecking my packages? I followed the holes into the box,

All the way to the cover of the awning, going so far as to blow thru the dent looking for a puncture.

It had the same porosity as an un-impacted section so I notified the Rhino peoples and went ahead with the install.
Checking out the mounting brackets came next and seeing how I could clamp them in my rack.

I had to make some bottom clamps with threaded holes for the bracket to hold on to the super strut I am using.


The brackets clamp onto the rack and hangs the awning off the side. I used the "drop" position for better access from the ground.

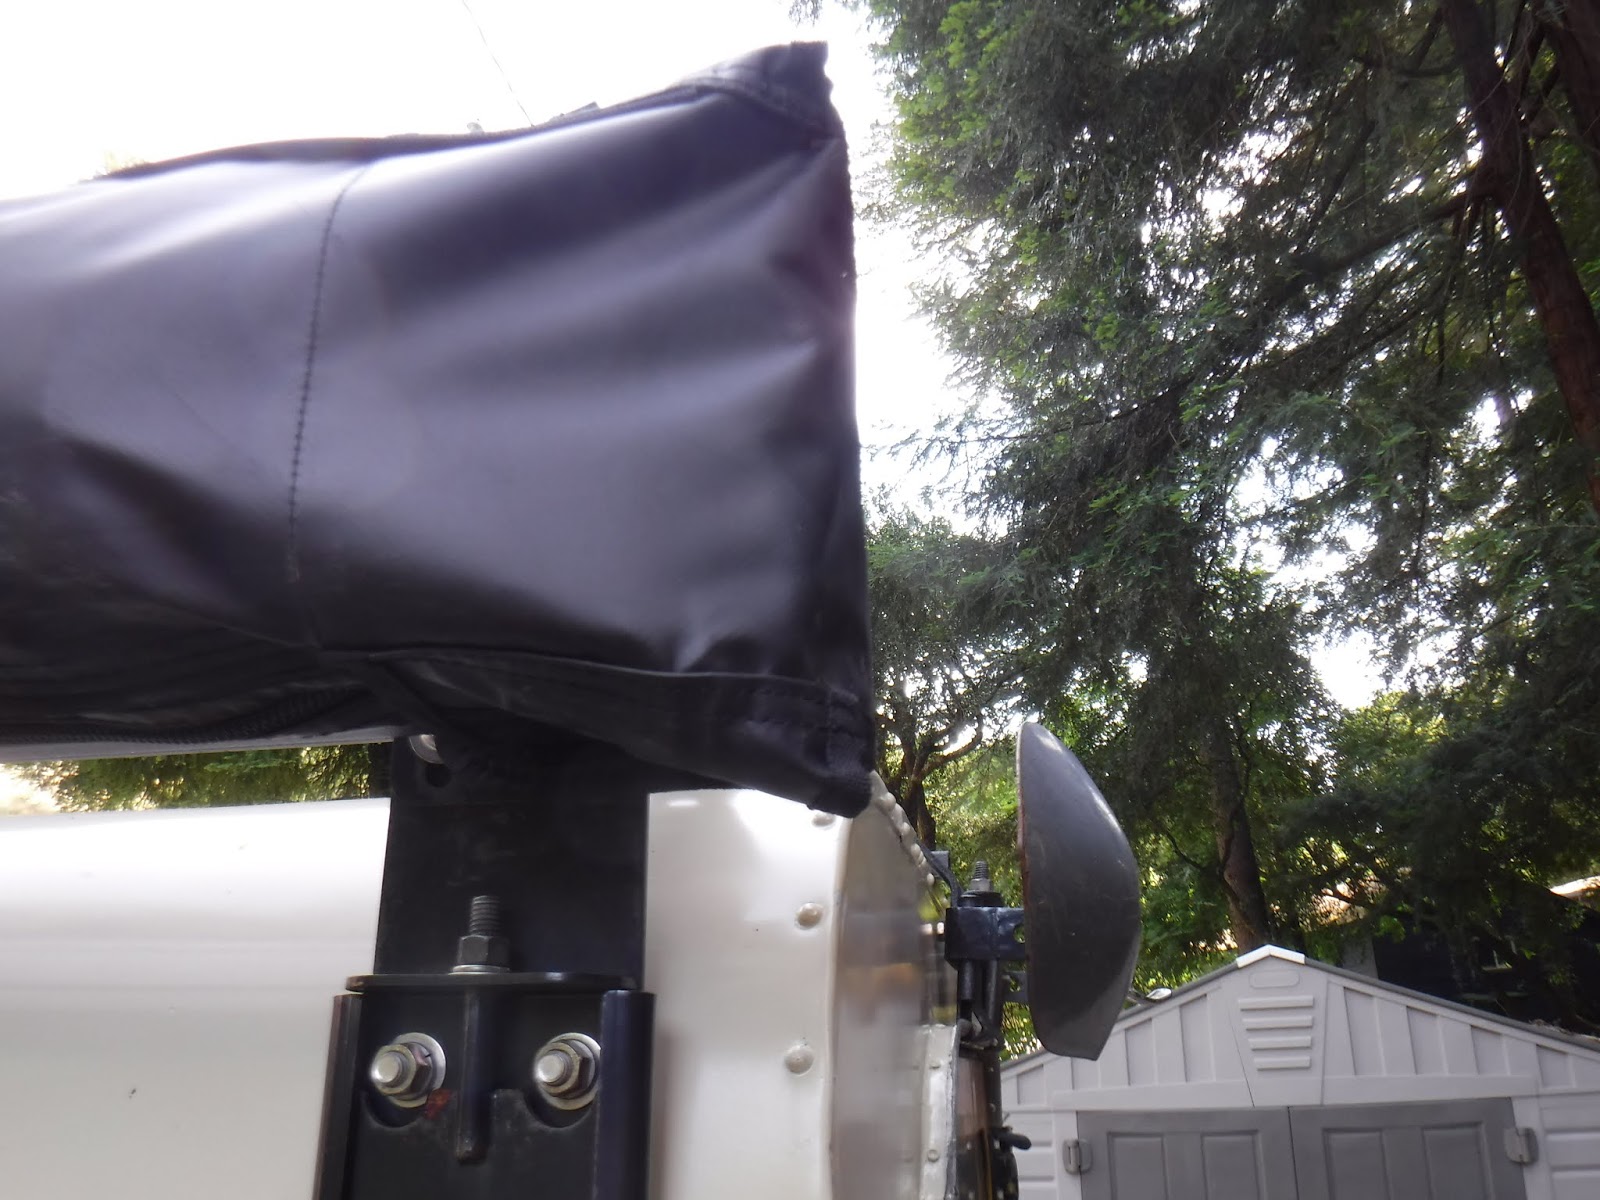
I was lucky to be able to do all this while my rack was off during the recent roof repair. Here is how the backside looks when bolted on.

The awning itself is pretty easy to mount with the bolt tracks lining up to the holes in the brackets. The hard part was lifting the awning up to the rack once I had it back on the roof!
I solved this by making a bungee loop on the rack and putting the front end in it to hold it and then lifting and fitting the rear bolts into the rear bracket. Finger tightening the nuts I was able to fit the front to the brackets and then slide the awning into where I thought it should go.

I wasn't sure how far back it should go.

At this point Rhinorack wants you to install the tensioning cleat for the farside of the awning when open. I put mine on but it was a poor fit on the super strut.

Not only was it narrow, but it was about 7' off the ground and just about out of my reach..... SOoooo, I just put a 3/8" bolt on the underside of the rack and that is my cleat.

Now my driveway is kinda small and my 109 close to the house so I went down to my neighbors to open up and set the awning in the right place for coverage.
Easy, just unzip, pull out the bag of stakes and flip the bag over the top, grab the ends and walk it around the the back then hook and adjust the tension strap loop. Once I did that I realized I had to undo the tension strap and drop down the back leg first, and run the strap under the back rack.
What I found was my rear rack crossbar was too close to the closure of the batwing. Making access difficult.

Hard to see, but the tension strap bows the last bar.

Then I dropped all the attached support legs, pulled out a couple of chairs.

My neighbor John came out for coffee and soon we had another visitor;

I did have to stake down the awning as light breeze would lift the it, lift too much and the hinges could break. There was a gap at the back.

After hanging out with John and Arnold I came home. Here I removed about 2" of my rear crossbar.

Then slid the awning forward about 2" and tightened the nuts on the brackets. I think this will close the gap in the back enough for light rain and sun.
Going camping soon!

No comments:
Post a Comment