
Mine did not have anything but grease under the nut. I have a spare front for an 88 so I took that apart to see what was in there since I can't find anything online that will tell me.
Here's what I found, first that directly under the nut is a split steel washer;

Under that is a split fiber washer;
Alas and alack, I had neither of those on hand and no place to get them. So I improvised I got some cork gasket material some of which is rubberized and figured that I could use 2 sizes to get close to the 5/32" thickness of the original. I measured the OD of the propshaft sliding section for the ID of my seal and the ID of the nut for the OD of my seal. Then using a compass I drew them and cut them out with a safety blade. I made 4, 2 sets so I could have a spare in case I screwed up.


And I wound up with,(one set is stacked up);

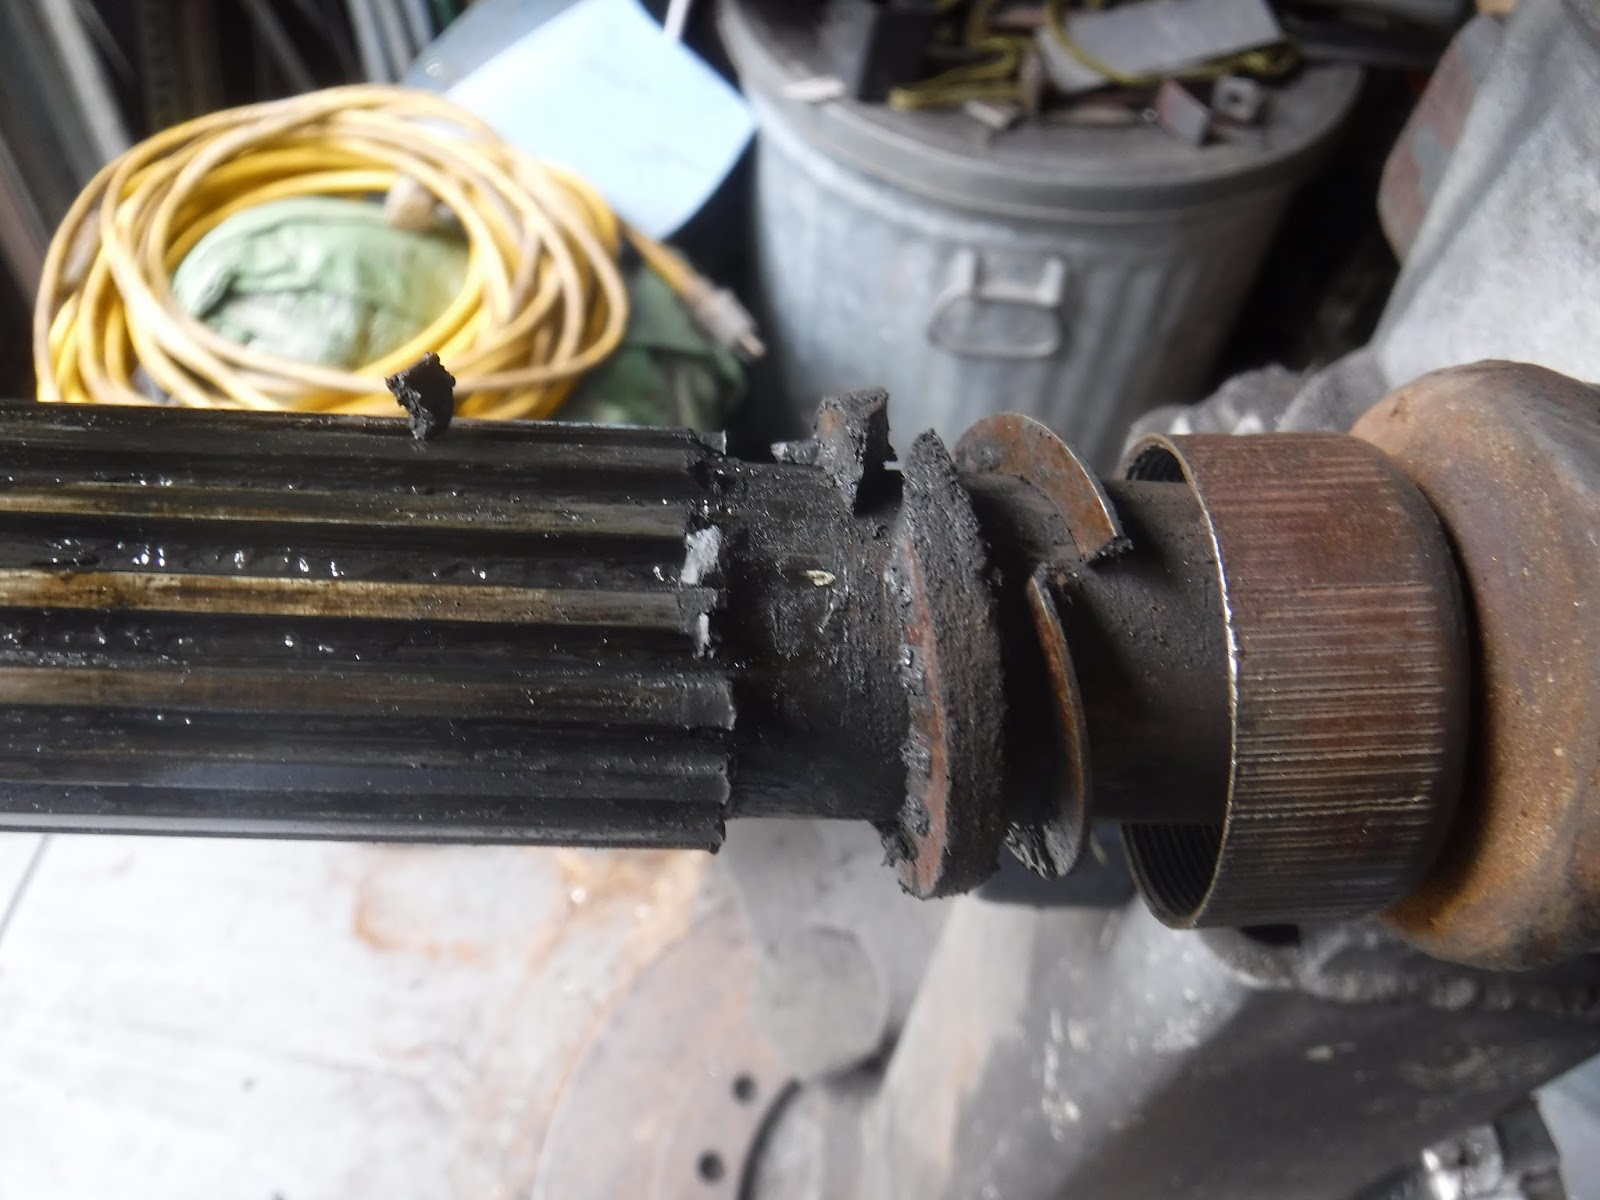
I test fit the seals on the shaft;

Good to go!
Then came the hard part! I had to make a split washer. I looked thru my scrap and could not find a suitable piece of steel so I made one from Birmabright. I don't know if it will work but I guess I'll find out. I will also keep my eyes out for some steel to make another one from.
Using my 1-3/16" hole saw I cut out the ID. It is too large as the shaft is 1-5/32" but it was what I have. Then I laid out the steel ring and marked the OD.

Tin snips made a rough cut out and I used my angle grinder in a vise with a flap wheel on it to remove the excess material.


It took FOREVER to get my ring to fit inside the nut, working with a file but I got it. As I was doing this I checked to make sure I was keeping the ID centered when it hit me..........I could use the old ring as a template and file to it's edge.
Pulling some vise grips from the tool box I clamped the 2 bits together and filed away. Second revelation I could do this with the seals too! My first seals got tossed out as the ID and OD's were too large. Now 2 vise grips were employed to hold the materials together while I used the Dremel to quickly make the seals.


At first I cut a triangle to allow the Dremel tool access to the ID, but then I discovered I could just grind right thru the cork. Takes about 3 min to make a seal now.
I split the seals on a 45 sideways and the metal washer on a 90. Put some anti-seize on the threads, lined up the balance marks and tightened the nut. I greased it the other day so unless I find out different it is good to go!

My slip joint travels 2". I learned a lot today, I hope you did too!
Great,Thanks for sharing
ReplyDeleteHigh Performance Polyimide Parts