

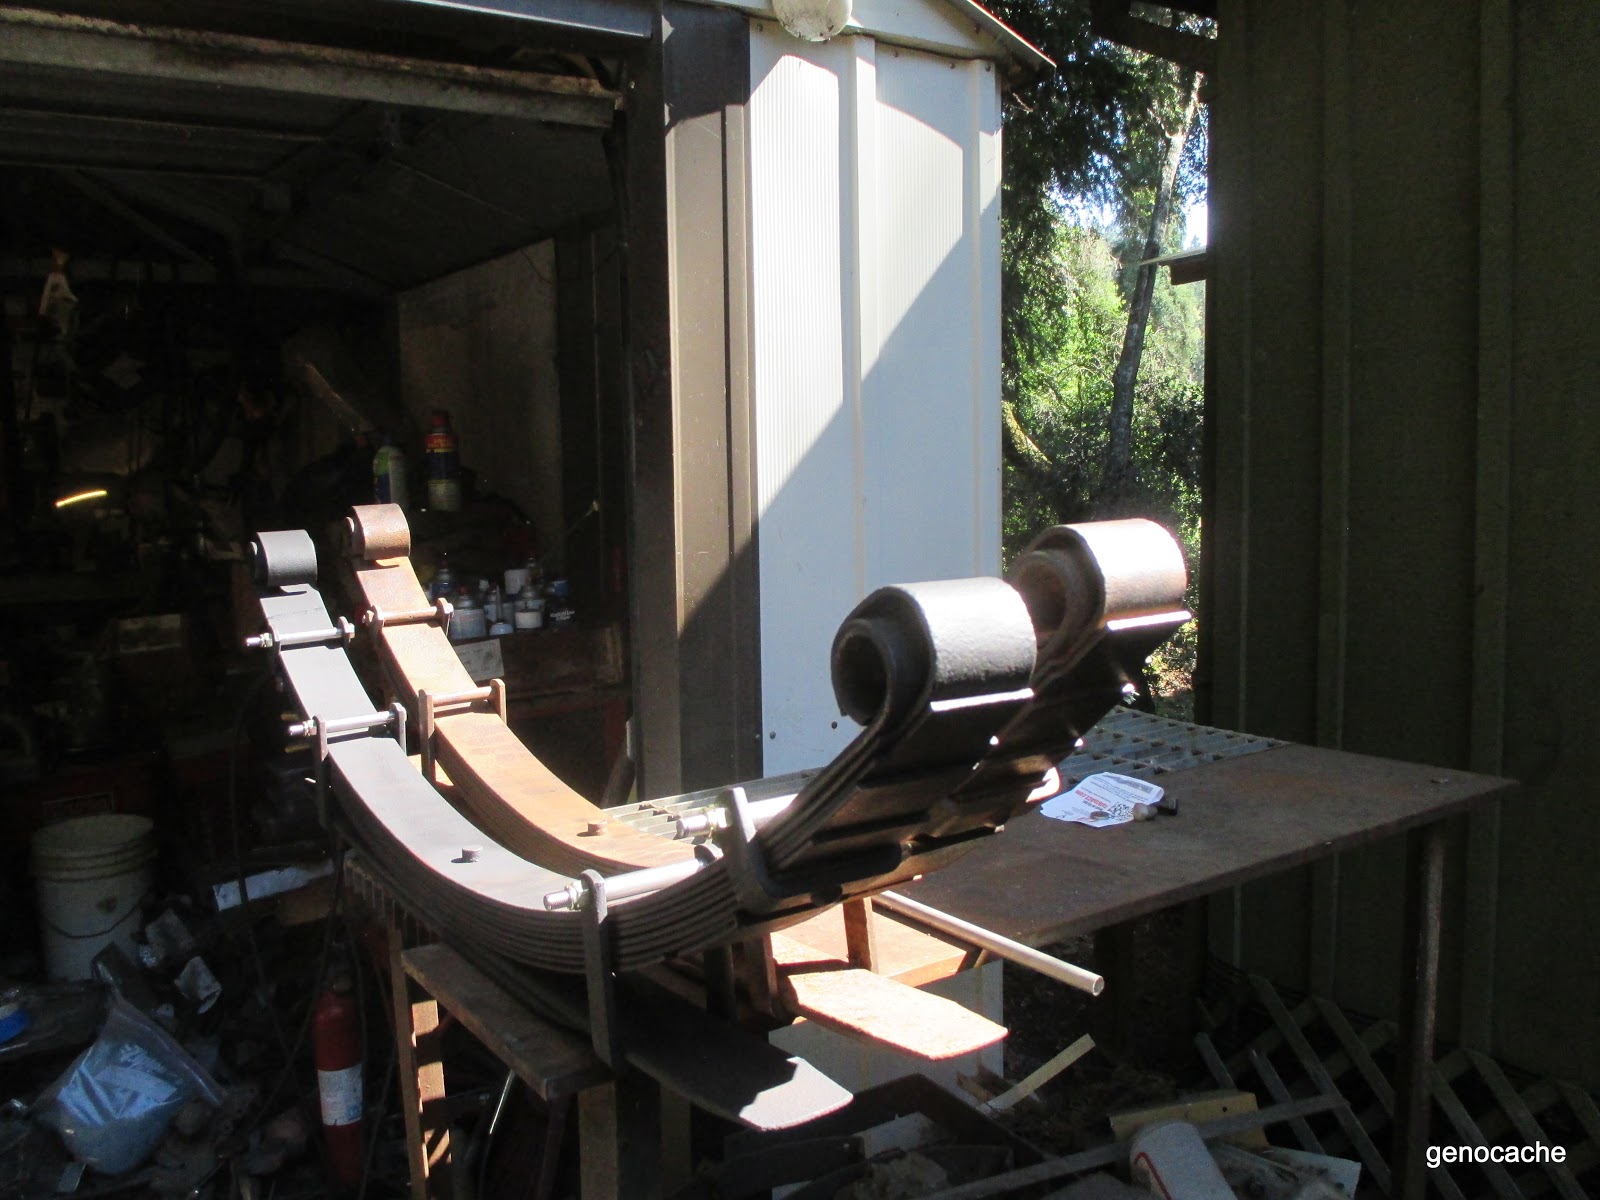
In the above pic you can see the 11 leaf fronts at the top and the HD rears at the bottom. The part number for the rears are 279678 for the right rear and 279679 for the left rear. This is because they are handed springs to allow for the extra weight on the right side, in the original design, of the driver and fuel tank.
I had started looking for 1 ton springs (pn535173) for my rears but decided to try these as money is tight. The fronts I decided to scrap because one set had some bent ends on the leafs and some rust issues between the leafs. With Brexit happening the pound Sterling fell and I purchased some fronts some $40 cheaper overnight!

BUT, before all those decisions were made I removed the bushings from all the springs. I used my torch and burned out the rubber on one bushing and removed the inner tube. Then using a socket and a metal wedge under the curl of the spring I was able to extract the sleeve. Then with the wedge and the sleeve I could remove all the rest of the bushings. Once the rust grip was broken they came out fairly easily.


I had to replace the spacers on the alignment brackets simply due to rust and age.


On the bracket for the HD part the bolts were in-fact slotted machine screws. I was able to remove the ones from one spring with my manual impact driver before it gave up the ghost after a 40 year career! These machine screws proved problematic, on the other spring I had to cut them off to remove them. One side of the bracket being threaded and peened over. Then there was the issue of size. They are M9 x 1.25 x 80 something unheard off these days.

Since I couldn't find them anywhere I re-tapped the threads to 3/8 x 24 and replaced them with stainless bolts and tubing, I used grade 8 nylock nuts.


Once the bolts were all off I removed the centering pin which runs through the spring leaves. It too is M9 x 1.25. I decided to retain these. You can see the pin and the rust buildup on the springs in the following pics.

Before they came apart I used a center punch to put witness marks so I could tell which side went where.

Once apart I set them up on a plywood table and went to work. first I clamped them to my welding table and then took the wire wheel to them, one side and then the other. The rust was so thick I wore my respirator to breathe! On the second spring I had the idea to use my palm sander to further smooth the leaf but it died after doing over half the leaves. Not bad for a 11 year old tool! It got a lot of work on this restomod.

Before wire wheel;

After wire wheel;

After sanding;

When all the leaves were clean I sprayed them with rust converter with hope that they won't rust up so easily next time.

In the above pic you can see the wear from the lower leaf on the spring with the fold.
On the RH spring I had to fix the alignment brackets as they had quite a bit of wear. I cleaned them up and filled in the wear areas with weld and then filed the weld down to make them "normal".


After the rust converter dried and set I painted them with BBQ black 'cause that's what I had, and once that dried I reassembled them. I wanted to put teflon tape between the leaves for better/longer sliding but it is too expensive at this point. I will use motorcycle chain lube once I am ready.

I ran a hone thru the bushing holes to remove some of the rust buildup.

I have ordered all new spring bushes and U-bolts they shall be here in a week or so along with the new front springs. Then the swap work will begin.
Here is a side by side look at the handed springs;

I was really surprised after rebuilding the first spring at how much more flexible it was. I thought I had done something wrong....... When picked up by the spring eyes you could feel it flex, something which did not occur while all rusted up. The same thing happened with the second one so I figured it wasn't me. :^)
With the wear issues on the RH spring I figure that I probably will replace them next time I win the lottery.
Funny thing as of now the 1 ton springs are cheaper than the HD ones by about $20.
On Thursday last I bought a can of Belray chain lube. then using a screwdriver to pry apart the leaves I generously sprayed the wax lube between the leaves.


It was kinda messy on the springs but, O, well......

Just for learning I took apart one of the 11 leaf front springs. Boy has rust taken its toll! Look at the top of the centering pin in the pic.


Glad I bought new!

Look at the difference between the old and new!!!!


Should be a good ride!
No comments:
Post a Comment