23 Sept 2022
It's been a long time coming, and after having some parts for years I finally put together a set up and got it done.
I picked up a snorkel top 5-6 years ago and added a 2' down pipe. Then it kicked around in my shed in a box with some other assorted potential bits as I got the 109 reliable, went through the CZU fire in 2020 and the Covid pandemic of the last couple of years. I caught it this last July, 'orrible sore throat like hot lava until the paxlovid treatment changed things.
The snorkel has always been in the back of my mind, for a couple of reasons; I wanted the kool look factor and I wanted the cooler air for the engine/turbo from outside the engine compartment, the higher intake also got me less dust and mucho water wading ability!
I figured I would need to move the battery to under the rear wheelwell, it turns out I only needed to move it forward 1/2".
So here is a picture of the bits I had accumulated. The top is in the upper right of the layout.

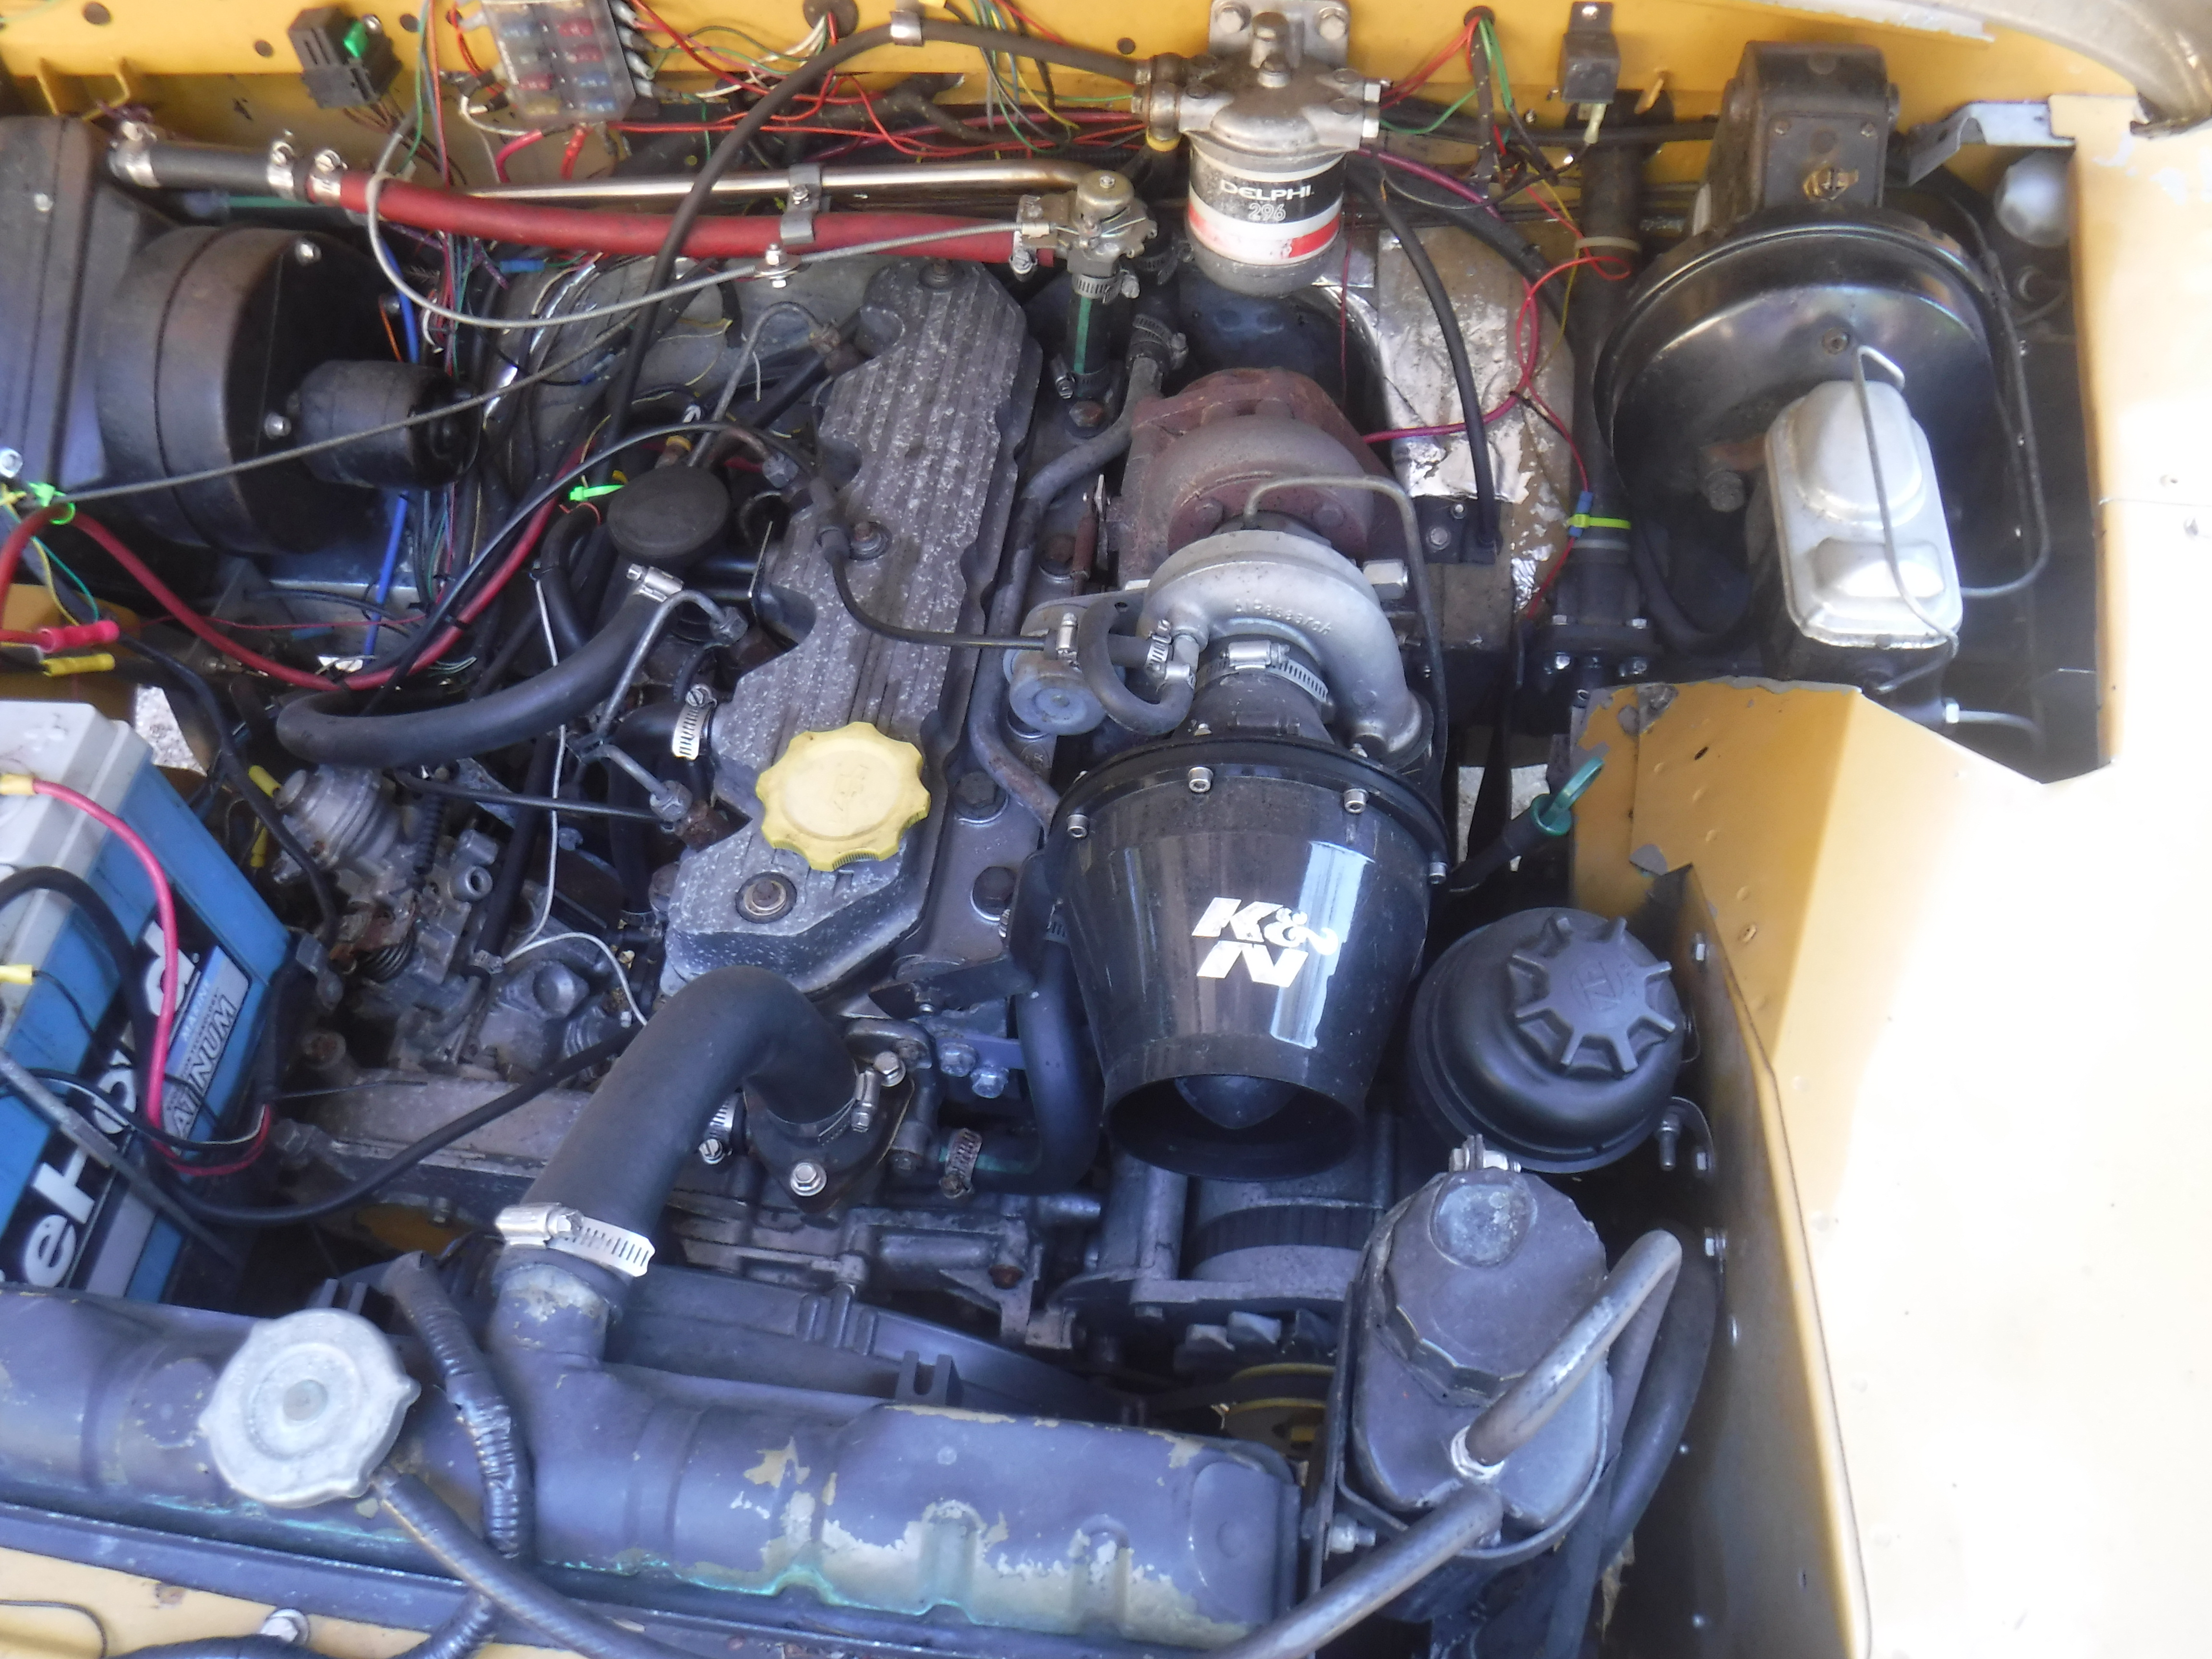
Wanting to fit the filter into the same space and come out the LHD wing, too mush stuff was in the way and the cylindrical filters I had were too large to fit.

After asking on line I found a Discovery 1 air filter box could be used. I found one at a scrappers near Sacramento, and had it in a few days. Part #ESR3011

I tried it in many places as I could and finally settled on between the battery and the heater blower motor. The reasons being It was the easiest to do, the intake should fit into the wing without a lot of challenges(little did I know), the exhaust to the turbo was fairly simple and straightforward.

First thing I had to do was remove the intake horn on the airbox, it just pulls out. Then I went around and measured all the possible ends, inside and out in inch and metric so I would have both when looking for bits. Most of the hose connecters and hoses are 2" or 51mm. The in and out at the airbox were a challenge as they had to be reducers. There wasn't anything I could do about the airhorn/intake side it uses a 3" x 2" (75 x 51mm) straight reducer.
On the other side of the airbox it was more complicated. I has the flange and latches to hook on the airmass sensor for the Disco 1. This was removed with one of those newfangled oscillating tools after much deliberation and searching for a suitable latching connector. Then sanded to finish it off.


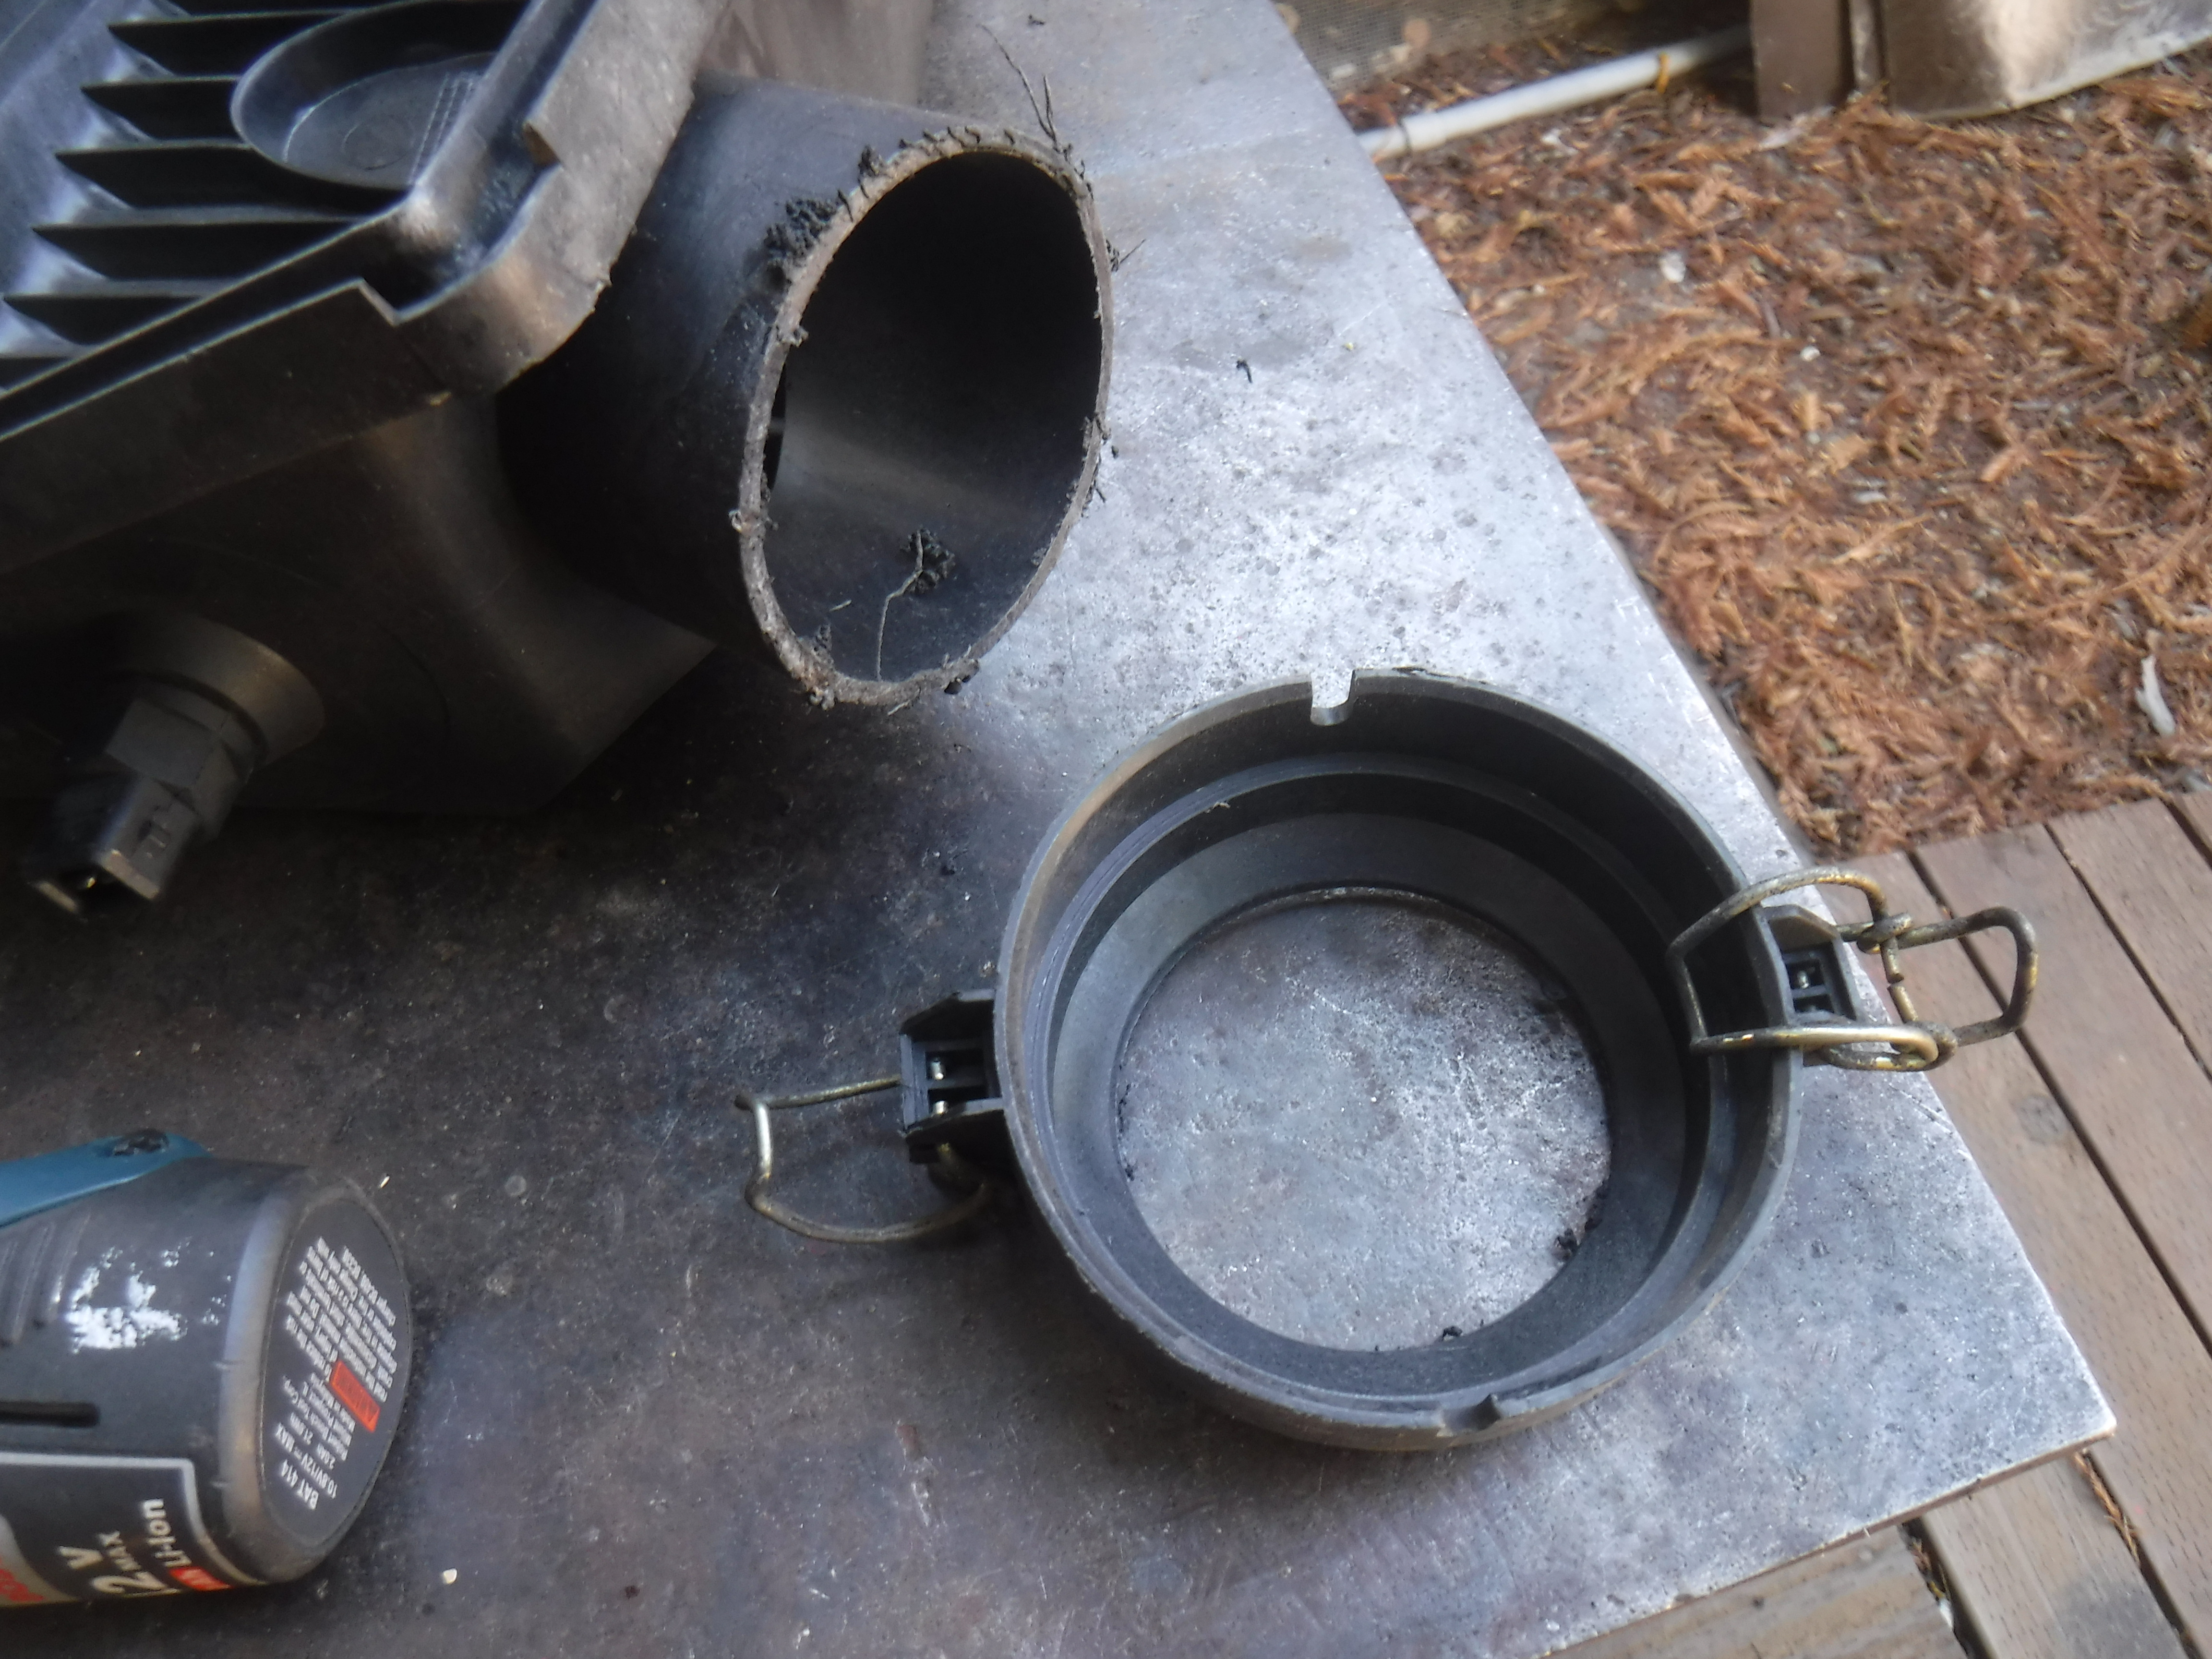

This end would now be towards the rear of the engine and so needed a 90° reducer in 2-3/4" x 2" (70 x 51mm) I found one on amazon; https://www.amazon.com/gp/product/B00SCI9SC8/ref=ppx_od_dt_b_asin_title_s00?ie=UTF8&psc=1
The rest of my silicon and aluminum tubing I bought from ; https://www.siliconeintakes.com/
Because I'm not good in math I fumbled around around a bit with angles. I bought a 180° mandrel bend 2" tube to come off the turbo to the airbox. It turned out to be too tight a bend I think a 135° would have worked. What I did was put one end of the 180 in my vise and heated up the bend and the stuck a steel tube down the free end and spread the bend wider, if that makes sense. Anywho it worked.
Here's the reducer and tubing;

Twas going to go something like this;
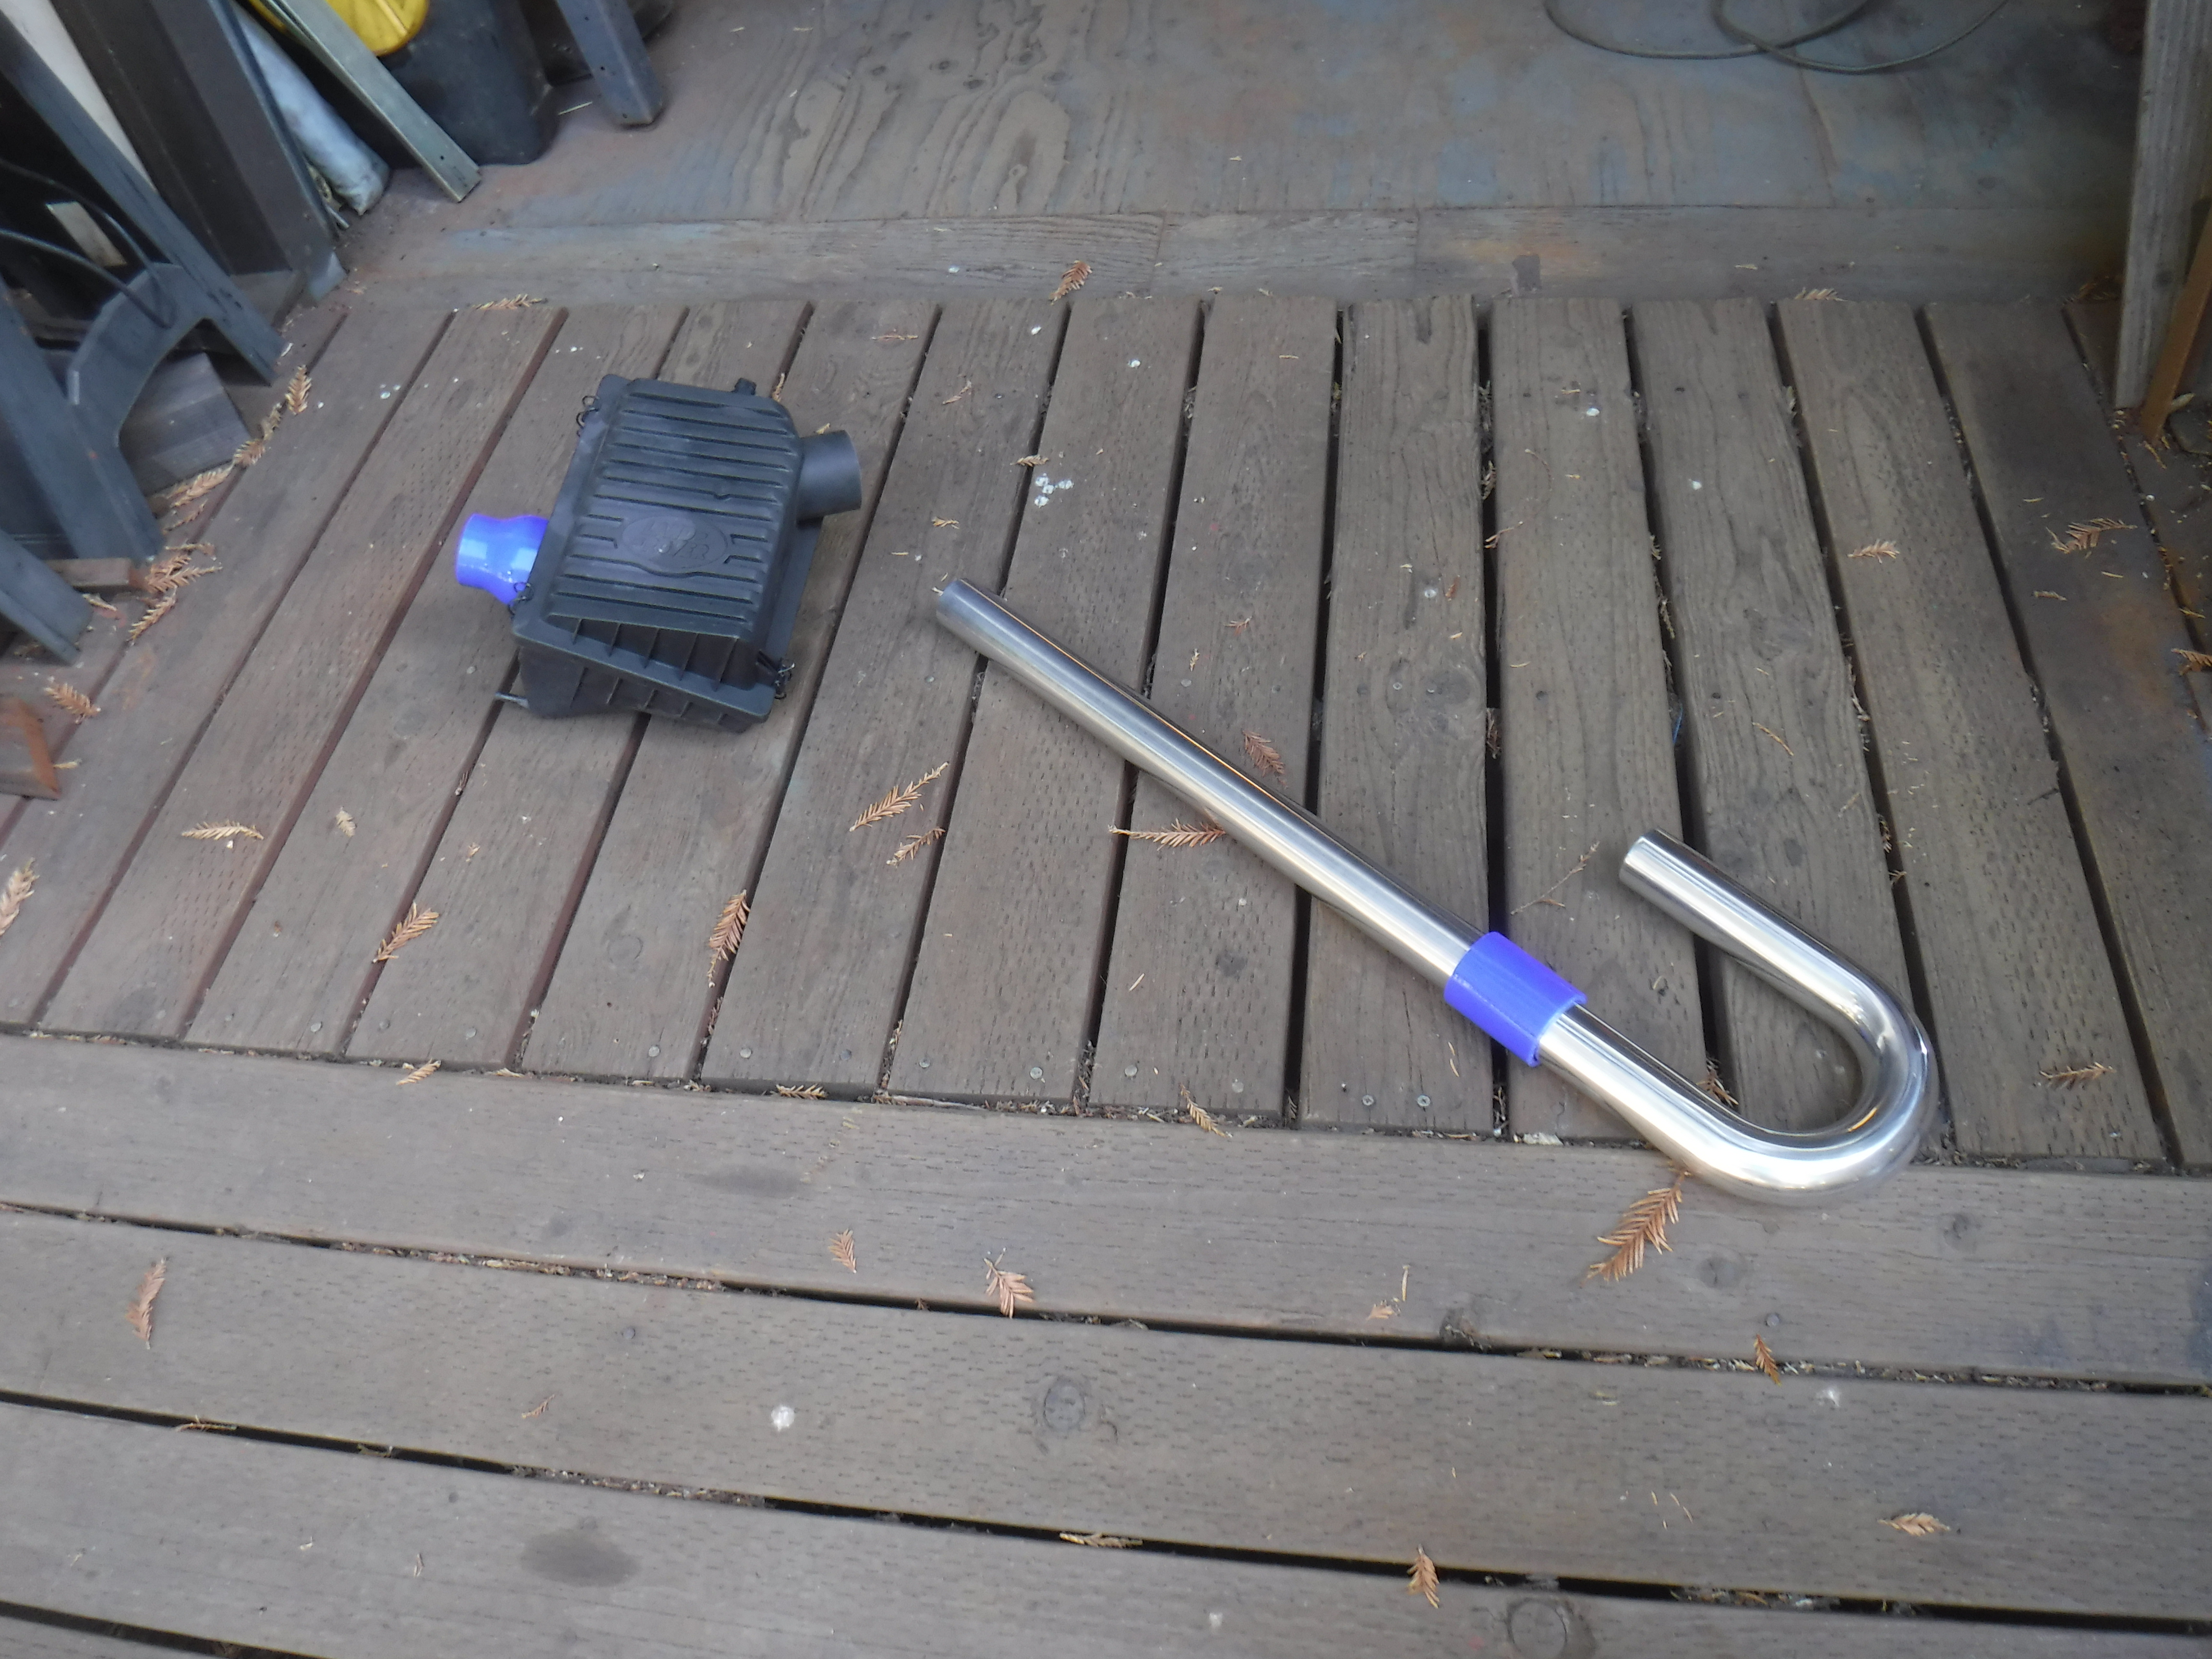
In my minds eye it was going to be easy;

It was apparent things would need to be moved and cut down.

First the battery was in the way. Only by a little. I struggled mightily with putting it under the wheelwell, I just can't cut a big hole in the side.....
There was a little room in the tray to slide it forward, there it hit the bolt head for my horn mount. Moving that bolt would give me the 1/2" I needed to squeeze the airbox in. So out came the battery. Now my battery is frelling MASSIVE! An AGM type I bet it weighs upwards of 80#. Not easy lifting. Once out I removed the horn mount and struggled to put in a hole lower in the edge of the tray. The trouble was I couldn't get a straight shot with the drill bits, had to drill at an angle and the spiral on the bit would catch on the inside floor edge of the tray.....plus the points wandered. Finally I used a steel tube over the bits to keep them from catching and after an hour or so FINALLY got a hole in and the horn remounted. I had to wrestle that beast of a battery back in for a test fit. All good! Whew!


Now I could run the tubing from the turbo to the airbox and buy a filter.

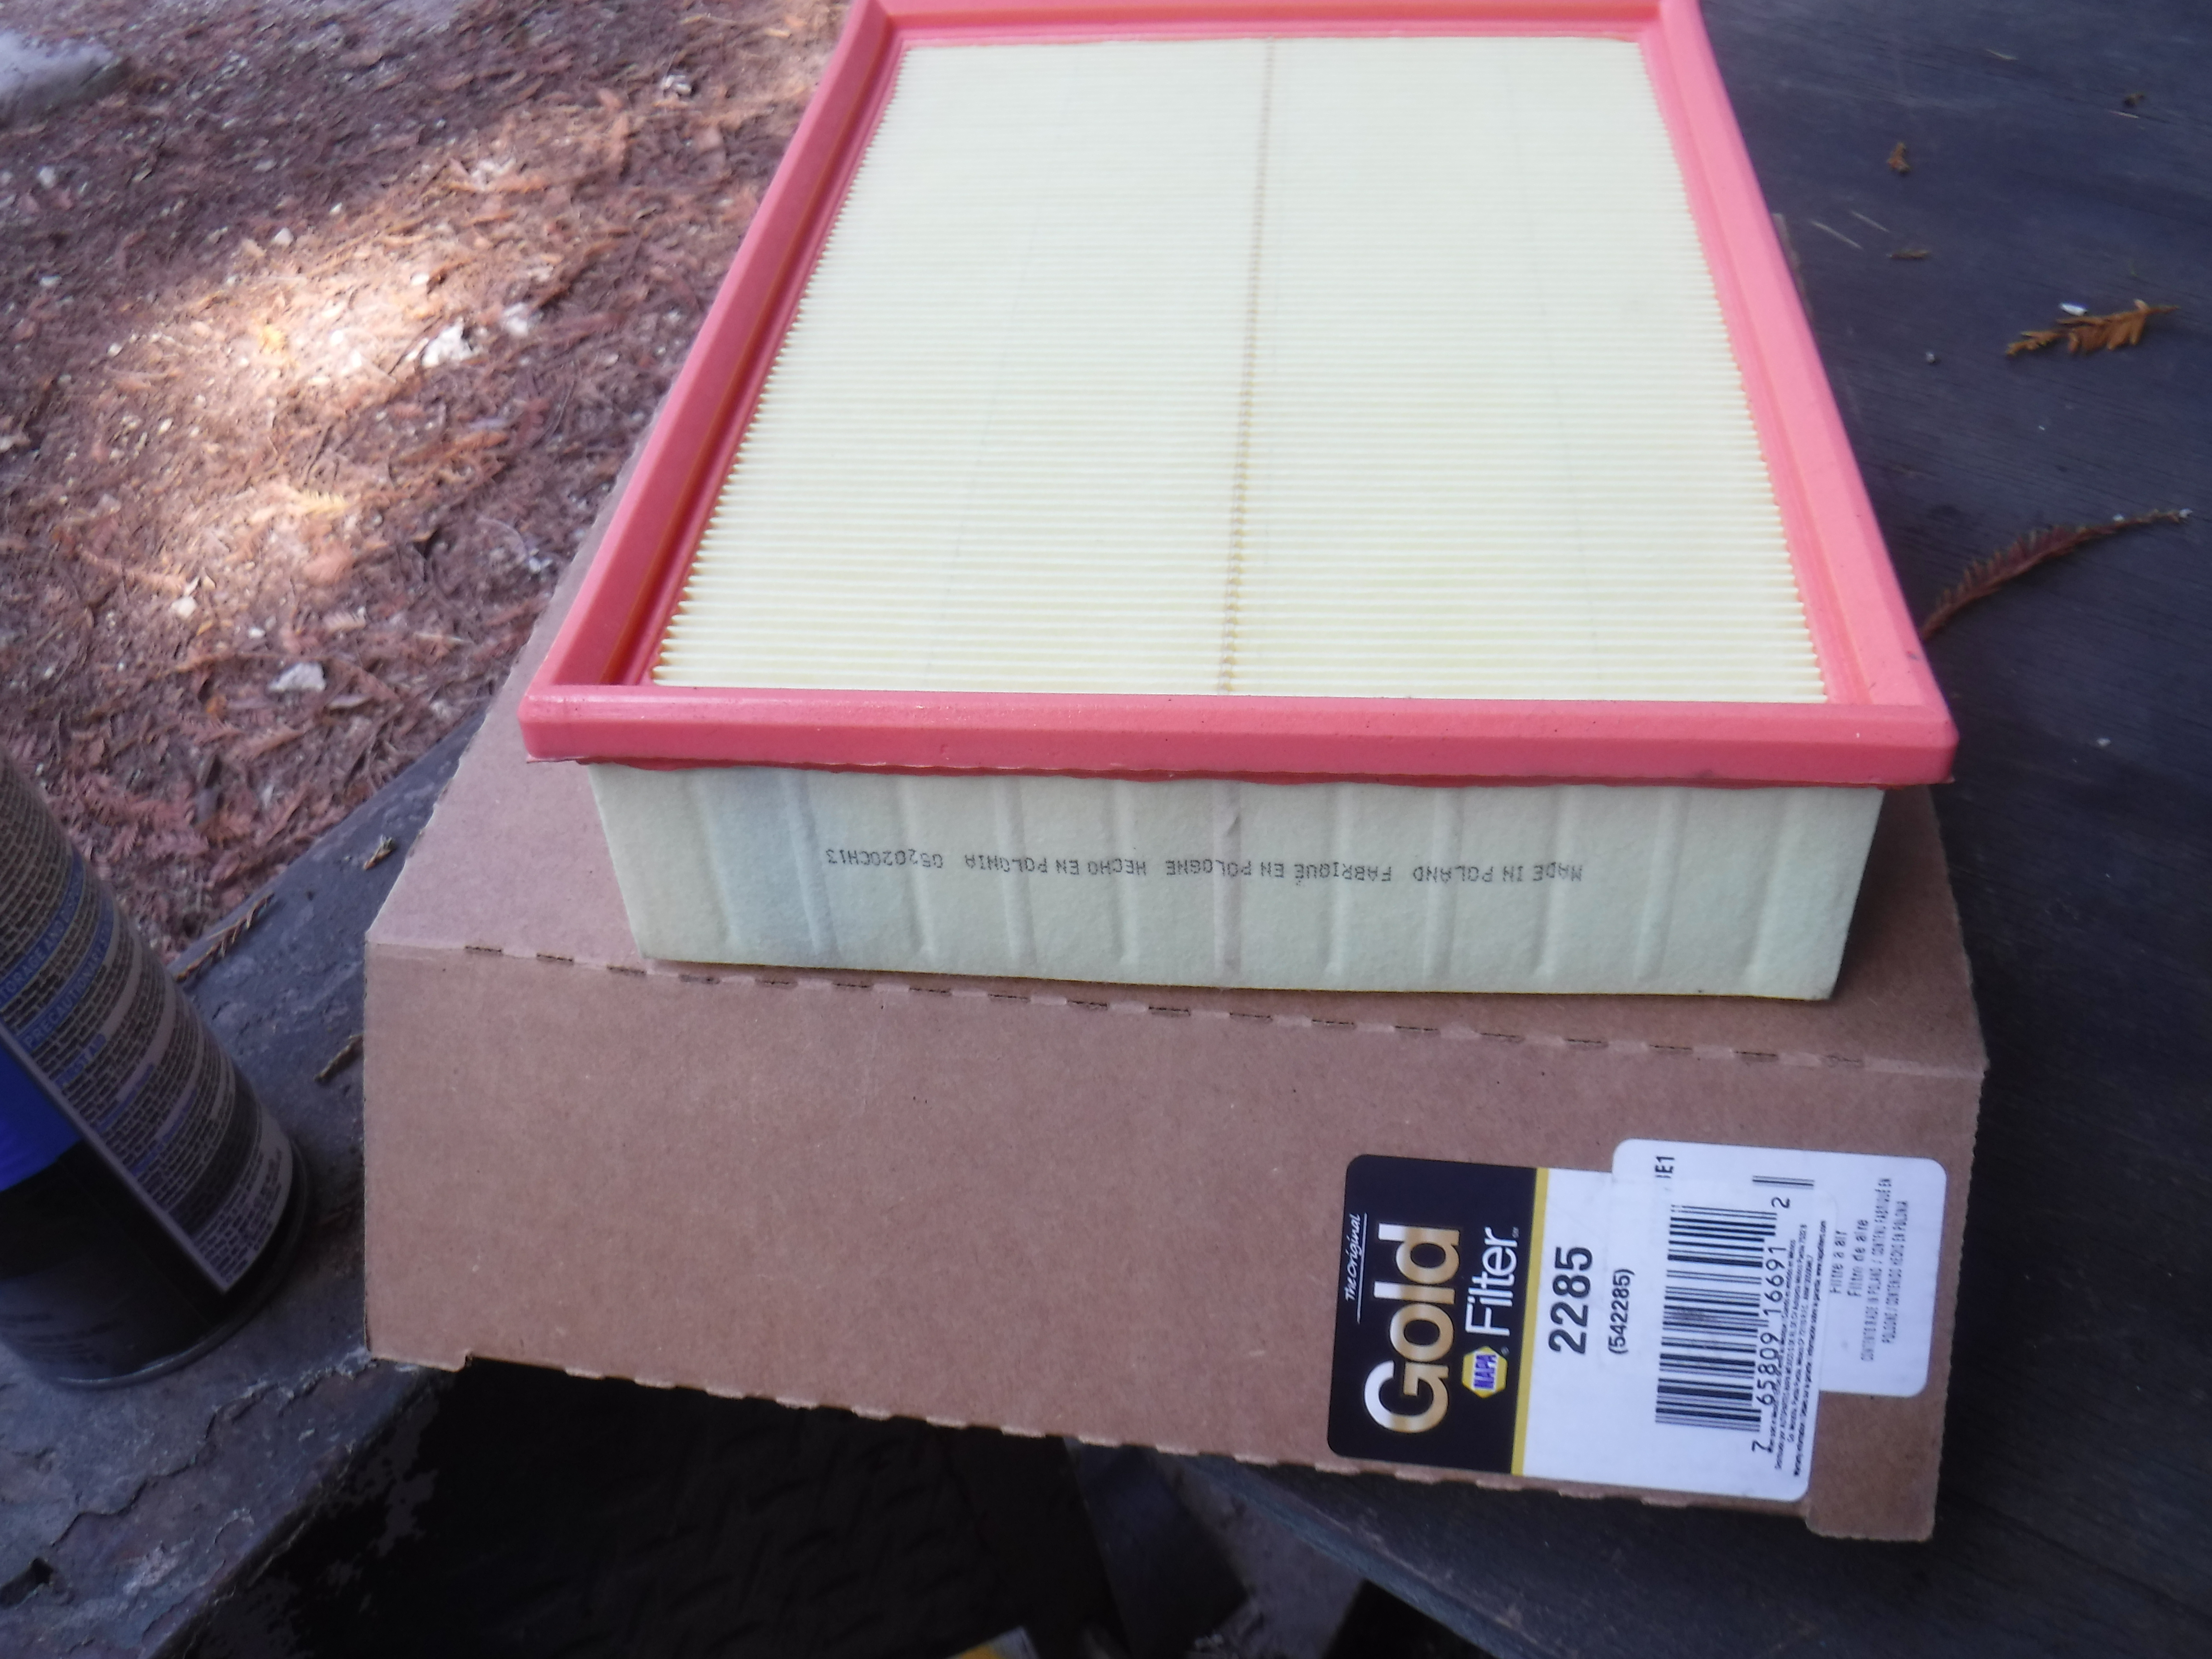
Turns out I didn't need the 2' 2" tubing, Oh I hacked it up trying to make the down tube fit to the airbox and made a connector or 2 or maybe those came from the end I removed from the 180, idk.
Years ago when I thought I was smart I made a 2" long sweep 90° to let a snorkel pass through the wing. Here it is bolted to the removeable section of my wing top.

The plan was to connect this to the wing and the tubing to the airbox and more hose to the down tube, Simples! After fettling the 90 to the panel I found out that the long sweep was too long I needed a short sweep. That was due to the mounting flange and the hose interference with the fresh air valve for my heater. %^&*()

I had spent a lot of time making it and fettling it to fit the panel.


Even shortening the underside didn't help. So I thought a 2' x 2" silicon hose would do the trick. Not wouldn't make a bend..
So I moved on to making brackets for the airbox. I made one to bolt it to the battery tray. This required a tricky bend to match the underside of the airbox, drilling a hole in the airbox welding a 1/4-20 nut on the underside of the bracket to fix the airbox on, AND pulling out the battery again and again.....the other side comes up from the top of the bulkhead support and uses the stock mount on the side of the airbox.


I drove it around for a few days while I tried to sort out how to make the transition through the wing.
With the filter in I wasn't worried about the open end where I had stuck a 90 to keep stuff from just falling in.

I figured I need to mount the down tube to figure out the middle section. I made some templates and then some real ones out of 1/8' flat stock, and here is where I goofed up. I made 1 out of 2" and ran out of 2", went to the hardware store which was out of 2" so I bought 1-1/2" figuring on making 2 that size. Well I came home and made the second one and welded the 2" and the 1-1/2" brackets on and drilled holes in the windscreen before I caught the screwup. I used 10-24 rivnuts, figuring I can go larger should these ever fail. In the pics you can see the irregularity I put in the hole to keep the rivnut from turning.


It took a lot of trial and error to get 2 brackets to hold the downtube in place.
After this was done I drove down to my welders in Santa Cruz and quizzed him about making something to fit between the downtube and airbox. He suggested going to to The Hose Shop and buying some stainless 45°'s or 90°'s that could be coupled or welded to fit. I went over there and talked to Ed the owner showing him my issue. He suggested a hose called Flexadux made by Flexaust with a 2"id. It has UV inhibitors and will take 350°F. I bought 2 feet. According to the mfr, Construction is a thermoplastic rubber coated super reinforced woven polyester fabric hose with a spring steel wire helix. I also came home and ordered 2, 45° 2" alli tube angles from Silicon Intakes. This did the trick with the 45's legs cut short I could make the bend and connect to the Flex hose. The 1 thing I don't like is I had to cut a larger hole in the wing panel to fit it, mainly because I didn't know what the finished size would be with trim around the hole to prevent wear on the hole/hose interface.


I took this opportunity to run my axle/gearbox breather hose up the downtube. I reused the filter I had in the engine bay, but let's face it, it sucked! Too large and fugly fitting. So I found my old spare paint spray gun filter and fitted it on, much cleaner fit!


I hooked up the valve cover oil separator by drilling a hole in the upper part of the airbox and installing a stainless steel 90° x 5/8" I found on Amazon;
https://www.amazon.com/gp/product/B0937GNY3N/ref=ppx_od_dt_b_asin_title_s00?ie=UTF8&psc=1
Stainless? Was the same price as plastic so why not?


Thanks to Bob on the Guns and Rovers Forum for all the help to sort this project out!
Lastly though no-one but me would probably notice it is quieter!