Friday, July 23, 2021

Land Rover lantern hanger

 22 July 2021


     My neighbor talked me into entering my 109 into a local car show this coming Saturday, Not really my thing , but it will get me out if the house. I was thinking of what I wanted to take along the lines of camping gear as most likely I'll be the only non American Iron car.

So I was looking at my hurricane lamp and thinking how to display it. I've thought in the past of making a hanger I could hook on the rain gutter. What I really wanted was something that was lower and wouldn't burn my awning.

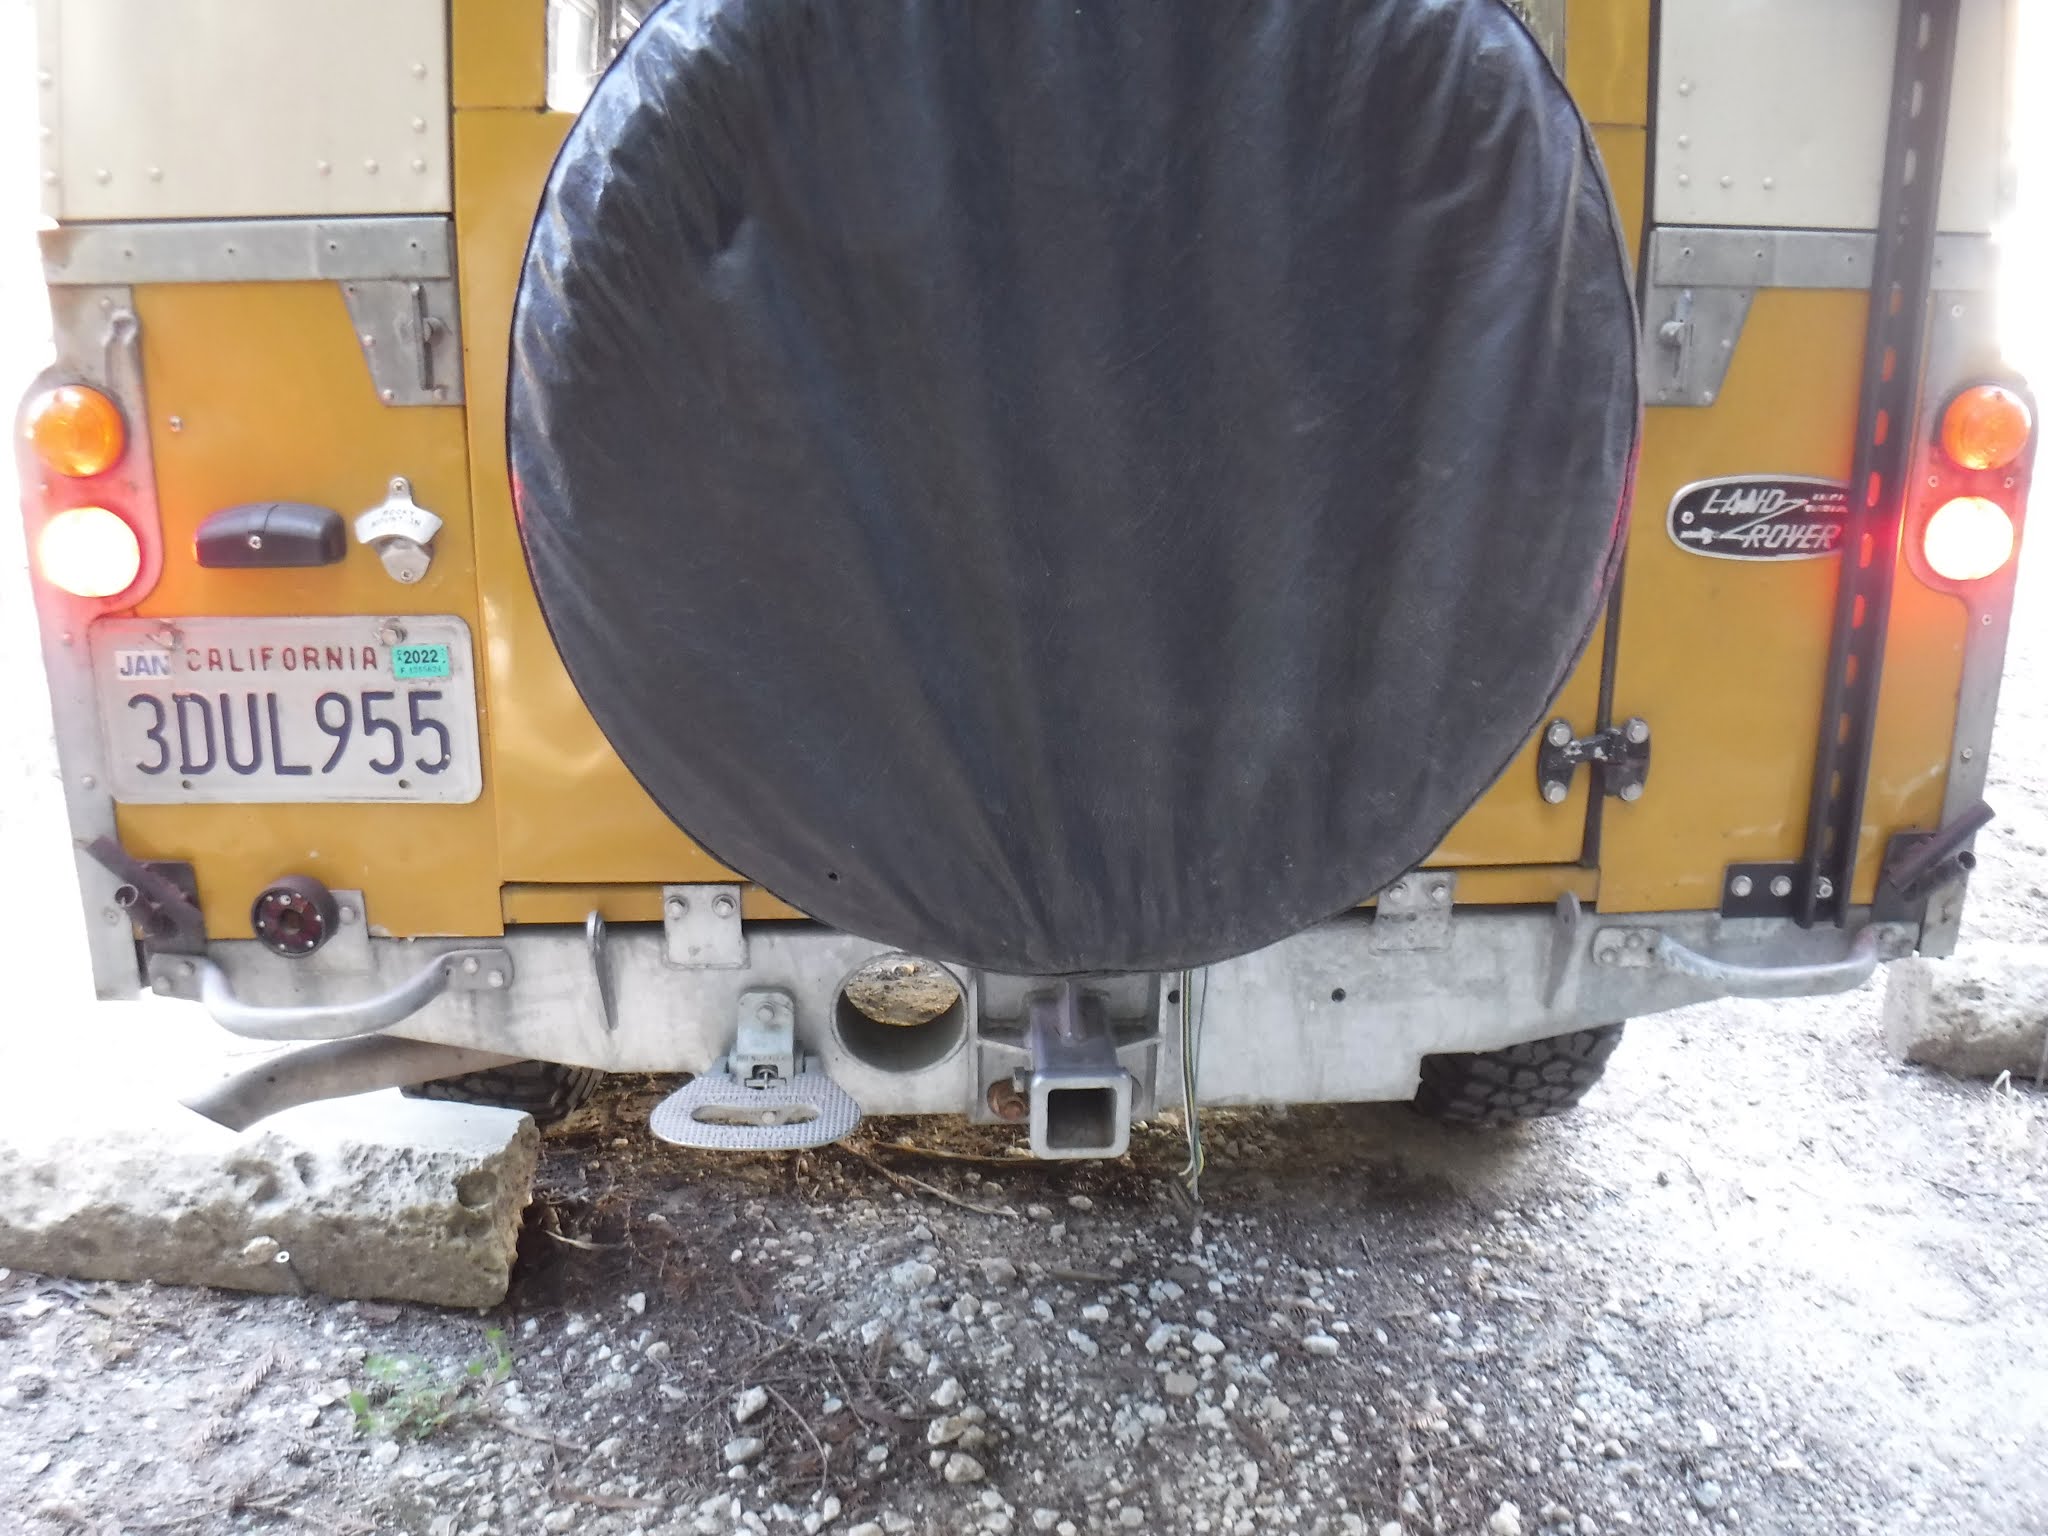
      It hit me that maybe, just maybe, I could make a folding hanger off the back door. 


I needed to know how hot the lamp got.

    We (me and the lamp) went out to 109 and I fired it up and after a bit checked the temp with my IR gun. The glass was OK and putting my hand above it was not bad, the real surprise was the temp of the metal top,


Taking some measurements led me to believe that I could hang the lantern off a folding bar connected to the top frame of the door. I took a piece of 3/4" x 1/8" flat stock and cut a 6" and a 12" section. After a trip to the hardware store to buy a hinge.


It is a 1" hinge, the smallest I could get, I'll see if it holds up. I cut the ears off and welded one side to the bar.


Next I had to cut the ear off the 2 part side, I did this with a dremel tool cutoff wheel leaving a little sliver to keep the holes aligned. And welded that to the other piece of flat stock.


As above I did have to notch the single side so it would fold flatter when closed.

Arbitrarily I chose to put my mounting holes 1" from each end, I marked and drilled them, notched the hanging end and rounded it to make it less likely to damage me when I ram my head into it.


Clamping it to the door allowed me to drill pilot holes the same size as the ones in the mount, and try a test hanging.


Once the pilot holes were in place on the door I went ahead and drilled the mount holes out and chamfered them for a tapered head machine screw. My riv-nuts for this are 10-24. With the holes all done on the mount ai painted them to match the Rover, believing that if the mount was yellow I might see it open before I slammed the door shut........

Ahhh, time for lunch!

After a sandwich, I came out and drilled out 1 of the mounting holes and installed a riv-nut. In the middle picture you can see that using a round file I made an irregular hole. This stops the riv-nut from turning once installed.


I let the mount hang so I could be sure the pilot hole still lined up and then I put in the last riv-nut.


I set the screws in and tightened them up.


Unfolding it I hung the lamp.


I am thinking I will use a magnet to keep it stored when not in use.


Once I get the right size shape magnet, there is a Covid shortage, it will sit here when open.


Final thoughts; 1/2" was too small 3/4" is too big, I couldn't get 5/8". I should have made the arm the full length of the door top with a couple of notches for lamp hanging. I may be able to use this inside with the arm at 90° to the closed door, and maybe it will help with heat.

Monday, June 7, 2021

Leather cover for hand tools

7 June 2021

Last year I bought a Fiskars hatchet, hated the plastic cover! So (Holy smokes this was pre covid!) I went to my local leather store and bought some of those rivets to make a cover for it out of some leather scrap I have.
    For my first attempt I think it came out good. It is the black handle 


So in February I made covers for my axe and my pick/mattox.


Not much to say about making them, 

Folded the leather around the tool and punched a hole with an icepick then set a rivet in and pressed it in my vise. Did the next on at a corner to hold the 2 sides together and worked under the cutting edge. Once the rivets were set I trimmed off the excess leather, made a strap go around so the cover would stay and set a snap in both sides. Learning to punch the holes with the icepick was probably the key.

Friday, May 28, 2021

Land Rover 109 dome light

 28 May 2021


Back in Oct of 2020 I bought a dome light and installed it over the front seats. You can read about it here; 

https://poppageno.blogspot.com/2020/10/land-rover-headliner-installoption-part.html

Long story short, it didn't suit my needs as the light while bright enough was not covering the forward part of the cab or the seats, only the center section.

So the hunt was on. Then I screwed up, I bought 2 LED dome lights from Superbrightleds.com and when they came in, while they looked great and fit nice they didn't have manual switches, They were designed for door switches. They stayed in the box.

The hunt intensified; On Amazon(who'da thunk?) I found some rectangular low profile, manual and door switched, LED dome lights. Bonus points for being a 2-pack.

https://www.amazon.com/dp/B07CBT6LCT?psc=1&ref=ppx_yo2_dt_b_product_details

They came in yesterday, and were installed today.

Here's a look;


First I removed the old one.


Then looked at the mounting for the new ones. The steel bracket gets screwed on and the fixture slides on the hooks, Ya gotta press pretty hard to slide it on.


Mounting was easy, I just had to drill 1 mounting hole and hook up the power and ground.


That's when the hard work started. I wanted to have an overhead light in the back for camping.


I really, really, really wanted it on the centerline of the rib, but with space at a premium and me already bumping the rib when I crawl around, I opted for putting it on the side of the drivers side overhead bin.

 What you don't have these? You can read about mine here;

 https://poppageno.blogspot.com/2015/06/land-rover-storage-option.html

After some careful measuring and layout and center punching followed by drilling the bracket was mounted.


The ground was affixed and power run through(red wire).


And that is when I realized the screws protruded into the storage bin and would soon catch and tear up any thing I put in there. What to do?

Hummmmm, pop rivets 1/8" with 1/4" grip range was just the solution, the flange covered just enough of the bracket to hold it in place and the 1/8" hole needed was not much larger than the screw hole.


I didn't want to rivet the ground on so I just ran it to the nearest machine screw holding the bin up.


Brilliant!

30 May 21

Took some interior pics at night, 2 with front light and 2 with rear light.


Thursday, May 20, 2021

Land Rover 109 brake lights --- LED

 20 May 21


   Last week end I decided to inventory the spare bulbs in my spares case. To my surprise the boxes were mostly full of the standard bulbs I had taken out to be replaced with LED's. You can read that post here;

 https://poppageno.blogspot.com/2016/02/land-rover-109-gets-led-indicators.html

Subsequently I found that my brake/running lights were still bulbs. So I ordered some new red LED's for the 109 and a couple of spares from Superbrightleds.com. I bought a couple of spare amber LED's for the rear and I have a couple of clear ones for the front in stock.

Part #'s ;

1156 boat and RV LED light bulb Amber 1156-A18T

1157 dual function LED light bulb Red   1157-R27-T

I both in a 2 packs.

Here is the red LED;


This pic shows the running light LED on the left and stock bulb on the right,


This is the running lights on both sides;


Brake lights;


I think the back light and the camera don't pick up what the human eye does for the difference.


Wednesday, May 12, 2021

Land Rover brake booster servo valve

 Some time in March, 2021 I noticed my brake pedal was hard to push. I didn't use it all that often due to covid. Eventually I figured something was wrong and went searching.

What I found was my no-return valve for the vacuum line to the servo had busted. Notice even the barb into the vacuum line was broken.


Less than15k miles on  it.

Of course it was a Saturday and I waited till Monday to call Trevor at Rovah Farm 50-562-0337, We talked and he said that heat caused them to fail. So I ordered 3 of them, but he only had 1 in stock. I picked up that one and some other things and put 2 on order. My thought was that I would have some spares for out in the field.

    Well the new one came and I put it in with plenty of  Sil-glyde grease figuring it would both seal and withstand the heat.

It solved my brake pedal issue and I was happy with that, knowing I'd correctly diagnosed the problem.

When the spares arrived I thought maybe I could find some made from metal so the whole heat thing would go bye-bye. I realized I really didn't know how the servo worked so I hit up YouTube for answers. There I found a video where a guy replaces a Tacoma servo and lo and behold it's got a metal valve much like mine.

So it was off to my FLAPS where I asked Sean if he knew anything about them, but because I had no part numbers or model years Sean could only shrug. Back to YT and the video where I find out it is a 2002 Tacoma, then I search for the valve part number online and suppliers.

This all leads me to checking dimensions and seeing that for the most part they are universal with the exception of the angle of the vacuum inlet barb. After a couple of hours I found myself on the Holley website; https://www.holley.com/search/?q=AT252007ERL  Where I found the best deal on a Billet Aluminum brake check valve. Lot's of $, but if it doesn't break and leave me stranded....

I just didn't know if it would fit........

 11 May 21

It came in late today and I was able to compare it to the old Britpart one.

Diameter of the servo barb;

Britpart=15mm/.59"

Earls= 14.73mm/.58"

Diameter of the vacuum line barb;

Britpart=13.4mm/.53"

Earls=12.7mm/.5"

Britpart part # is STC493

Earls part # is AT252007ERL

There is a AT252006ERL but it has a smaller vacuum inlet barb.

Following is a pictorial comparison.


During the comparison I also test fit the servo grommet to the Earls, it is tight!


So now I have a metal body check valve that while the valve inside might fail at least the body won't leave me in the lurch. Tomorrow I'll put it on and see if my Land Rover stops ;^)


12 May 21

After taking the new valve to my FLAPS so they will know more I put it in my 109.

The removal of the new/old one was tight to the servo grommet and I had to pry with a screwdriver to get it out. The Earls slipped right in with some Sil-glyde on both barbs. After securing my tools I went out the drive and did a test stop............Bob is definitely my Uncle!

Pics from the install;


Now time will tell on the longevity!