
16 Oct 2020
Well it has been quite a last couple of months, what with the fire and Covid. It did give me time to think and research what I wanted to do about my headliner.
I spent time looking at stock replacements such as Exmoor Trim or Badger Coachworks and a multitude of online fabric headliner suppliers from marine and auto industries. Cloth or vinyl, Zebra or some other print? Padded or not, self adhesive or not. Overwhelming at times.
Finally I settled on an off-white vinyl with a 1/4" foam backing from Albright's Supply
https://www.albrightssupply.com/
That I bought through ;Amazon; https://www.amazon.com/gp/product/B07MM3551D/ref=ppx_yo_dt_b_asin_title_o03_s00?ie=UTF8&psc=1
Because the ribs in the roof are around a meter apart and the width is 65" it took some looking and planning to get the right size and have fewer seams.
Now about those ribs,,,grumble,,grumble..... mine are not on 37" centers, from front to back they were 36" 37.5" and 39 to the back wall. Then to top it off they are not even being some 1/2" off from one side to the other.
Cutting 3 x 66" pieces off in 2 x 40" and 1 x 37" I was set to do the job. Now the roof needed to come off.
I contacted fellow Rover owner Don from nearby and arranged a day/time to take it off.
13 Oct 2020
The day before I disconnected the 'lectric's and unbolted the roof. In the morning Don came over and we went over the plan and I climbed inside and lifted the top on my back and turned it 90°.
Once outside Don and I carried it over to the sawhorses flipped it on its top and Viola! Ready to go.


First thing was to clean it up by removing the PO's paint on the drip rail.

I tried a variety of methods, acetone, various wire cup and wheels, a worn out fine wire wheel in a corded drill worked best;

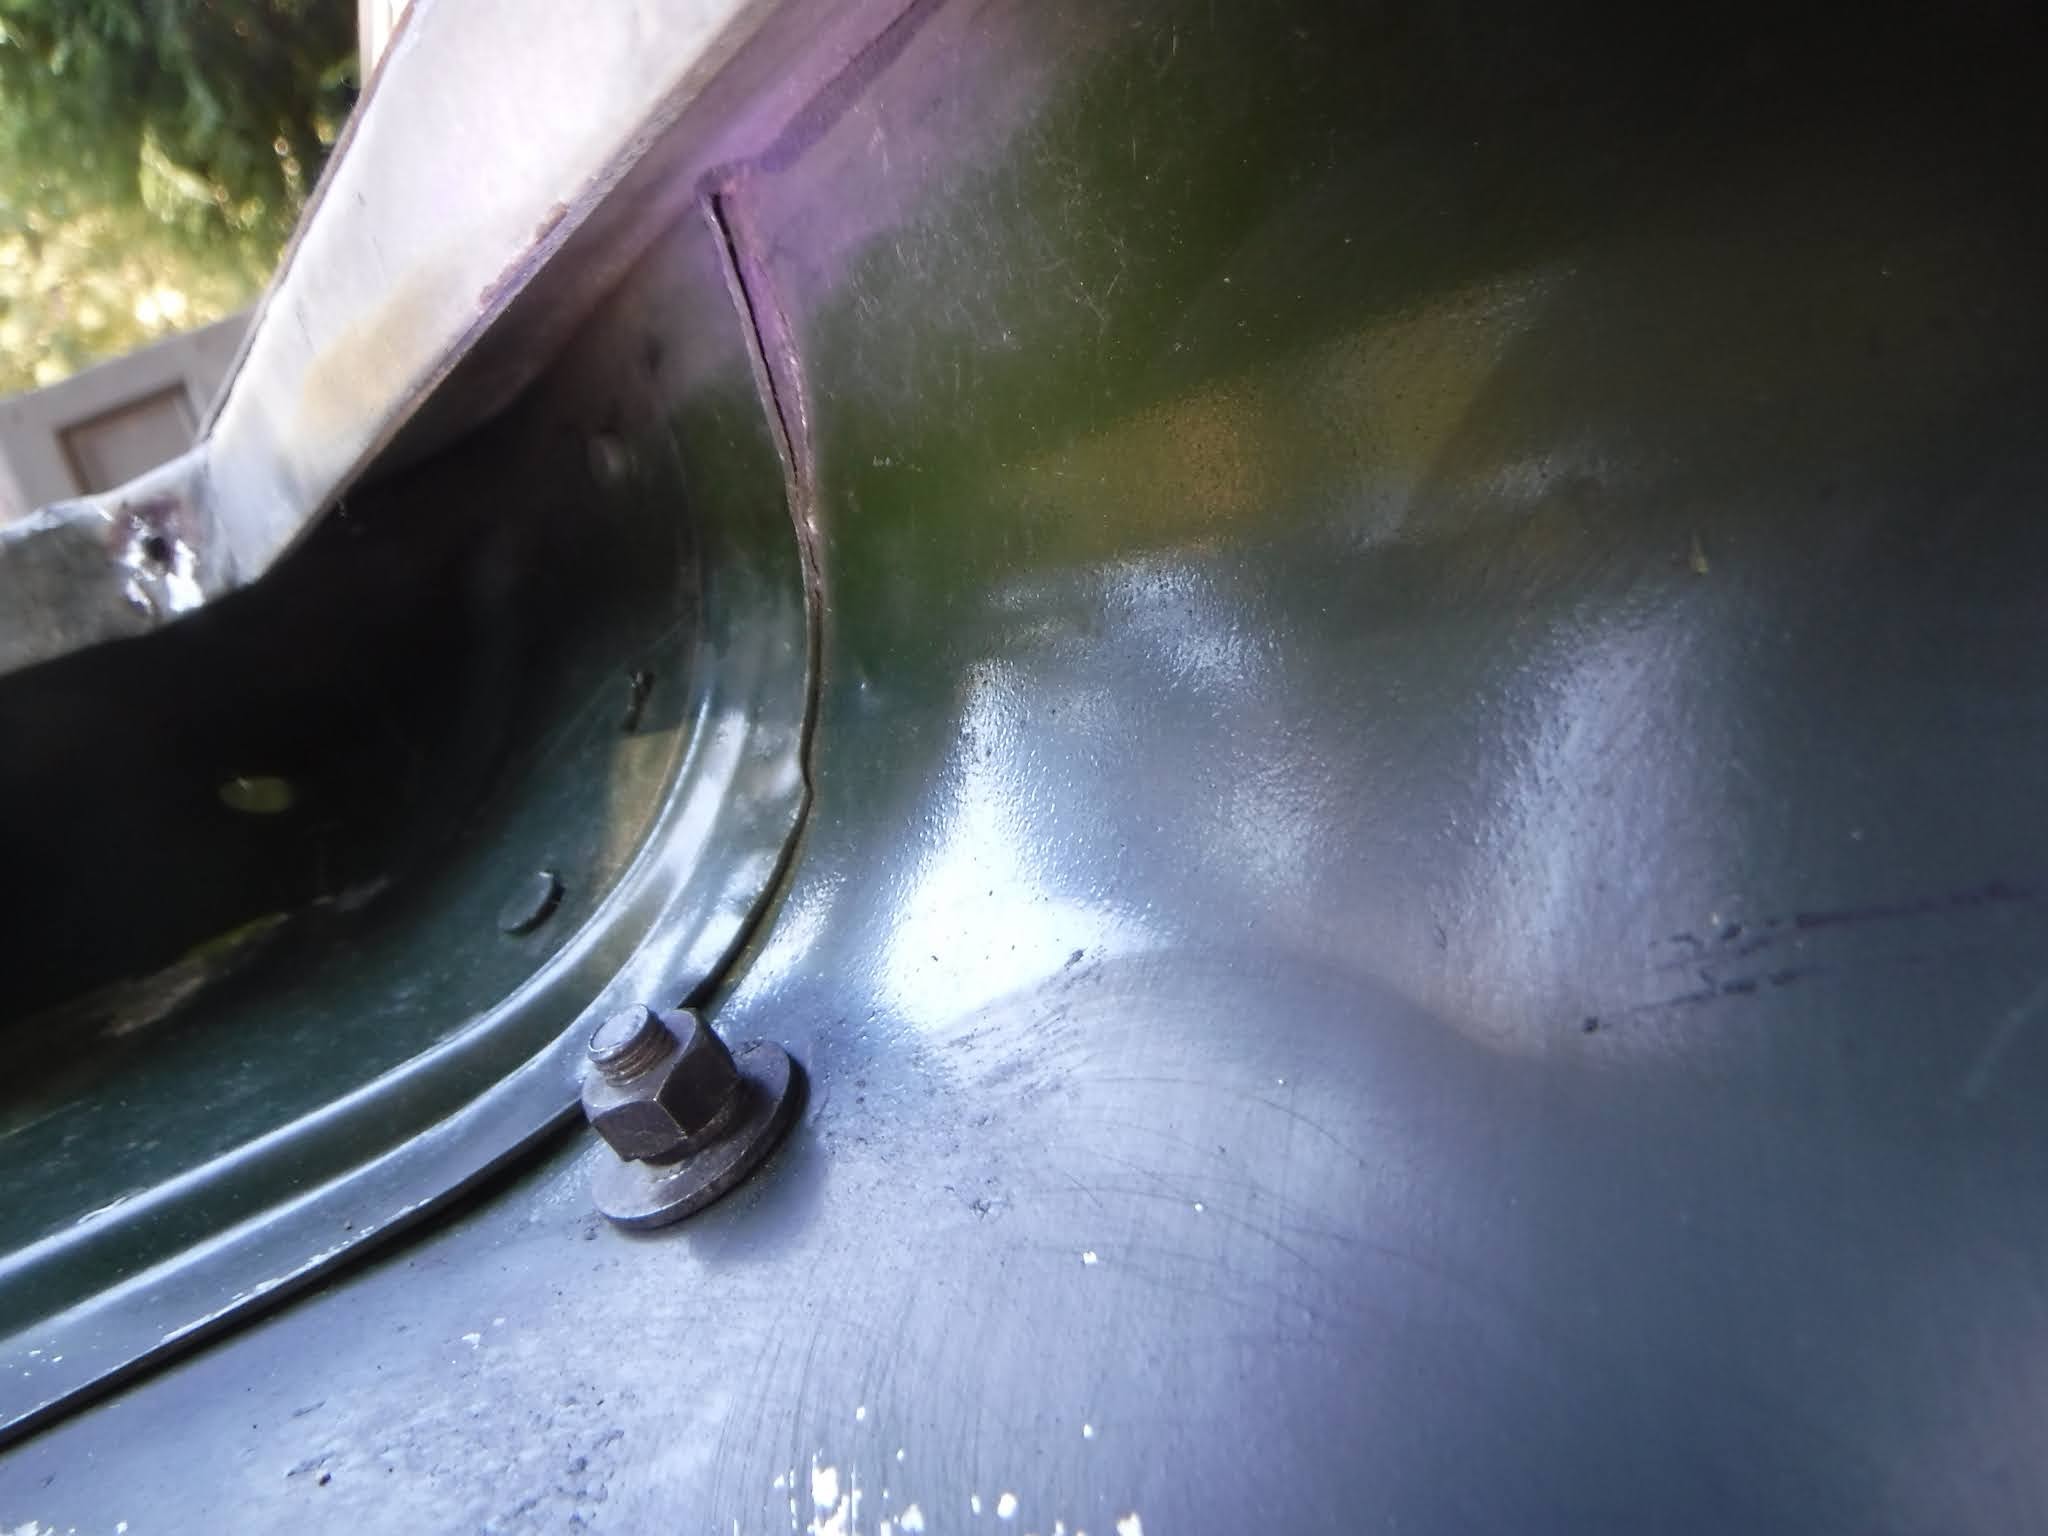
Once that was done and some burrs taken off some edges I used my air compressor to blow the dust out. That's when I saw a puff of dust come out the side if the front seam. Investigating further I found all the original seal was gone! Using a flashlight I could see through the seam. So on the inside I used Permatex blue gasket maker and on the outside I used a small screwdriver to cram some waterproof ductseal in. It is a malleable waxy stuff I got a fistfull of 50 years ago. Just to be safe I did both sides.


While the goop was drying I set up to do the center section. I figured this would be the fussiest and the key to doing both ends, especially since I didn't know how I was going to marry the sections.


Next came locating the trim pieces for the vents, to do this I lifted the edge and used an icepick to approximate the hole in the fabric, then set the fabric back down and poked the icepick until it found the hole and jammed it in.


Then the trim was located using the icepick.

The pick was replaced with a screw loosely holding the trim, gingerly poking around I found the next hole and jammed the pick in. On the first one I worked my way around.


The trim ring next to it was also done so I could glue down one side.

Before they were glued though I cut out the opening for the vent, I used a safety razor, but wish I had an Exacto blade for the handle and point.


Once all trim pieces were done and openings cut out the end strips located I was pretty set for gluing, but first I used a hole punch to make the holes more visible and the screws easier to place.


I taped off for overspray and doing one side and then t' other I sprayed 3M 77 adhesive and fought the fabric into place, attached the trim rings and end strips.


And that was about 5 hours work! I needed a break,
Gene,
ReplyDeleteAs usual - excellent work.
Thanks Neil, coming from you that's a real compliment!
Delete