
https://www.superbrightleds.com/moreinfo/off-road-led-light-bars-straight-and-curved/50-inch-off-road-led-light-bar-144w/3673/
Well it arrived last night, Friday, and I have to ask, HEY UPS! What's up? You tell me it is going to be delivered on Friday. OK, I go online it's out for delivery at 0843. Now the warehouse is just over 13 miles from my house, I can ride my bicycle there in an hour. Why did it take 10 and half hours to get to me? There is not 100 miles of roads in my valley! What .....grumble,..grumble.....
It got here at 1830. All packaged nicely.


It comes with stainless hardware and aluminum brackets.

After breakfast this morning, Saturday Dec 15, I went out and took off my Hella 2000's around 9am. It was cold out almost 50°F. Next I had to center the light bar and see how I could mount it. I was hoping it would line up with an existing hole and go quickly. It didn't, it lined up kind of awkwardly on a rack mounting bolt, so I would have drill a hole and mount it to the side.


With careful measuring I lined the holes up so the bar was in the center. For once I did it right and it bolted on the first time with no changing any of the holes! Without power and dark I just guessed at the light bar angle.

Then came the wiring. I thought that it came with a fuse and relay but that was extra and I didn't order one. Probably 'cause I had looked at so many online and thought it came with it and a switch. As it was I ordered an extra female connector 'cause I thought it didn't come with one.... it also does not come with wiring diagrams.

I wanted to run it the same as my old wire but the new setup has the power(red) and ground(black) in the same housing and it is thicker cause of it. It wouldn't fit in the slot on top of the door seal.

Until I got out the Dremel tool and widened the slot.

Once the seal was pressed back on the door would still close.

On the inside.

I just ran the wire down the inside of the windscreen next to my other wires for the inside and backup lites. Then looked for a place for the ground and found a handy bolt on the end of my parcel tray. I put on an eye terminal and bolted it on, then hooked up the power with a posi-tap connector.

Then it was test lite time!


These things are FRELLING BRIGHT!
I tidied up the wiring with some zip ties that I intend on replacing with some better p-clips.

Here is with all lights off;

Just the lite bar;

Then at night in the dark;

First with the lightbar off;

Next is the anemic headlights and LED fog lights;

This is when I found the light was aimed too low, see the amount of light on the spare.

A look at all the lights on!

Then I adjusted the aim of the lights and moved out onto the street in front of my house. First the headlights and fog lights;

Then just the LED lightbar;

Again I re-adjusted the aim and went back out on the street, just the headlights and fog lights;
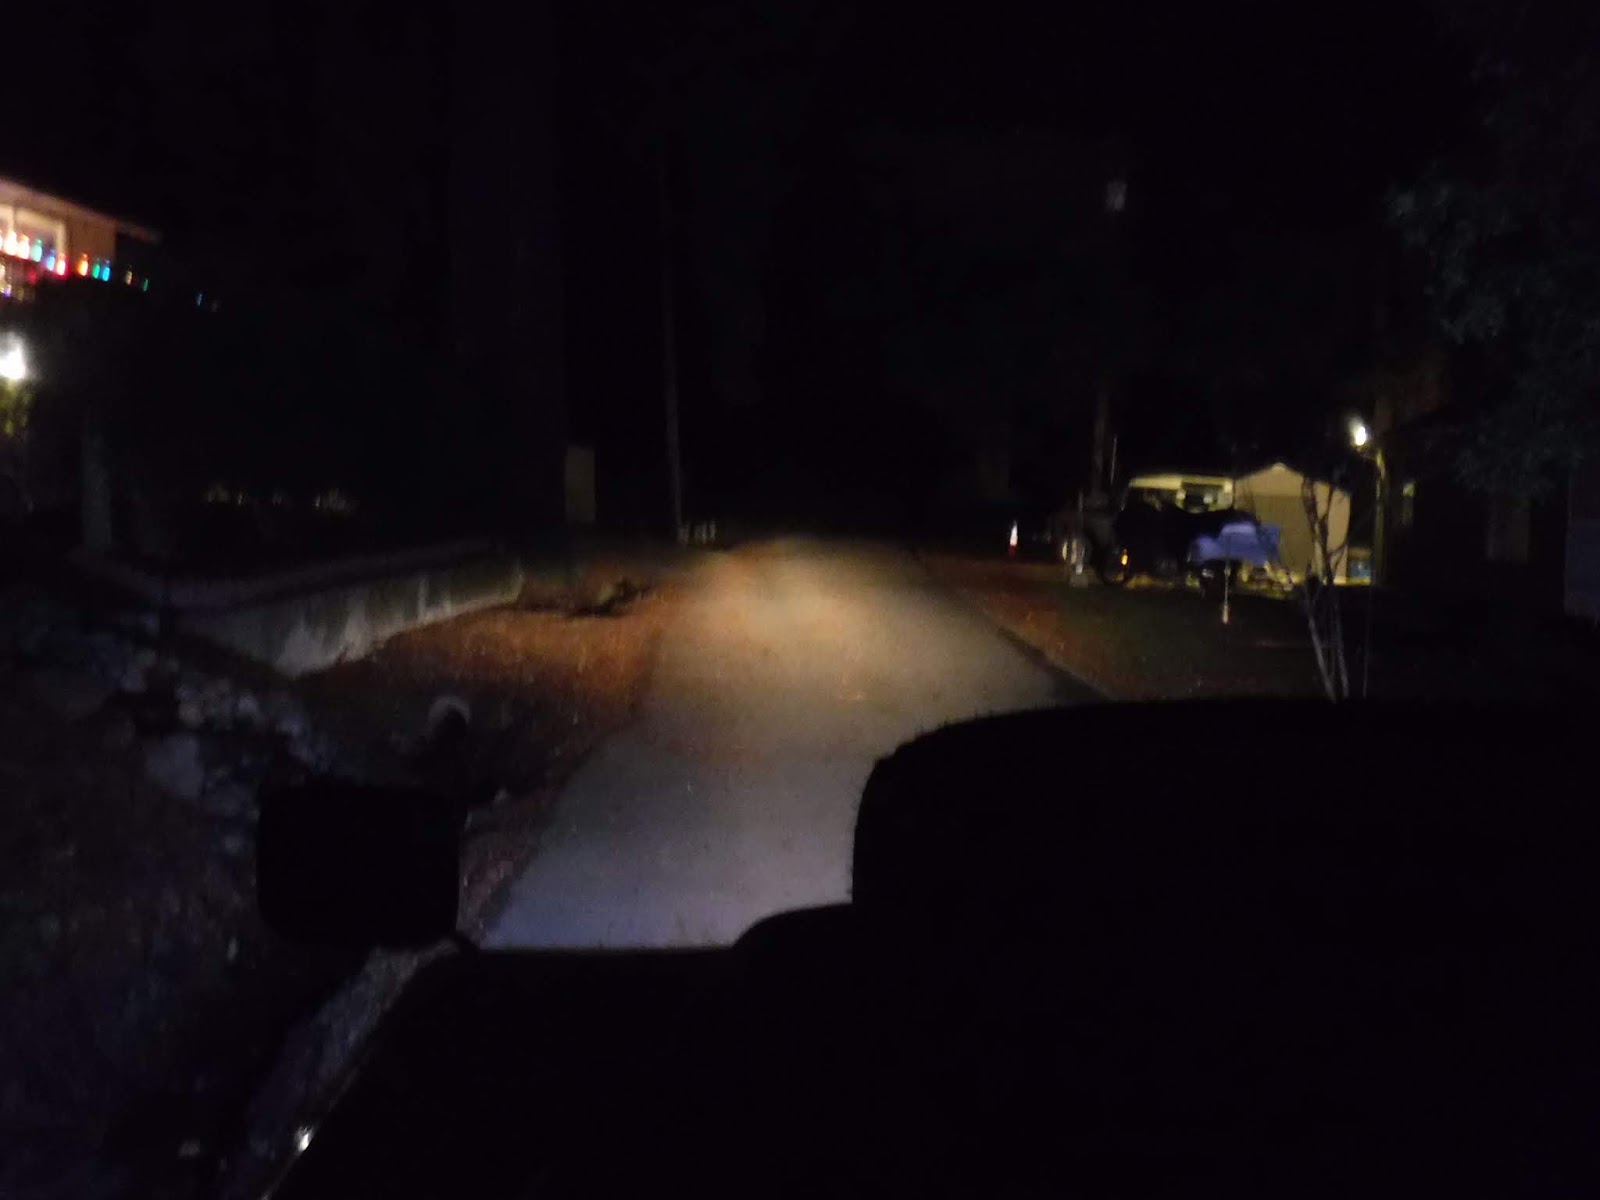
Then the lightbar you can see thee is not as much light in the spare this time;

Almost forgot here is the Hellas output;

I can't wait until LED headlights get cheaper! Headlights and plate/panel lamps are the only incandescent I have left on my 109.
No comments:
Post a Comment