
Anywho on to the topic; LED fog lamps
If you are a regular reader you know I put some white LED lights from KC Hilites(Cyclones) on the rear for back up/work lights. So I had the idea of using the same lights for fog lamps on the front. At 1100 lumens each that would give me 2200 lumens of close in front lighting.
Here's how I did it;
First there was sizes to know like diameter 2-1/8", thickness 1/2". Then I knew if I just stuck the LED's on the front of the bumper they would get smashed at some point so protection was needed. I went to Daren the welder at Arc-Tec and he had a piece of pipe as scrap that fit perfectly and another of flat bar for a backing plate.

Making a circle on the flat bar with the inside of the pipe and then cutting out the 2 circles(2 lites) for backing plates for the light "cans". Very time consuming without the proper hole saw. I used a jigsaw and a sanding disc on an angle grinder to make it fit the inside of the tubing.

Next was drilling holes for the central mounting bolt and the wiring and putting the plate in the tube. I recessed the backing plate so to make room for the weld. (Move along, these are not the welds you are looking for...)

So the inside looks like;

The wiring is epoxied into the side of the LED so the wiring hole has to be at the edge.


I wanted to have a beveled edge to the front for a hood type styling feature, but the cans were too short to give the effect I wanted.

So I started over........
Using some 1-1/2" wide painters tape I set up the bevel I was looking for and using a dremel tool with a cutoff wheel I scored the edge enough all the way around so the hacksaw would follow the groove. Twice..

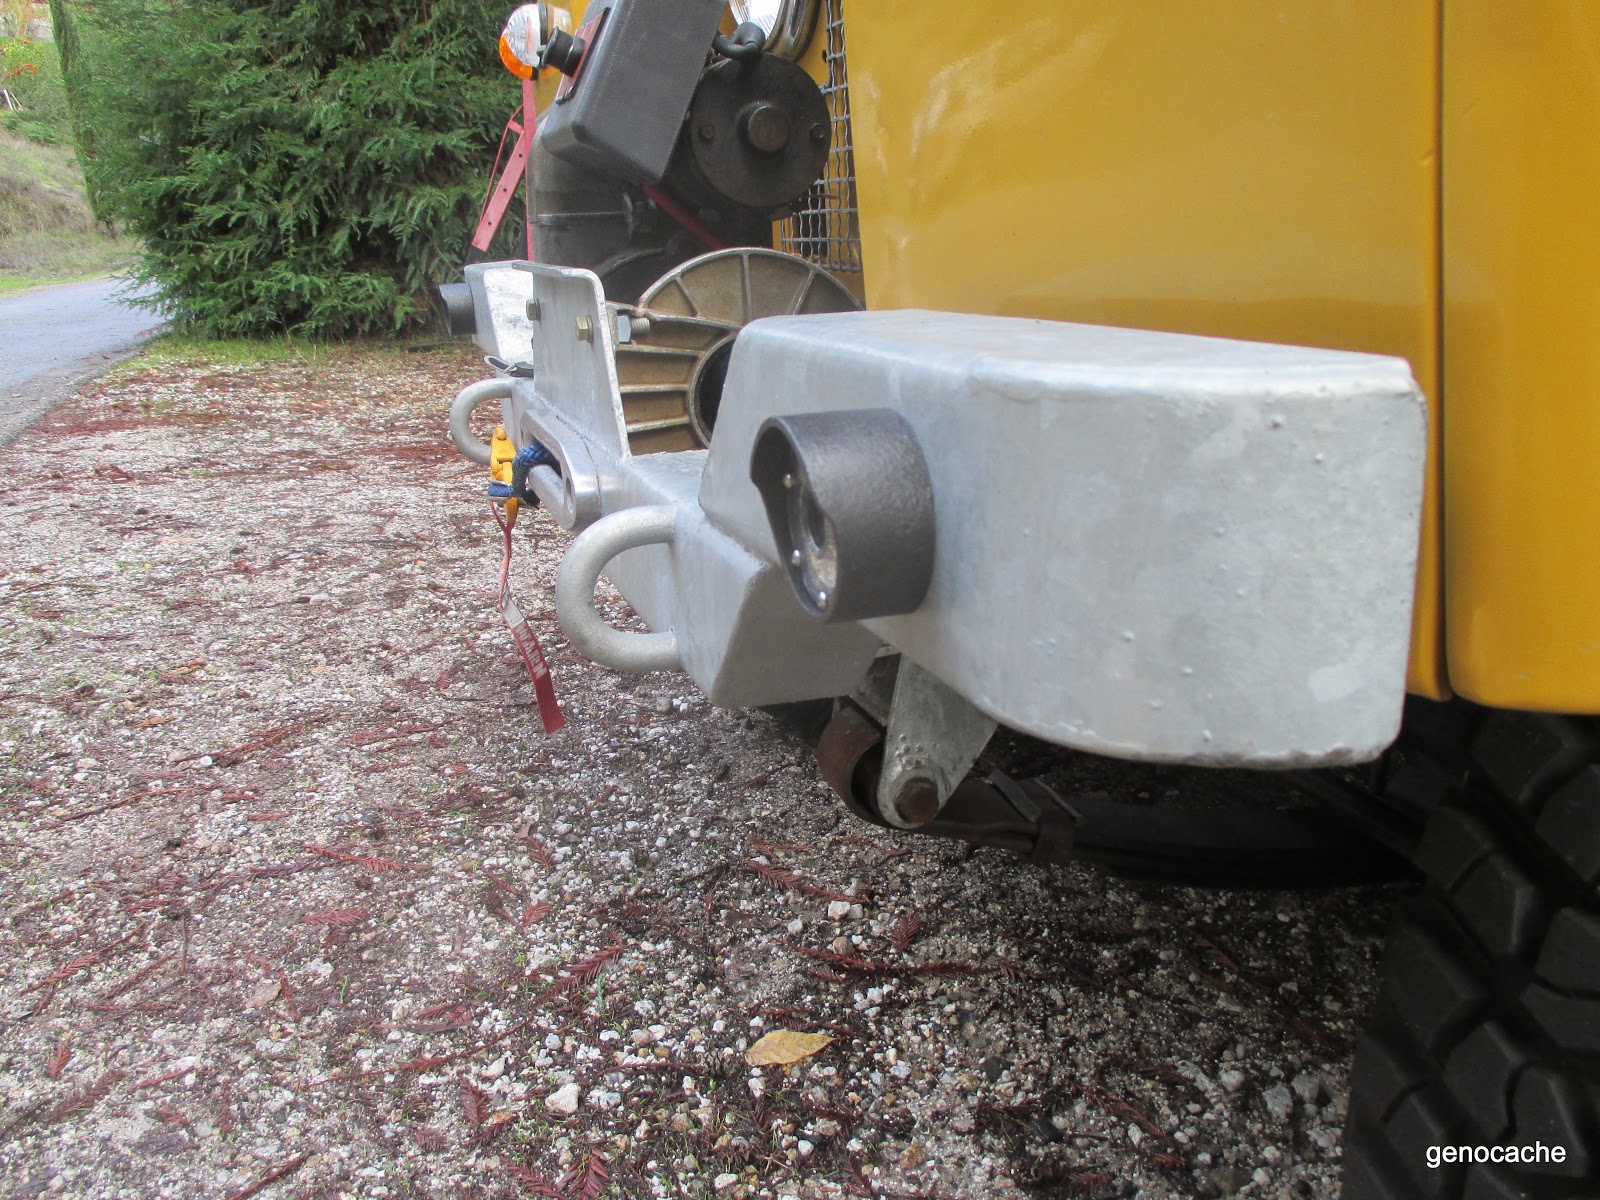
Then followed cutting 2 more backing plates out of the flat stock. and recessing and welding and drilling and shaping the bevel with the flap disc on the angle grinder. The results;


And with the LED's in;

The holes had to be drilled in the bumper(I hated doing this!) So using common techniques I centered the mounting holes and drilled them and mounted the can, sans LED and drilled the wiring holes.


I then heated them up with a propane torch as it was in the 40F's all day and sprayed them with Duplicolor Truck Bed liner.

I let these set overnight to cure and the next morning(Well, midday after it warmed up) I put the cans and LED's in.


Fastened with button head socket screws for theft prevention. That done I pondered the wiring and decided to run a hot and ground across the bumper on the inside held on with clips. The ground I connected directly to the battery. The hot I am going to wire a switch in the dash with power from the fusebox not controlled by the ignition key.
So what's it look like;

I ran a temp wire up to where I could get power from the battery to see how they looked powered up. In the various configurations;


I have only tried them once at night in the drive, here are my observations;
Very bright, much whiter than the headlights or running lights, light pattern is broad as you would expect and really lights up the area of the road in front of the bumper and to the sides. KC also makes these with a diffuse lens which would make a brighter replacement for running lites and reds for brakes and amber for indicators? My fear is they would overwhelm the oncoming traffic at night.
In the event I do get to take my 109 to Europe I installed a red fog lite in the rear. Switched from the dash a simple installation. It looks "whiter" in the picture.


I am awaiting some pull switches from the UK to finish off the installation. These switches are like the stock pull switches found on the Land Rover.
Nice, Gene!
ReplyDelete