
11 Sept 2024
When I thought my alternator needed to be replaced a few weeks back I also decided to fulfill my desire for a tachometer. Being that my 109 has a diesel in it (200tdi) I started an online search. I found what I wanted at Speed Hut; https://speedhut.com/gauge-applications/legacy-classic-street-rod/led-lighting/classic-led-tachometers/classic-led-diesel-tachometers/2-1-16-classic-diesel-tachometer-6k-rpm/?dd-link=0ldtcryzj5b
I placed my order and there is a long predicted lead time. My first update was order received then a few days later, order has gone to Art Dept. maybe 15-20 days........so I waited for a week and sent them an email complaining about the long time delay. Next day my update was it shipped!
In the mean time I put in the alternator. After that the next day I ran a wire from the W terminal to inside my dash.
To do this required me to drill another access hole through the bulkhead and clean it up then install a rubber grommet with a hole in it.


Next I routed a blue wire to up behind the tach new location from the alt. I did this out of ignorance. All I knew about tach's were they ran off the W terminal, I figured I would get a gauge with no wiring like when I got ammeters or oil pressure gauges. If it needed power or ground wires that would be simples(or so I thought).
Because the bulkhead is double walled I pushed an old bicycle spoke through from the dash to the engine bay.

Then taped the end of the blue wire to it and pulled it through.


There was already a factory hole to above the dash, I installed a grommet in it and fed the wire up.


I ran the wire in the engine bay along the top of the frame and put the eye connector on the W. I zip tied it in place and taped over the bight end so no sparks would happen if I drove it before the tacho arrived.


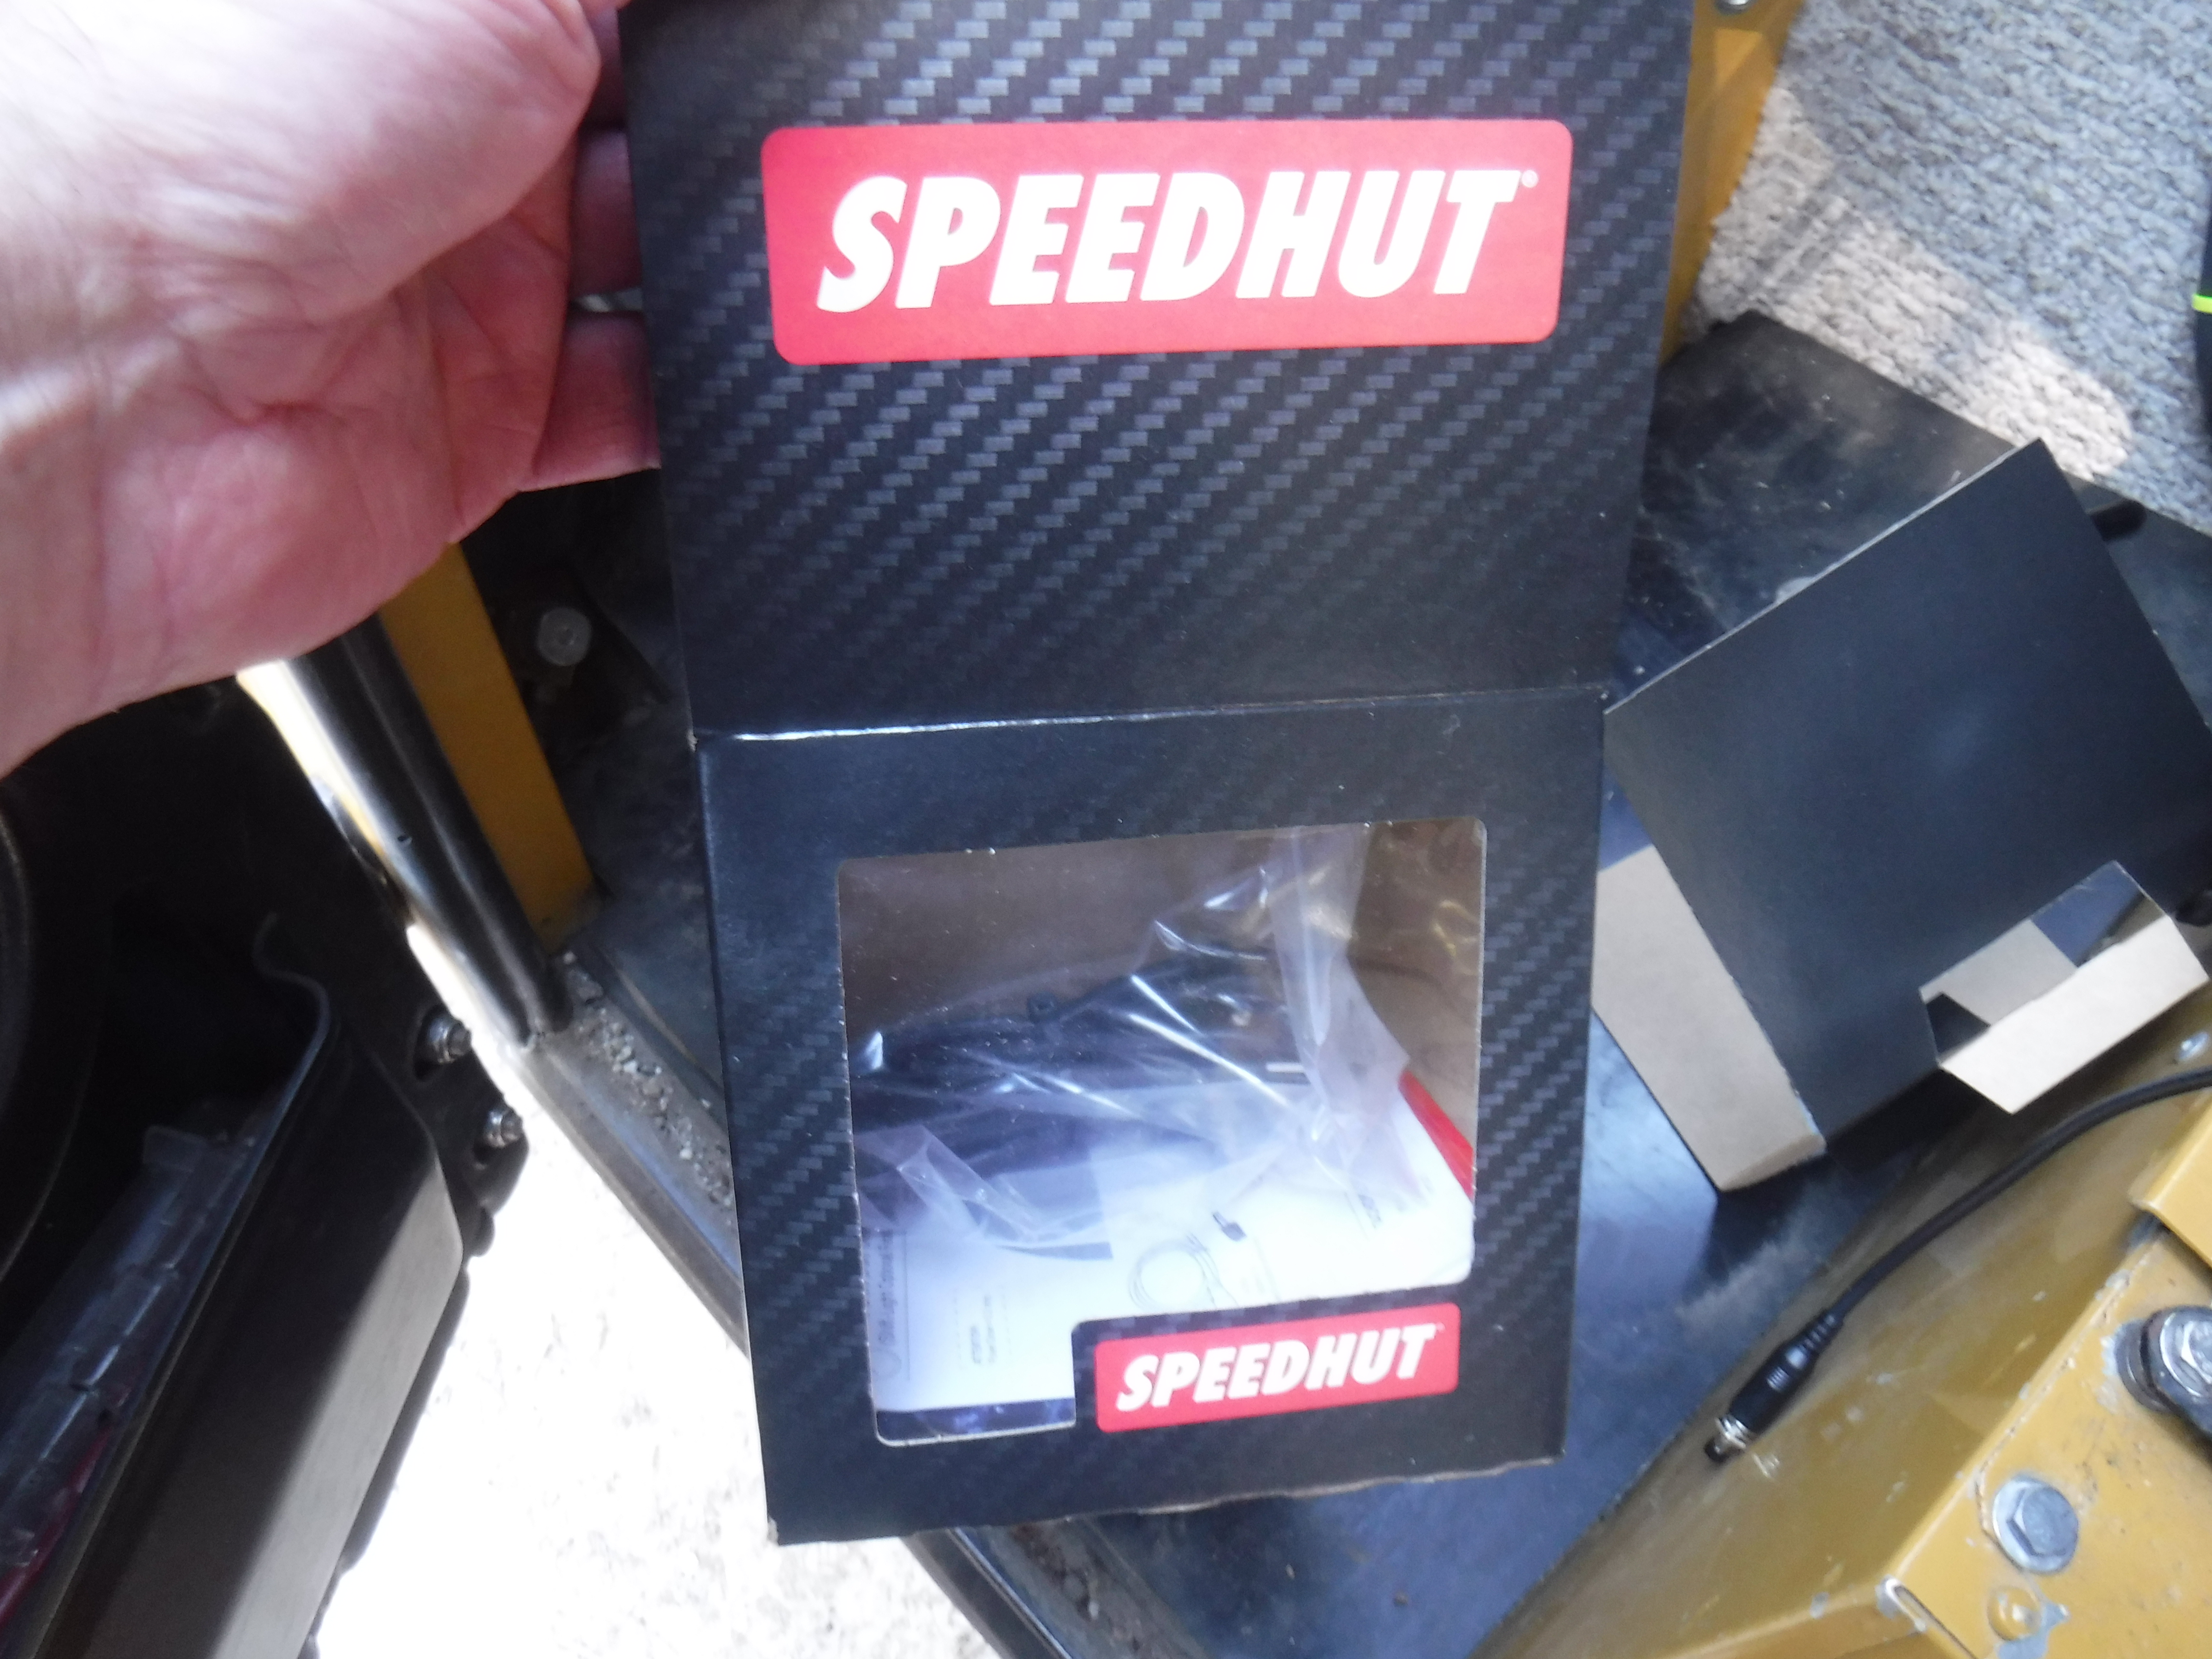
Oh Happy Day, on Monday the 9th the tach arrived. Sorry I had already opened the box.
But I was having bigger problems; My hose repair on the power steering had gone astray! After the initial repair I had run the engine and all was good or so I thought.
I started the 109 the next morning intending to go to the grocery store (a can of beans, while filling, is not a good dinner) and the alternator seemed to be making a horrendous growling noise. I eventually figured out it wasn't the alt but the power steering system. I figured I had air in the PS relay. So I did what I thought was needed I bled it. That was an epic story trying to find the right fitting to turn the damn bleed screw, 8mm socket worked best. I couldn't see it so I didn't know if air was coming out.
I bled it 3 times and the noise continued. Something else was wrong. Letting it growl I started checking it out. When I climbed underneath I could see the bottom 4" of the new hose where it bent over the frame had collapsed from the suction of the pump. Yay! I had the cause, what I needed was a cure.
You can see the hose clamped to the U.

I needed a re-enforced hose or what I wanted a piece of stainless tubing to reroute the hose and eliminate the bend.
I had neither after searching my crap for what seemed like hours. I even cut up a pressure washer wand and tried to make a Z type bend unsuccessfully in it.


Finally, I made a bracket out of 2" flat stock and bolted it to the inner wing and made a clamp to hold the new hose away from everything. All this took me 6 hours, some of it in 98F heat. It seems to work!
But you came here to read about the alternator. I tried it in the mounting bracket.

That's when I saw all the wires.

I was still thinking only 3 wires and it had 3, a White, Red, Black. preinstalled. What else did I need? Hook the black to ground, red to fuse, white to W. Start it up!


All it did was go to 6k and sit there. Something else was needed. Maybe I should read the instructions........
OH crap! The white wire was supposed to go to the panel light circuit, not the W! So disconnect that and connect to the panel lights.
Hey, that bag of wires in the box, they plug in the back and the black goes to ground near the alt and the white goes to the W. All that work with the blue wire a couple days ago needs to come out and the new wires ran in its place. I wound up drilling a hole in the frame for the black ground held with a self tapper sheet metal screw.
There was yet ANOTHER wire in the box, this one had a button for setting the calibration (hey, that's why I wanted a tach!). Lucky for me this just plugged into the back of the tach. I did decide to mount it in the mounting plate near the tach. Took 2 attempts.......
By now I had read and reread the instructions and felt confident I had all the wiring correct! Holding the button down, I started the engine, as soon as I energized the tractor switch the needle jumped to 6k and stayed there. No matter what I tried.
Tuesday I called Speedhut, talked to Aiden, told him I'm an idiot and what I did, thinking I had fried the gauge. He got me to go out to the 109 and run some tests. Eventually he suggested that I put in a switch between the fuse and the gauge. I went through all my crap again and finally found a on-off-on switch.
I had no where to put it except in my above the dash aux panel. This panel was looking kinda ragged since I deleted the gps mount and there were extra holes in it, So I decided to make another. I took out the old one and used it as a template marking holes and scratching the outline on a bit of old Rover. It was a matter of cut, drill and sand and test fit, and test fit and test fit and paint.
I installed my spare safety switch for if I ever get a front locker as well as the new, to the 109, tach switch.

The time came to try the tacho. I held the button down with the new switch off and started the engine. The tach jumped to life going to 6k and back to 0 and up to 1k, just like it should ! I threw the switch and nothing changed. I let go of the button and it stayed steady at 1k.
Pressing the button again and the needle began to drop, I let go somewhere around 700 since I have no idea what my real rpms are. I revved the engine and the needle went up, then returned to 700. YAY! Oh the aroma of success is a heady one!
Today I called Speed Hut and let Aiden know it worked! I've also ordered a digital laser tachometer from Jegs . This will let me know my idle speed.

9 March 2025
@55mph 2700ish rpm
@60mph 3000rpm
@65mph 3200rpm
@75mph 3500rpm
I'm a 55-65mph kind of driver and the 109 is quieter at those speeds.
According to interwebs AI ;
The Land Rover 200TDI engine's maximum governed revs are typically around 4200 RPM, but peak power is delivered below this, at 3800 RPM for a Defender engine and 4000 RPM for a Discovery/Range Rover engine.
Should I defy Death and try for 80? I need a long straightaway.........
No comments:
Post a Comment