Thursday, September 19, 2024

Calibrating the tachometer for my Land Rover 200TDI

 18 Sept 2024


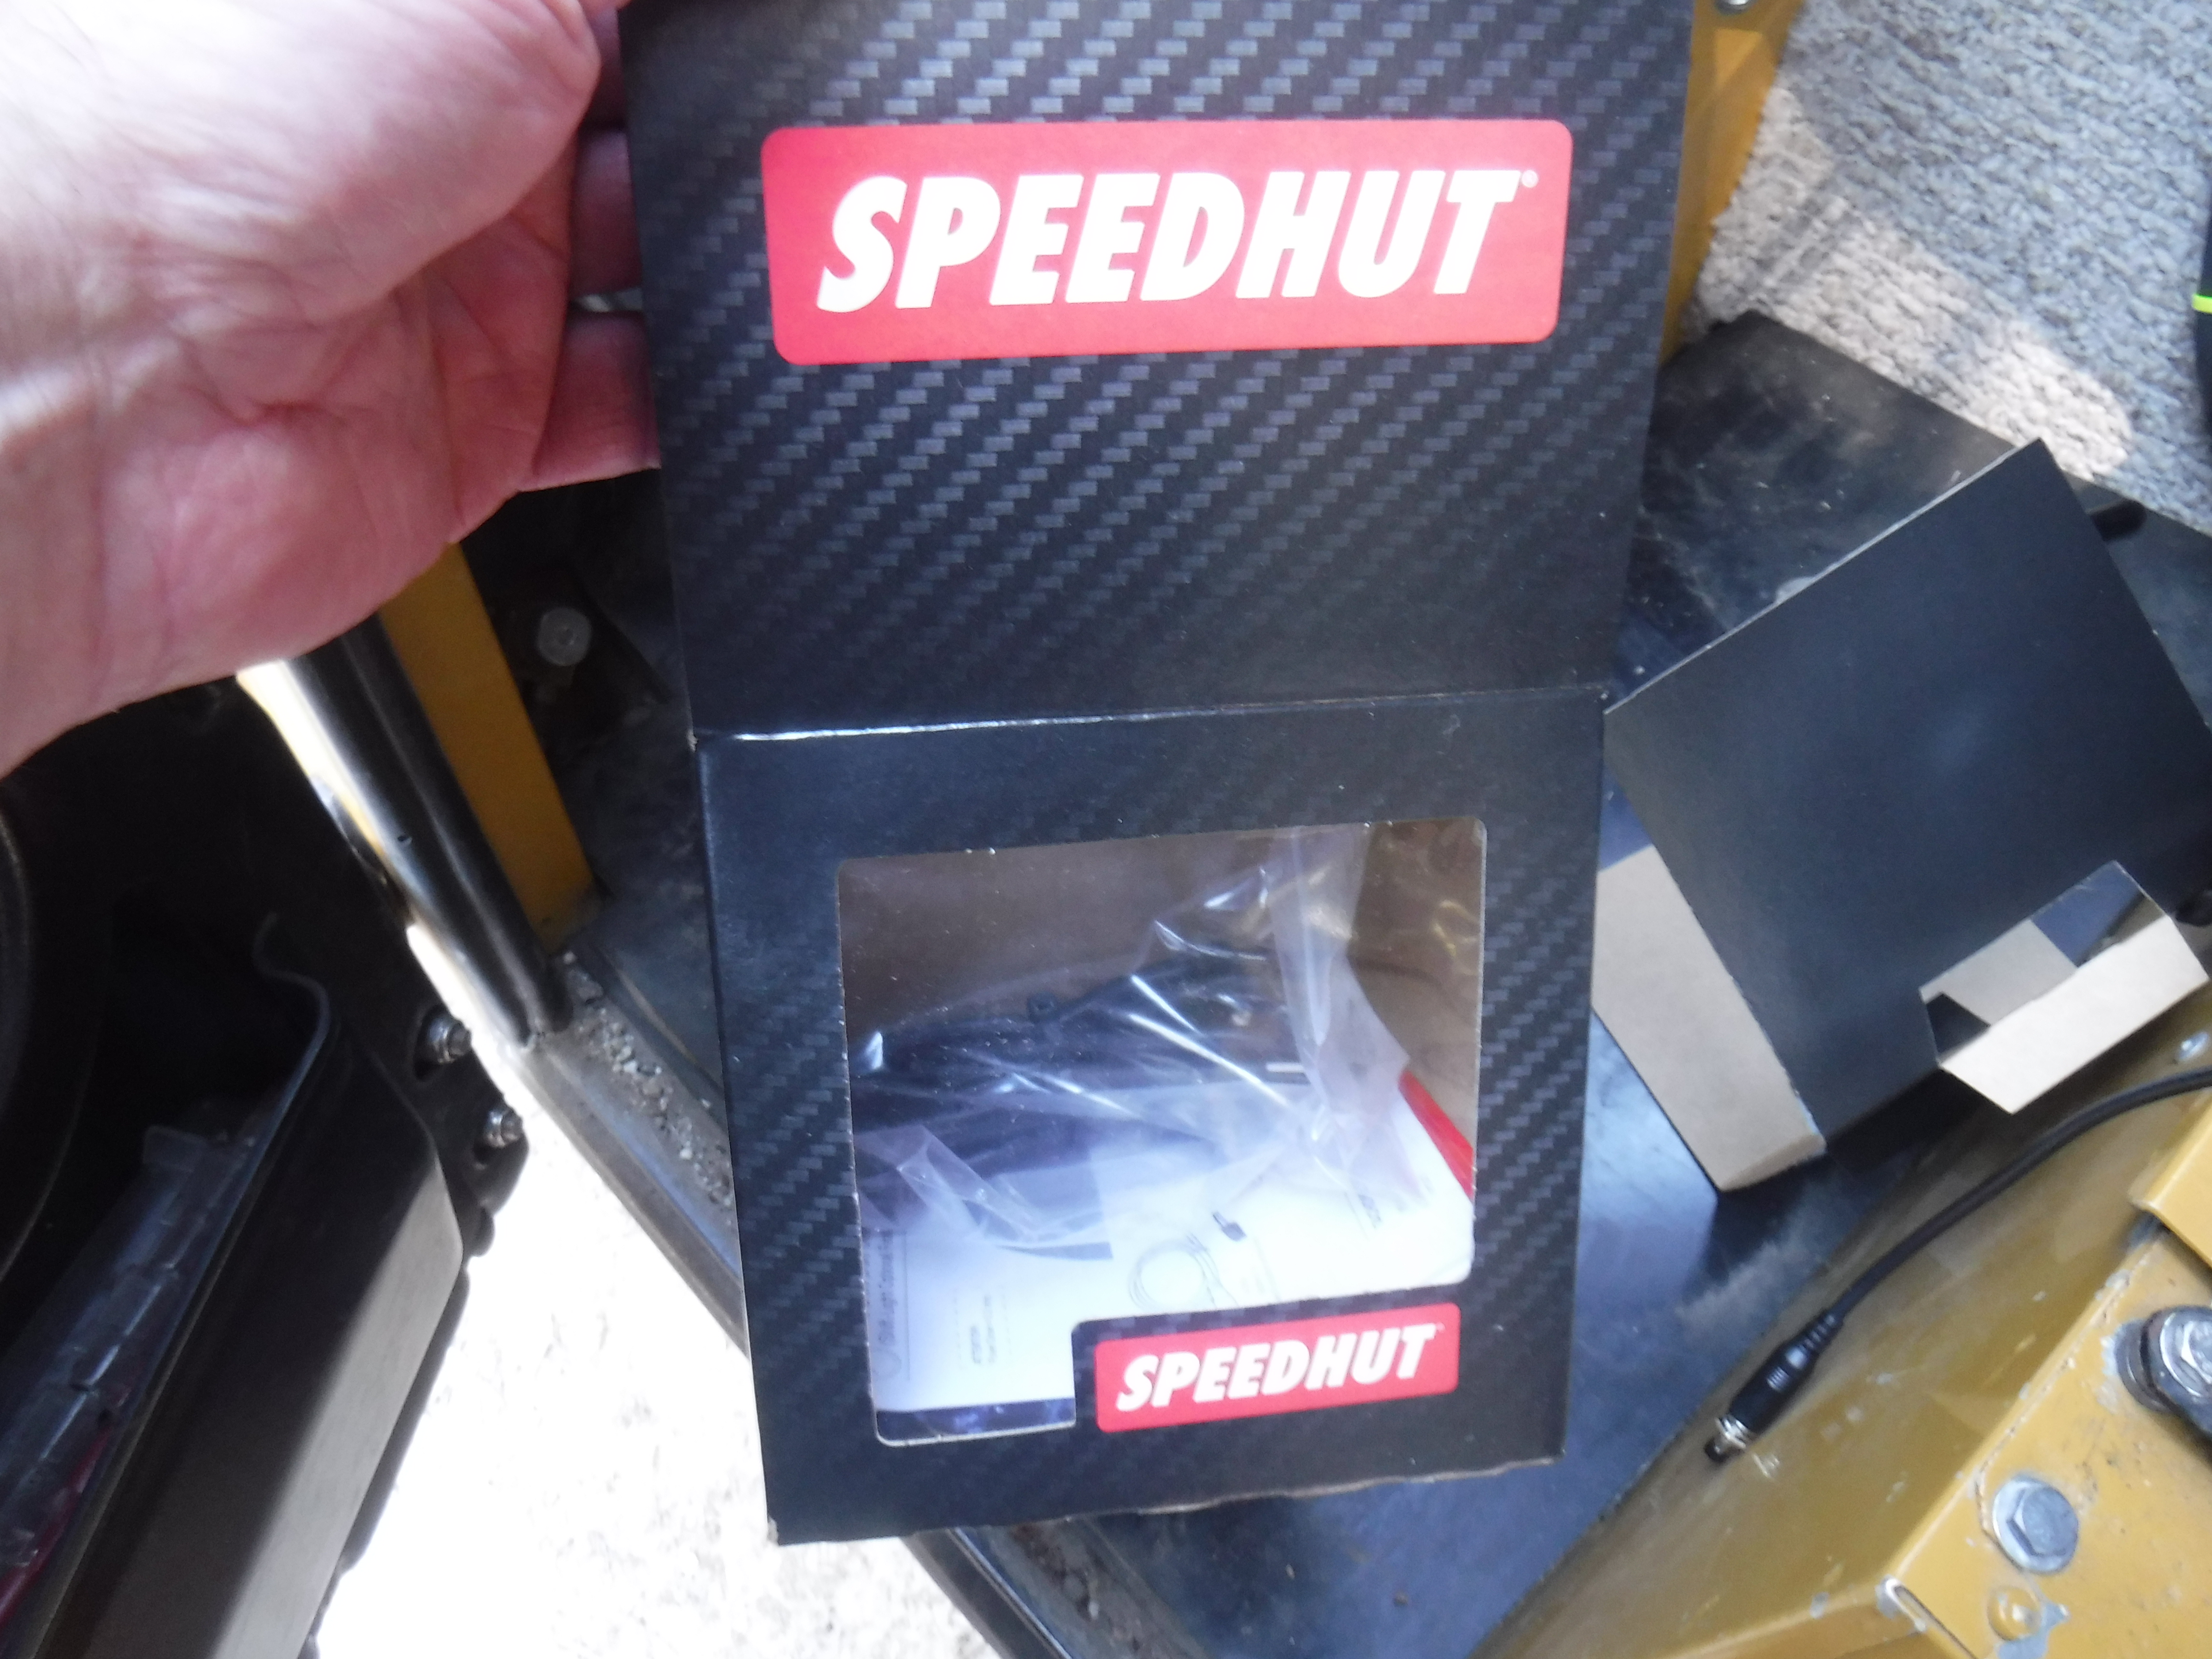
     As you may have read in the previous post I installed a tach for a diesel in my 109, sourced from Speed Hut. Then it needed to be calibrated.

So after a search online I settled on a laser driven tach to calibrate my meter. This was sourced from Jegs though there are many places selling the same device. I chose Jegs because it came with a 9v battery and it is a reputable company.

https://www.jegs.com/i/JEGS/555/W89719/10002/-1


I started by cleaning off the crank pulley face with acetone and applying a 3/4" of the supplied reflective tape. Then I started the engine did a quick peek at what the rpms were (720) and went about my business doing other stuff until the engine warmed up. I took around 15 min just to be sure.

However I failed at getting a stationary photo of the applied tape......my bad! I did get a pic of the tape being reflected by the laser.


The laser worked from almost any angle, I found it easiest to shoot through the PTO hole in the crossmember.


This way I could read it at the same time. That turned into a good thing as the memory on my device didn't work. I'm not sure if it's a factory thing or user error at this point.

Anywho it was reading around 744-743 rpms, my tach was pretty close!


As per the instructions I had to restart the engine whilst holding down the calibration reset button. Once the needle had swept to 6000, back to 0 and up to 1000 I could release the button. Holding down the button again allowed the needle to drop and I let go around 750rpms.


I killed the engine and restarted it and the tach went to 750! Success! It was calibrated. I have to remember to shut off tach power at every shut down and re-energize once the engine is running due to some issue with my car and the tach software.

Then I revved it to 3000 just to see what it sounded like, I could tell there was more in it, not ready to go there yet!


After shutdown I did one last thing. I upgraded the switch. I wanted just and on-off switch instead of an on-off-on switch, the new switch uses spade connectors vs tightening screws and having exposed power behind the dash.


It all works and looks good to me! I am shifting from 1-2 at around 1300  and the other shifts at around 1000rpms. When doing 35mph and going from 4th to 4th OD(Roamerdrive) I drop around 400rpms.

Wednesday, September 11, 2024

Land Rover Series 2 gets a tachometer

 11 Sept 2024

    When I thought my alternator needed to be replaced a few weeks back I also decided to fulfill my desire for a tachometer. Being that my 109 has a diesel in it (200tdi) I started an online search. I found what I wanted at Speed Hut; https://speedhut.com/gauge-applications/legacy-classic-street-rod/led-lighting/classic-led-tachometers/classic-led-diesel-tachometers/2-1-16-classic-diesel-tachometer-6k-rpm/?dd-link=0ldtcryzj5b

I placed my order and there is a long predicted lead time. My first update was order received then a few days later, order has gone to Art Dept. maybe 15-20 days........so I waited for a week and sent them an email complaining about the long time delay. Next day my update was it shipped!

In the mean time I put in the alternator. After that the next day I ran a wire from the W terminal to inside my dash.

To do this required me to drill another access hole through the bulkhead and clean it up then install a rubber grommet with a hole in it.


Next I routed a blue wire to up behind the tach new location from the alt. I did this out of ignorance. All I knew about tach's were they ran off the W terminal, I figured I would get a gauge with no wiring like when I got ammeters or oil pressure gauges. If it needed power or ground wires that would be simples(or so I thought).

Because the bulkhead is double walled I pushed an old bicycle spoke through from the dash to the engine bay.


Then taped the end of the blue wire to it and pulled it through.


There was already a factory hole to above the dash, I installed a grommet in it and fed the wire up.


I ran the wire in the engine bay along the top of the frame and put the eye connector on the W. I zip tied it in place and taped over the bight end so no sparks would happen if I drove it before the tacho arrived.


Oh Happy Day, on Monday the 9th the tach arrived. Sorry I had already opened the box.


But I was having bigger problems; My hose repair on the power steering had gone astray! After the initial repair I had run the engine and all was good or so I thought. 

I started the 109 the next morning intending to go to the grocery store (a can of beans, while filling, is not a good dinner) and the alternator seemed to be making a horrendous growling noise. I eventually figured out it wasn't the alt but the power steering system. I figured I had air in the PS relay. So I did what I thought was needed I bled it. That was an epic story trying to find the right fitting to turn the damn bleed screw, 8mm socket worked best. I couldn't see it so I didn't know if air was coming out.

I bled it 3 times and the noise continued. Something else was wrong. Letting it growl I started checking it out. When I climbed underneath I could see the bottom 4" of the new hose where it bent over the frame had collapsed from the suction of the pump. Yay! I had the cause, what I needed was a cure.

You can see the hose clamped to the U.


I needed a re-enforced hose or what I wanted a piece of stainless tubing to reroute the hose and eliminate the bend.

I had neither after searching my crap for what seemed like hours. I even cut up a pressure washer wand and tried to make a Z type bend unsuccessfully in it.


  Finally, I made a bracket out of 2" flat stock and bolted it to the inner wing and made a clamp to hold the new hose away from everything. All this took me 6 hours, some of it in 98F heat. It seems to work!

But you came here to read about the alternator. I tried it in the mounting bracket.


That's when I saw all the wires.


I was still thinking only 3 wires and it had 3, a White, Red, Black. preinstalled. What else did I need? Hook the black to ground, red to fuse, white to W. Start it up!


All it did was go to 6k and sit there. Something else was needed. Maybe I should read the instructions........

OH crap! The white wire was supposed to go to the panel light circuit, not the W! So disconnect that and connect to the panel lights.

Hey, that bag of wires in the box, they plug in the back and the black goes to ground near the alt and the white goes to the W. All that work with the blue wire a couple days ago needs to come out and the new wires ran in its place. I wound up drilling a hole in the frame for the black ground held with a self tapper sheet metal screw.

There was yet ANOTHER wire in the box, this one had a button for setting the calibration (hey, that's why I wanted a tach!). Lucky for me this just plugged into the back of the tach. I did decide to mount it in the mounting plate near the tach. Took 2 attempts.......

By now I had read and reread the instructions and felt confident I had all the wiring correct! Holding the button down, I started the engine, as soon as I energized the tractor switch the needle jumped to 6k and stayed there. No matter what I tried.


Tuesday I called Speedhut, talked to Aiden, told him I'm an idiot and what I did, thinking I had fried the gauge. He got me to go out to the 109 and run some tests. Eventually he suggested that I put in a switch between the fuse and the gauge. I went through all my crap again and finally found a on-off-on switch.

I had no where to put it except in my above the dash aux panel. This panel was looking kinda ragged since I deleted the gps mount and there were extra holes in it, So I decided to make another. I took out the old one and used it as a template marking holes and scratching the outline on a bit of old Rover. It was a matter of cut, drill and sand and test fit, and test fit and test fit and paint. 

I installed my spare safety switch for if I ever get a front locker as well as the new, to the 109, tach switch.


The time came to try the tacho. I held the button down with the new switch off and started the engine. The tach jumped to life going to 6k and back to 0 and up to 1k, just like it should ! I threw the switch and nothing changed. I let go of the button and it stayed steady at 1k.

Pressing the button again and the needle began to drop, I let go somewhere around 700 since I have no idea what my real rpms are. I revved the engine and the needle went up, then returned to 700. YAY! Oh the aroma of success is a heady one!

Today I called Speed Hut and let Aiden know it worked! I've also ordered a digital laser tachometer from Jegs . This will let me know my idle speed.


 9 March 2025

I finally got a good run on the highway and was able to see some numbers on my tach at freeway speeds. All are on the "flat" with Roamerdrive engaged, speed estimates using the Jager speedo( which had been close, +-5mph to my old gps((rip))). I don't know about headwind/tailwind. Engine is a 200TDI.

@55mph 2700ish rpm
@60mph 3000rpm
@65mph 3200rpm
@75mph 3500rpm

I'm a 55-65mph kind of driver and the 109 is quieter at those speeds.

According to interwebs AI ;
The Land Rover 200TDI engine's maximum governed revs are typically around 4200 RPM, but peak power is delivered below this, at 3800 RPM for a Defender engine and 4000 RPM for a Discovery/Range Rover engine.

Should I defy Death and try for 80? I need a long straightaway.........

Sunday, September 1, 2024

Land Rover alternator replaced

 1 Sept 2024


     Well, this was ugly. A couple of months ago I started having starting issues. Twice in a month it failed to start. At first I thought it was because it sat too long between use. The second time was only 2 weeks after a full charge. That is when I started to really check things out. I noticed my power steering hose from the reservoir was being worn thru on the back of the alternator. I attempted to pull it away with a piece of small chain. Of course it dropped into the back of the alt and BAM I let some of the smoke out.

    I finished pulling the hose away with zip ties and figured I just fried my alternator.


Now I figured I needed to move the power steering reservoir at the same time I did the alternator. In order to make room I first needed to move the radiator overflow tank. Sheesh, Here is a before pic of where the tank was. You can see the top in the bottom of the pic.


In order to do this I needed to make a new holder and push the tank closer to the front of the grill support. It had to squeeze behind the steering box hoses.


Now I had space, making it easier to adjust fan belts too!

Dragging out the 3 spare alternators, made my  mind turn to mush or porridge if you will. Why you ask?

Because none of them were wired the same on the back and the pulley/fans on the front were all different. PLUS I didn't know if any of them were good.


 2 had keyways one didn't and all the shaft diameters were different. Mush I tell you! And I could tell that none of them were the same as the one on my engine...

Deciding the only thing to do was figure out which one I had and get another just like it. I checked my receipts and found out I bought this one Aug 2018 from Craddocks. It is an A127/65amp part number STC234. So checking around for prices I ordered one from Trevor at Rovahfarm. I also ordered 5' of 5/8"id hose for my power steering system from Grainger, along with some led's, from Superbrightleds for my instrument lights like the charge warning light when I found I had blown it out.....12v 2.2a E10 base(screw type).

Then I waited,......and thought, and waited and thought. 

My 109 would still start and run it just wasn't charging and the deep AGM marine battery would last a while because being a diesel it didn't use loads of electrics when running, only for the lights which are all LEDs.

Pondering things I decided to put in a tachometer providing my new alt was compatible. When it came in an order was put in to Speedhut for one. That meant I needed a mount. I looked around and decided right in front behind the steering wheel was the logical, read only, place to put one.

I scrounged up some alli plate I had and made some measurements, drew some lines, did some cutting and using a Smiths ammeter of the same for comparison, size cut out a hole. It mounts to the same holes I have riv-nuts in for my dash. I used some of my skills to round the top of the arch for strength and anti-vibration.


I think it will look good and I can still open the vent when it's HOT!

Laying on the ground looking up in the first pic you can see the alternator tensioning bar where it is bolted to the power steering plate. circled in blue.


In this next pic the bottom of the power steering hose I need to replace, also circled in blue.


I started this morning removing the + terminals from the battery. Then disconnecting the wires from the back of the alt. Undoing the bolt for the tensioner and taking out the pivot bolt. It was a scramble moving it around and pulling and lifting. It wouldn't get past the power steering res.

Thankfully I had moved the rad tank earlier, that gave me room. I took off the hose I needed to replace and tried wiggling again. This time I got it out!


Once out I compared the back for wiring vs the new one.


Dirty but close enough, seems they had changed the plastic. Again.

Next up was swapping the fan/pulley.

OH SHIT! It seems the shaft was around 3mm too short and I couldn't get the nut on.


Whilst messing about I discovered there are different spacers on the shafts, the old one being thinner. This spacer holds the fan away from the body.


Getting desperate and frustrated I tried the shorter one and I could bolt the pulley on! Finally!

Around a half hour later I had the alternator in.


Reran the PS hose, nowhere near the alternator.


Started it up. The charge light stayed on slightly, even with revving. I re-tensioned the belt and tried it again. It still glowed only this time brighter. I got my voltmeter out, it was only reading 12.42 across the terminals.

Something else was wrong.............

I shut it down and started cleaning up, after all lunch should have been an hour ago, all the while thinking WTF! Now I'm no electrician, I figured that some wire somewhere had melted during the chain fiasco.

Screwing my courage up and since I was already filthy I started following wires from the alt back to wherever they might go. It didn't take long. I crawled under to look at the wires to the starter and lo and behold the 2 small brown wires were just hanging there. The nut holding the battery wire that these should have been under was tight. So now it's 0435 and I am editing 'cause I remember when I had taken this wire off. A couple 3 weeks earlier I was thinking a parasitic draw might be draining the battery. I was unhooking wires and checking. This led to the chain incident and missed hooking them back on.........

I grabbed a 1/2" wrench and put it back on feeling much chagrined, for my ineptitude and time and $ spent.

Once it was affixed properly I restarted the engine and the charge light went out! I stopped it and put in one of the leds and restarted, the light stayed on and my ammeter showed 12.4v. So I stopped the engine again and put in the incandescent bulb, restarted and 14v+ on the gauge.


Now I have to wait on the tach.

So I learned the LEDs won't work on the charge lamp socket, they do on the oil press lamp. That I'm an untrustworthy mechanic and need to check my work. That hot showers still feel good! That my original alternator is probably still good.