Saturday, February 18, 2023

Land Rover speedometer cable replacement

 2/18/2023


   My speedometer stopped working a week ago. I had a hunch as to what it was, broken inner cable. But why was the question. 

   To find out I had to open up the dash and test the speedo. Once open I put in a 6" section of old drive cable and connected it to a drill and spun the drill. It didn't turn....that meant the bushing in the drive had bound up.

  It took me a couple of days to get ready to do the job mainly due to rain and the 109 being outside. When the day rolled around, I knew exactly what to do since I had taken the original speedo out and unseized it in 2012.

   This time I removed the speedo and had to totally take it out of the housing by removing the faceplate. At this point I wanted to check it against my spares to see if the gauge with the trip meter was different from the ones with out a trip meter. What I found was the frames are the same, so the trip meter could be added to any other like model. Not sure how the tire size affects the trip meter so would have to be like for like in that respect unless I find out differently.

Here are some pics of the inner speedo bodies;


   After cleaning things up that's when I discovered I was out of graphite, so I had to make a trip to the store on my V-Strom, It was very chilly! I bought some lock ease. Back at home I used acetone to clean the head bushing and with some gentle persuading I managed to free it up. I plugged the drive cable back in and with more acetone had a run to get things moving and clean. After the acetone dried up I did the same thing with the graphite, soak and spin!


   Uff Da then came the hard part. Crawling under the 109 I removed the 2 easy to get at bottom screws holding the cable to the speedo drive on the back of the transfer case. I used my prototype valve adjuster tool to stay on the screw. Due to the tight conditions I had to cut the handle off and make it longer to clear the Roamer Drive.


   There isn't the right curse word to describe getting the top one out. I'll just say it took me 45 min to remove it, finally by needle nose pliers. And that was easy compared to putting it back on, more on that later.

  Finally I had it off and I could see the end of the cable sitting in the drive, barely showing. I know it's a crappy pic, but there it is;


I freaking managed to hook it with an ice pick and get it out. I avoided having to pull the transmission brake!! YAY!!


   I tried pulling the inner cable out through the top, but it wouldn't move. That meant 2 things, it was bound up somewhere and I would have to remove the outer cable housing also. I could see the inner where it broke inside the housing.

    Then the nightmare began.

    I offered the spare up to the drive and put in the 2 easy screws and partially ran the cable to the engine bay. So far so good.

   It took me around 2 hours to get the top screw in. I have short stubby fingers and wide palms, I just could not wedge my 2 fingers down there(working from above at this point having pulled the cubby box) with the tiny screw and fit it in the hole let alone try to turn it. I'll not go into the failed methods. What worked for me was pushing a flat screwdriver head(1/4 drive) into a 1/4"id plastic tubing and then fitting the head of the screw into the tube. With the tubing around a foot long I was able to reach around the overdrive with my right hand and with a custom bent bicycle spoke around the screw part of the tubing center the screw with my left hand, and turn it to get it started. 

    Sorry no pics, I was kinda busy....

   Then I finished off with the needle nose pliers to tighten it to spec.

With that done, I washed my mouth out with soap and ran the cable through the bulkhead and hooked up the speedo, reinstalled the dash, reconnected the battery and called it a day.


   Today I went to the hardware store to get some tools and screws to make a kit for next time. Instead of slotted screws I bought some allen screws in regular and button head. The screws are 10-32 x 3/8". I also picked up a couple of flexible thingies to hopefully help with access, a 1/4 drive universal and a Dewalt wobbly magnetic(!) pivot holder. The 2 types of screws take different size allens so they are also included.  Now it's all in a bag waiting to go in my spares case.


    During todays drive the speedo was smooth and functional!


The inner drive cable part # 270718 G

Wednesday, November 9, 2022

Land Rover 2 speed wiper motor rebuild

 9 Nov 2022

    While I was sorting out my jammed up wiper motor I took the opportunity to clean up and fix the one I have as a spare. I don't remember where I got it. It was disassembled and all greasy in a bag.

   One of the first things I tried to find was an IPB (illustrated parts breakdown) for the Lucas unit # RTC3867. I found one on a Lotus website.


Though there are no part numbers just seeing how it went together and names of parts was great.

What I want to do here is show the difference between the 2 units I have. Basically the same as I found the clip and drive shaft on the #22 Final gear are different as is the shape of the #18 connecting rod.


Mainly the difference is the drive shaft on the final gear, the older one (1969) has a larger shaft at where the e clip fits. Whereas the newer one(1974) has a reduced shaft at the top and a smaller horse shoe clip. Below you can see the 2 clips and above them you can see the disconnected brush.


After some clean up you can see the brush plate and the missing brush. Below that is a pic of the windings.


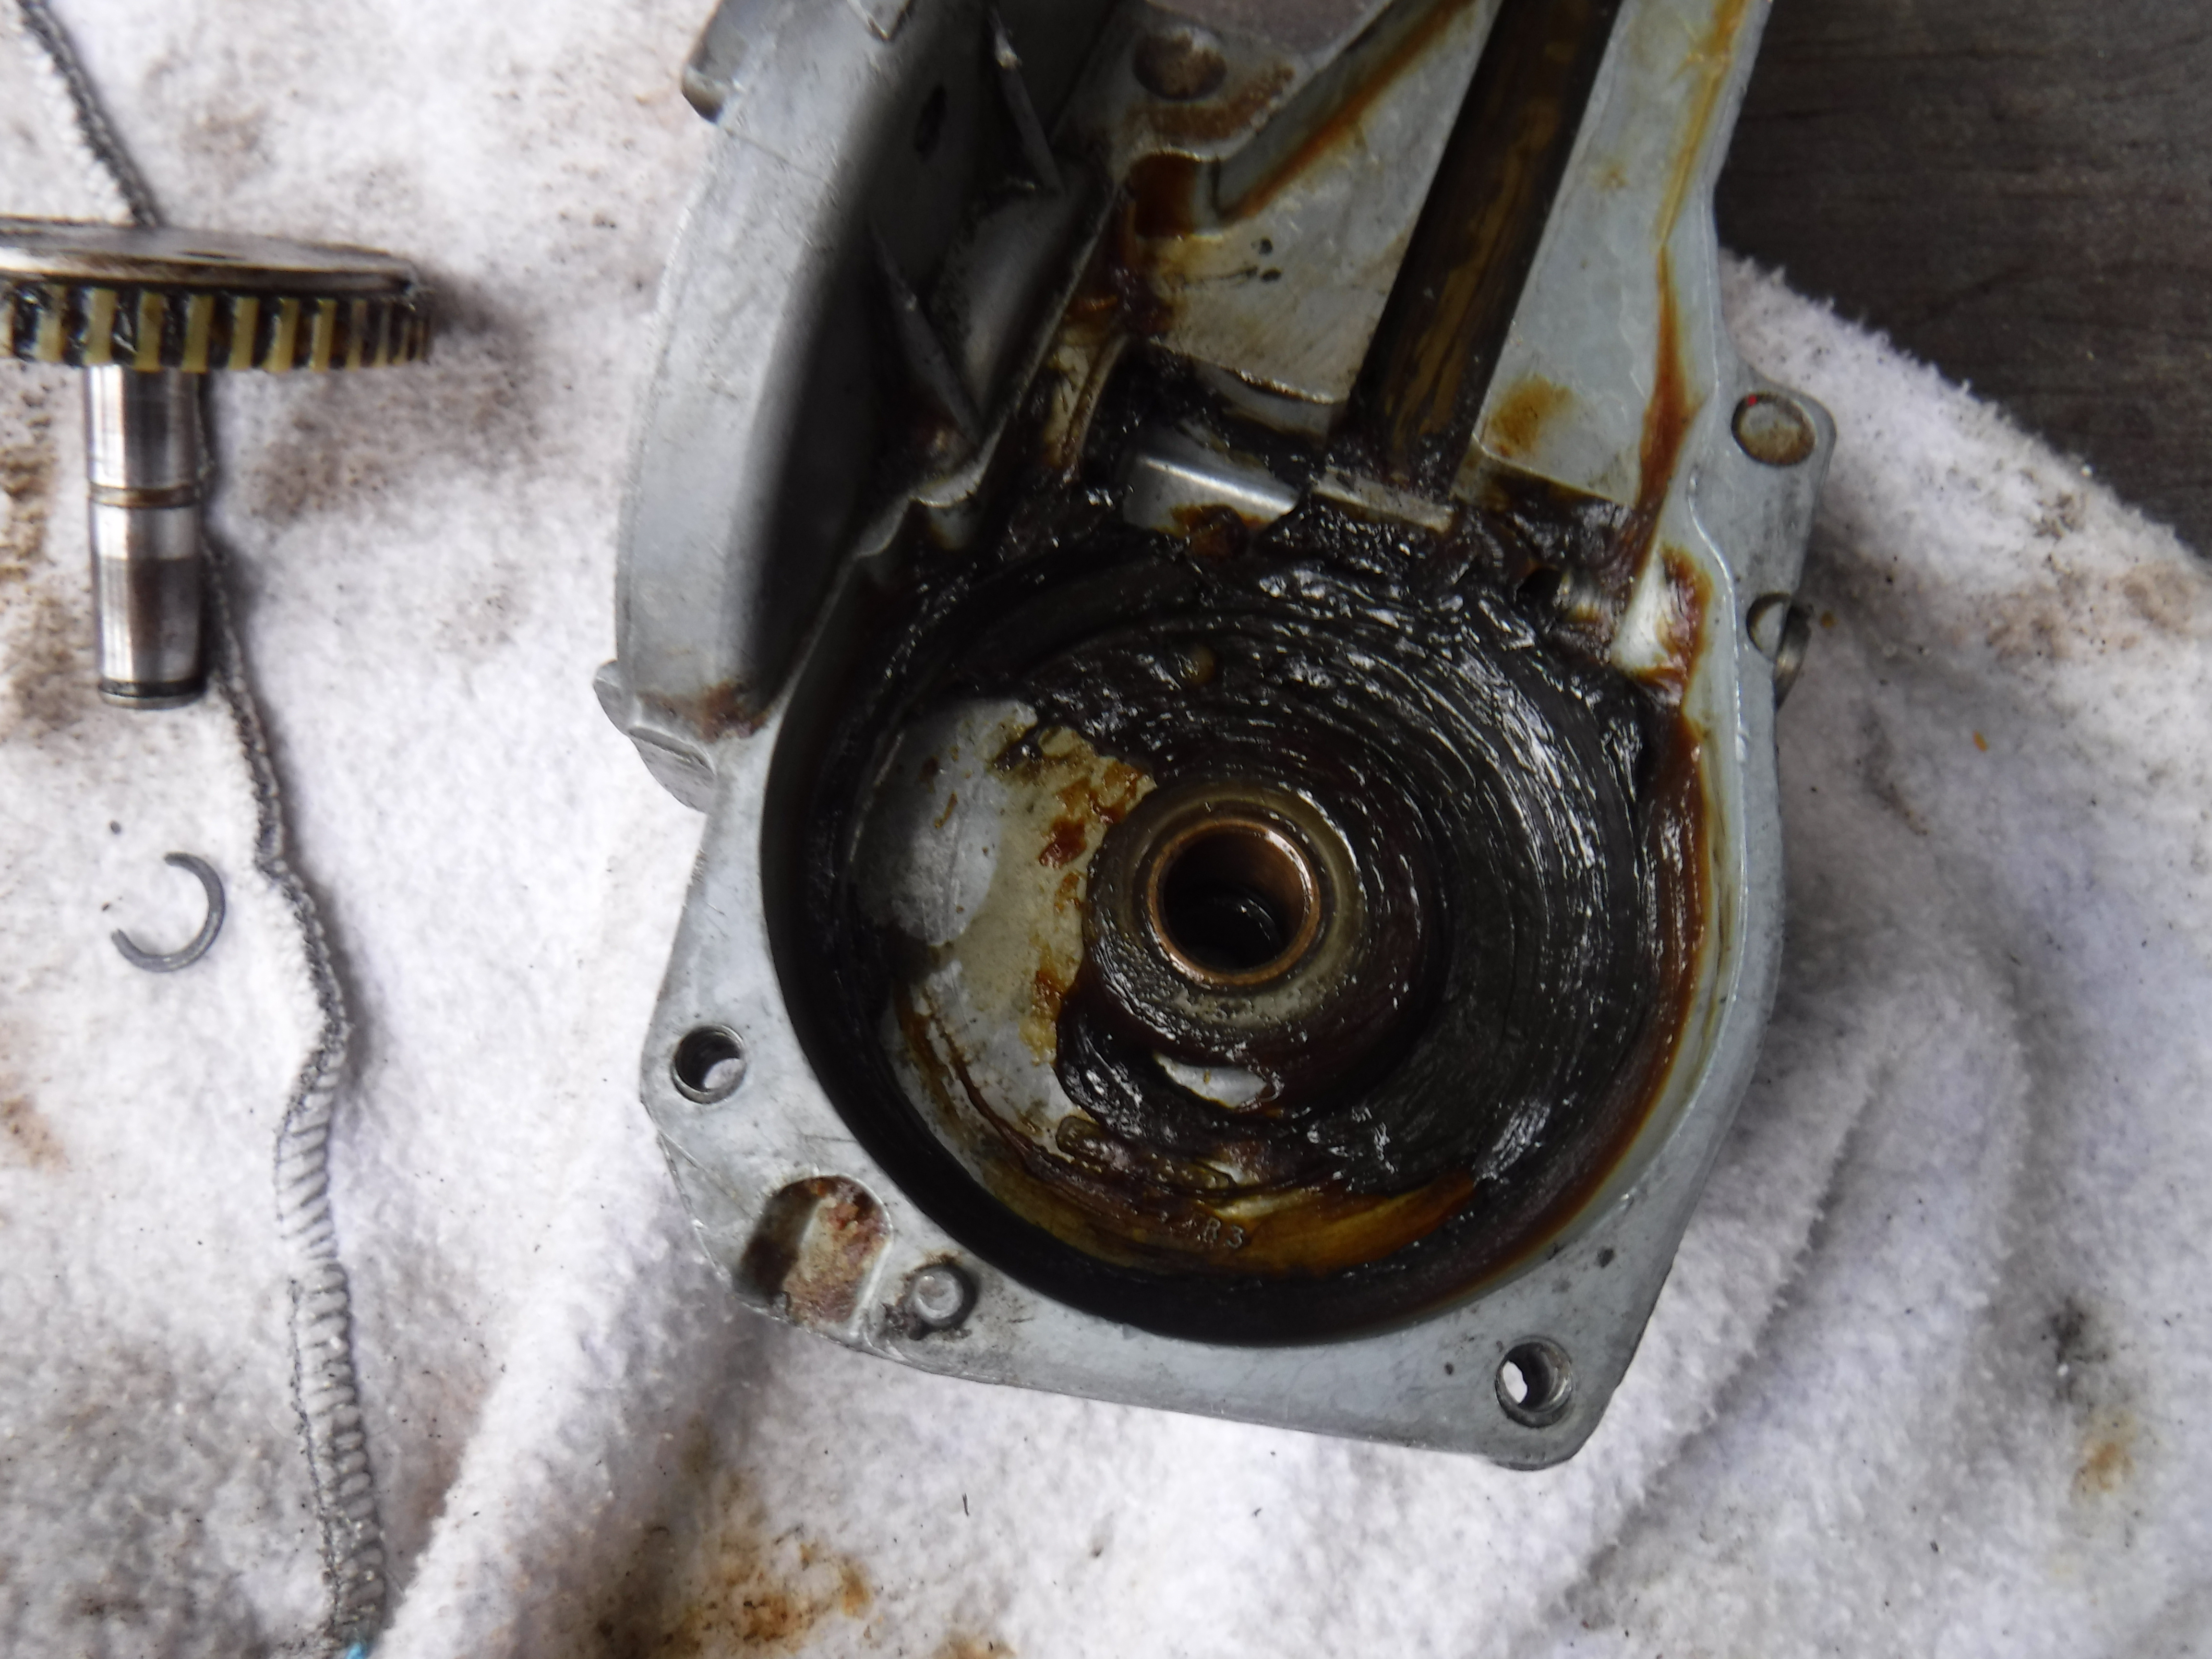
   Setting about to clean it all up and see if there was anything else needing repair I removed the c clip from the shaft of the final gear and pulled it out for cleaning and inspection.


Next I turned my attention to the brush plate part #RTC198, and cleaned and removed it.


With the final gear removed and the grease cleaned out of the gearbox and crosshead guide channel I had access to the 2 screws holding on the electrical connector.


Which I promptly removed.


I was surprised to see the brass insert for the slide as I was cleaning it up. It looks pressed in and machined.


The final gear was cleaned and I found this 120° stamp.


With that done the windings were pulled and the commutator cleaned up with 1500 grit sand paper then I used a dental tooth cleaner to scrape the space between the copper to clean them out. A trick my electrician brother showed me. With the cover empty I cleaned it with brake cleaner and wiped out all the built up crud and rust. The outside was wire wheeled to remove the rust.


 I like to use different paint on things I have rebuilt so yellow was chosen for the cover.


 As that dried I cleaned the brush assembly with brake cleaner, which is just acetone under pressure, and re-soldered the brush on.


As I put it all back together I lightly greased all the slidy, turny, teethy surfaces with wheel bearing grease.


Then I had a chance to test it with the cover off my cars wiper motor. I unplugged the old wires and plugged in the ones on the 109, and hit the switch! It jumped as the rotational forces affected it in slow speed and jumped again as I hit the high speed on the switch. No smoke came out! WOOT! WOOT!


 Now I have a working spare!

Thursday, November 3, 2022

Land Rover single motor wiper repair

 1 Nov 2022


   I was coming back from shopping in the first rain of the year and........GACK! my wipers stopped moving! Got lucky I thought as they stopped in the "park" position. It was raining hard and the Rainex on the glass enabled me to see and drive the 6 more miles home.

   After puttin the groceries away and having lunch the rain slowed and I checked the fuse, it was good. So not a simple fix....After the rain stopped, the dash panel with the switch was removed. and I used my test lamp to check power flow through the switch, all good. Has to be at the motor. Right?

   I have no idea how old or used the motor is. Unscrewed the cover and flipped the switch, nothing! Again using the test lamp I could tell power was getting to the motor. So the motor has to come out. :^( It's not complicated and not easy at the same time.

   Removing the clamp is the first step,  the bottom nut is hard to access. On my 109 I have a flat bar with 1/4-28 bolts welded to it as opposed to the factory Late 2a-3 nut bar. With the bottom nut off using a 7/16" deep socket and extension bars I could then take off the top nut.

    With the unit loose the wires disconnected the motor to wheelbox tube needs to be disconnected at the wiper rack nut. This makes the unit easier to turn around for access to the back panel of the unit. Removing those 1/4" head screws gives one access to the inside of the drive. The slidey gizmo needs to be disconnected from the drive cable simply by pulling it out.

   Once this was all done and the unit in hand I could see why it had stopped. There was hope yet for a cheap repair!


Can you see the horse shoe clip jammed in the gear?   Using an ice pick I prised the clip out.


It was bent to ......well you know.


I think it is spring steel and I tried flattening it out but wasn't perfect so I went online for help. Didn't go so well as  noone has an IPB of these units. Having a vague recollection of a spare I searched, and searched, finally I found it in the last place I looked, funny how that works!

    Then it took an hour of cleaning up the greasy mess someone had given me. But Yay! it had a clip! BOO it was the wrong shape and size.......you can see them both in the pic. The spare is on the right. it used a smaller "e" clip.


     It also used a different shaped slidey dogbone drive thingy. Technical terms, don't get confused.


    The next day I went to an auto parts store in search of a horse shoe clip, no luck, didn't have an e clip that fit. Then hit the local hardware store where I found a 1/4" e clip and I bought 2 of them $.30ea.


At the same time I figured out the spare I had must have quit due to the 1 brush had lost connection and the PO didn't want/couldn't fix it. You can see the brush in the pic above, below is the wiper motor brush assy #RTC198.


    It looked like the PO had not stored, or perhaps used the wiper in wet conditions as the windings show rust and doesn't turn so good. I'll not use this one.


     So with the kind help of the Land Rover online community I am sourcing spare bits.

    The old unit was tested and reinstalled and tested again. We'll see how it goes.

9 Nov 2022

Someone online sent me a horseshoe clip so I put it on today. I am stoked!


OK winter, bring it on!

"Bring what on?"

"It!"