Monday, March 2, 2015

Land Rover odds n sods

The previous owner of my 200TDI had put paper in the intake/exhaust ports and put clear packing tape over it to keep crap out. It had been there for many years. I started to take it off a couple of days ago but rain forced me to stop, so today I finished up. I had to use a stiff putty knife and acetone to remove the tape and stickum, it took about an hour and a half to get it where it was clean. There were some studs inplace and I removed them to facilitate cleaning and I was going to replace them anyway. Also in the pic you can see what I was talking about in the last post about the ports all being in a straight line.


I am still awaiting the 2 longer outside studs. I also discovered that the parts book is wrong on the number of 8x25mm studs needed as it says 2 and 4 are necessary. Lucky for me there were 2 old ones in the head!

Once that was all done for the first time I had the ports exposed, so I took a cresent wrench as I didn't have the required 30mm socket and turned the motor, it went thru all the revolutions with nary a problem.

After that I focused on the power steering pump area. I hung the newly painted bracket and hung the alternator above it and tried to visualize the belts and pump. Then I took out the belts and set them in position to see and show, you my hearty loyal followers!


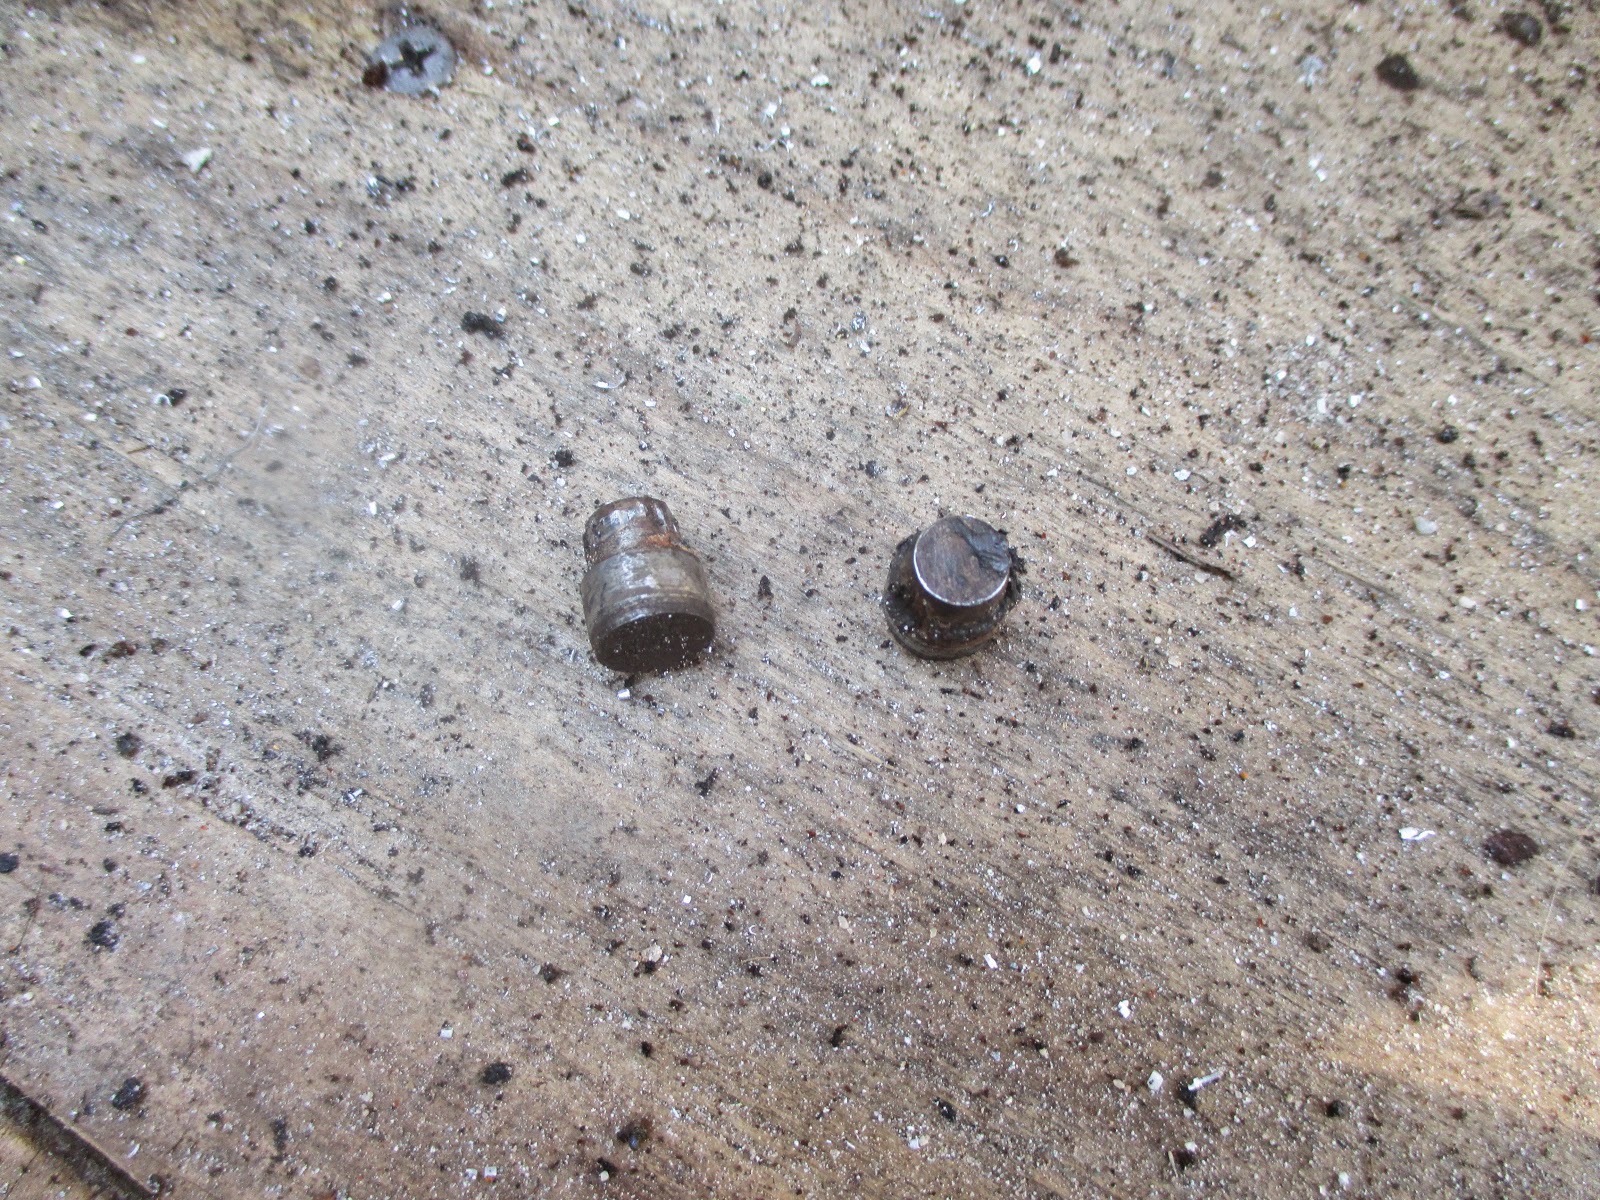
Trying to figure out what I can do when I am awaiting parts, I figured I could put oil in it. Remembering when it was on the ground that the oil pan plug was loose, I crawled under to tighten it and then I saw that the plug was kinda buggered up so I completely removed it. After fighting with the copper seal to get it off I decided to just clean up the plug and source a new seal.
I had to file burrs off the underside of the hexhead so it will seat flat and file the sides so a socket or a closed end spanner will fit and lastly remove the sharp burrs remaining on the top.


Someone must have used an adjustable wrench on it and an ill-fitting one at that! Maybe next time I make an order I'll get a new one.

At the end of the day my 24 spline drive members came in from Great Basin Rovers, along with new hub caps and o-rings.


Woot!  Woot!

Tuesday, February 24, 2015

Land Rover fiddling around, dual tank, locking diff, throttle cable

Let's see....................

I bought an extended range aluminum tank which was part of a group buy on the Guns and Rovers website. I am thinking about where to put it. It was designed to replace the RH underseat tank and extend under the front floor.


My current thinking is that with some modification I can put it under the LH seat and more than double my fuel capacity. This will mean losing my underseat tool box something I don't want to do as I was thinking I might HAVE to put the battery there if I can not make it fit the engine bay. If the fuel tank goes there where does the battery then go?

Just wanted to share with you the "flash" that was inside the tank.


Pretty yucky!

I have been piddling around doing small things since I had to place an order with Craddocks. My power steering bracket will not fit/work, neither will my alternator as the mounting ears are in a different configuration. So I ordered those and new fan and alternator belts.
   This motor is different in that the main fan belt drives from the crank  to the waterpump then around the power steering pump and back to the crank. The power steering pump has a double pulley and from it a belt goes to the alternator. So for tensioning you first do the fan belt then adjust the alternator tension.
   So back to piddling around, I removed the power steering fluid reservoir as it will be relocated, removed the tape from some of the coolant pipes and wire brushed them with the Dremel tool and then put on hoses, or in some cases I recovered them with blue painters tape instead of duct tape. The blue tape doesn't leave such a sticky residue....YUCK!


You can see I put on the hose from the waterpump to the thermostat housing, on the left, and yes I did put on a lower hose clamp, thank you!

I have run the hoses from the head and the thermostat to the heater and installed the heater control valve. In the pics the hose from the thermostat is missing because I left it off pending the intake/exhaust install.


The cable for the heater control was shortened about 8" to make for a cleaner installation.

I have 2 intake/exhaust/turbo set ups for the 2.5DT 19J motor, these were taken to Daren at ARC-Tec along with a manifold gasket(for a template), minus the turbos. He is going to make me a intake/exhaust manifold that will fit the 200TDI head. The issue being on the 19J head the intake and exhaust ports are offset up and down, the exhaust being lower as in the 2.25 motors. 


While the 200-300 heads have all the ports in a straight line. What this configuration does is change the stud position, mostly for the exhaust but all new mounting holes have to be added to both intake and exhaust manifolds. Easy enough for him with the aluminum intake but not so easy with the cast iron exhaust, he will remove the flange bits off the extra manifold and weld them onto the "good" one. The 200-300 Defender manifolds are difficult to find and stupidly expensive, this should cost in the neighborhood of a third their cost.

No pics at this point.

On the other hand I purchased an Ashcroft air locker for the rear. Biting the bullet, partly due to favorable exchange rate I had them set up a complete diff, with 4.75 HD ring and pegged against deflection. http://www.ashcroft-transmissions.co.uk/


Just need to figure out where to mount the compressor and make a switch mount.

Looking at the accelerator cable, while doing the heater hose I figured I could make it better. If you look in the first pic you can see that the cable has a deep bend in it where the bracket is. This is because it was originally a RHD and the cable came from a different direction, it also lines up the throttle bracket on the pump with the direction the cable used to come from.


So using my biggest cresent wrench, I removed the cable and un-twisted the bracket some.


Then reinstalled the cable and adjusted the tension.


You can see it is not quite as deep a bend, I wanted to move the whole bracket but it is one piece with the injector pump mount to the block.

A good part of my day today was spent cleaning up my 2.5 DT head and prepping it for storage or shipping.

I took a wire wheel to it and removed the old gasket and buildup and checked for cracks, none were visible.


It was then liberally coated with more WD40 and wrapped with Saran Wrap. As you can see I left the valves and springs and most of the manifold studs in place. Next a wooden box was built, and then stored out of the weather.


TTFN!

Tuesday, February 3, 2015

200TDI 109 in the engine bay! Yay!

So "They" say it is going to rain on Thursday, well we can only hope, but it spurred me to getting the 200 into the 109. The other day I put on the motor mounts but only loosely, today I researched the torque for the bolts(60ftlb) and tightened them up.
     Then I did some cleaning on the motor[ aren't cordless drills great!], changed out a bad bolt on the waterpump and started shifting the 2 motors around to get the old motor out of the way. While I was doing this my neighbor Bob came over and asked if I needed any help.........he meant just moving the motor. So I told him what I was doing and that I was almost ready to put the 200 in the frame. He watched me slide the 2 motors across the plywood into position. Then he said "Well, you know I'm leaving in a few minutes." So I told him I'll just get another neighbor and he pointed out they weren't home either. To which I replied "well I have 2 days."
     Bob's a nice guy so he said he would help and leave a little late.

So I dragged the hoist in front of the 109 with the motor between the extended legs and hooked it up, Bob coaching me into position all the time. Then I began to lift it, of course the motor swung back as it lifted and now was fouled by the bumper.......We moved the 80# wheel chock at the rear and rolled the Rover back about 4". Then I went back to pumping the hoist up....and up......and up.......and up........and up......enough to have the oil pan clear the control cover for the 8274 Warn on the bumper.

   Once high enough I started to push the hoist down the hill on the plywood, a couple of things were happening; the ply was compressing due to the weight and the hoist was tippy if you pushed on the upper part of it.  I managed to get the engine past the winch and started it down so it would be easier to move. From there on it was a matter of move it back, lower..repeat...repeat until the LHD side was on the motormount rubber already in the frame.
    Unfortunately the back of the flywheel housing had dropped below and in front of the crossmember. So I dragged out my floor jack after trying vainly to move it by brute strength. As I jacked it up it popped over the crossmember and I went to the RHD side and pushed and pulled and lowered the engine so the RHD was sitting on the motor mount and both were holding the weight of the motor.

IT WAS IN!!!!!!!!!!!!!!!!!


View from the front.


I think because the injector pump is higher on the Disco engine I may have to revamp my battery tray or move it under the seat or the tub.


I hooked up a few misc things like fuel lines and stop soleniod wire then cleaned up. Felt good a productive day!

Sunday, February 1, 2015

200TDI

     With the help of my neighbors I moved the 200 next to the DT and began the process of cleaning and swapping parts. I put on the dip stick tube and the turbo oil line then the waterpump. I have to get 1 new bolt for the waterpump. I needed to get 2 new bolts for the motor mounts of which I put on the LH side loosely. To put the pump on I made a new paper gasket with the hammer, greased it up on both sides and put it on.


     The real fun came with trying to figure out if I could use the 200 flywheel housing to bolt to the Series bellhousing. I was told that I would need the FWH from the DT to make it work.
   Why?, I asked myself, and then taking a bellhousing I put it up to the FWhousing for a look see. What I found is that one of the studs on the 200 fly doesn't line up with a hole in the Series bell. Just look at the pics you can see there is a hole in the fly just below the offending stud.


My solution was to drill out the lower hole and tap it for the stud. First I measured the depth of the studded hole with a drill bit and then drilled to a matching depth. I used a 7/32 for a pilot hole and then finished with a   11/32 and using a 10 x 1.5 tap I finished off the change.


   There were 2 locating pins on the fly to remove, using small visegrips I tried unscrewing them and realized they were pressed in and just worked them out.


Next up was a trial fit of the bellhousing.


Perfect! Even if I do say so myself.....

Still leaves unanswered what to do about the bottom bolt/stud issue. On the TDI, 3 allen bolts are used in the bottom which go thru the bell and fly and into the ladder frame, while the Series just used studs into the flyhousing. These allen holes do not line up with the bell stud holes.
   I could drill and tap the holes for the studs like I did for the other stud adjustment and lose the fly to ladder connection or I could drill the bell for the allen holes, or I could not use them at all which is what I have heard others do. No lower bolt/studs, just the 3 on the bottom would be missing. I dunno on one hand I'd like to have the thru bolt connection to the ladder but lots of work as the bell I will use is bolted to the gearbox, not the spare in the photo. On the other hand the studs worked just fine in all the Series.......


Tuesday, January 27, 2015

Land Rover motor removal

Well, over the last week I removed everything on the injector pump side of the motor connecting it to the vehicle.


With the exception of the coolant system it was ready to pull.


I drained what I could fo the antifreeze and disconnected the hoses. It still looked like I needed to remove the radiator and support panel and then the oil cooler.
Brett and Amanda came over yesterday and helped me take those off. I thought that was all I was going to do as I was sore from a mountainbike fall and playing some frisbee. But I couldn't rest and I laid out my plywood and screwed it together to make a floor to roll the engine hoist on. Then my neighbor Bob came out and helped me pull the motor the last uphill bit. We set it on the ground so I could work on it and remove parts that might swap onto the 200TDI.


Maybe by next week I can have the new one in..................still have to find/make a intake/exhaust system.

Sunday, January 18, 2015

Land Rover engine swap begun

   I got off my ass today and reluctanly started in on the engine swap. I say reluctantly cause I'm tired of working on this thing and I am still frustrated that it broke and I didn't make my trip I had hoped for to Death Valley in it.

   So I thought I would just take off the flywheel and the flywheel housing assembly as I was told I would need it for the 200tdi to mate with the Series bell housing. I knew it would be hard cause the flywheel bolts are torqued to 70# if I remember correctly (IIRC). This meant the engine would turn when I tried to turn the bolts.
    First I removed the clutch and pressure plate, I reinstalled the bolts in the flywheel and used one of them to brace a metal bar on the frame to keep the flywheel from moving. It worked and I got them all undone and removed the flywheel, then I put those bolts back in the back of the crank.
    Once the flywhell was out I could see that the rear mainseal needed to be replaced but I am not going to worry about it as I am going to shitcan this motor.


   Next I went to take off the flywheel housing, but first had to remove the starter. That's when all hell broke loose. To do this I was doing fine with undoing just the starter then I couldn't get good access to one of the bolts. So off came the exhaust manifold and then the intake manifold and a loosening of the exhaust downpipe.
    With this out of the way I could get the starter out. Then returned inside to remove the flywheel housing, using a 17mm socket and a 18" cheater bar I broke loose the 6 bolts hidden behind the flywheel but the housing refused to move. That's when I found the 2 external bolts on the top on the housing, the first one came out easy but the next was to prove difficult as I could not fit a socket or a wrench on it from the inside. Going back outside I could turn it with a combo wrench and it came most of the way out before the bulkhead interfered.


So then I drained the oil, removed part of the fan shroud I made along with the fan and belts, disconnected the power steering pump and removed it and the alternator. I pretty much have the LHD side done and I was 3 hours late for lunch so I cleaned everything up and stopped for the day.


Wednesday, January 14, 2015

Rear diff damage report

    So after dismantleing my broken diff I took all the parts in and had them hot tanked to rid them of grease and paint. This way I could do a better inspection of what was damaged and what was salvagable.

    What I found was that the differential wheels and pinions(star gears) though showing wear are all good. The spindle for the pinion shows some wear and I'd probably replace it if I was rebuilding this diff. As a precautionary move I would replace all the bearings and split pins too, cheap insurance.....

   The big finding was the 2 cracks in the differential casing(the part the ring gear bolts to). This has long cracks on the same side of the casing, likely would lead to catastophic failure. But Hey! They are 54 years old!!
Differential casing^^^
The next pics show the cracks.


also needing replacement will be the pinion oil seal and the drive flange for the bevel pinion


I did find one other disconcerting crack; this one is in one of the bevel pinion housing braces. Oddly it is not thru the brace but runs down one side..?


So all that gunk on your bevel pinion housing needs to be cleaned off and then inspect for cracks. Also if you are going to replace/check your halfshafts pull the diff out and check it for those cracks. I have heard of 2 diffs failing last year due to failure of the differential casing. And it ain't pretty when it goes!

   Lets face it we are not the only ones getting older!! ;^)